
My next asset is a wooden cart. This required to look for some reference images aswell as experiment on how im going to make the cart itself.
In my group we got some images together helping one another and a few of the images we collectively found were some carts. Each of them with a different design to give a different view point of what the cart could look like potentially.
Ref 1 
Ref 2 
Ref 3
With all three of these cart designs i felt like i had enough to go on for my design. I didnt feel so happy with the 2nd reference design so i wont be using this one much for inspiration. However cart 1 and 3 i will use for my main design.
I started off making a draft of the basic shape of the cart and felt like it was the rough base of the design i wanted.
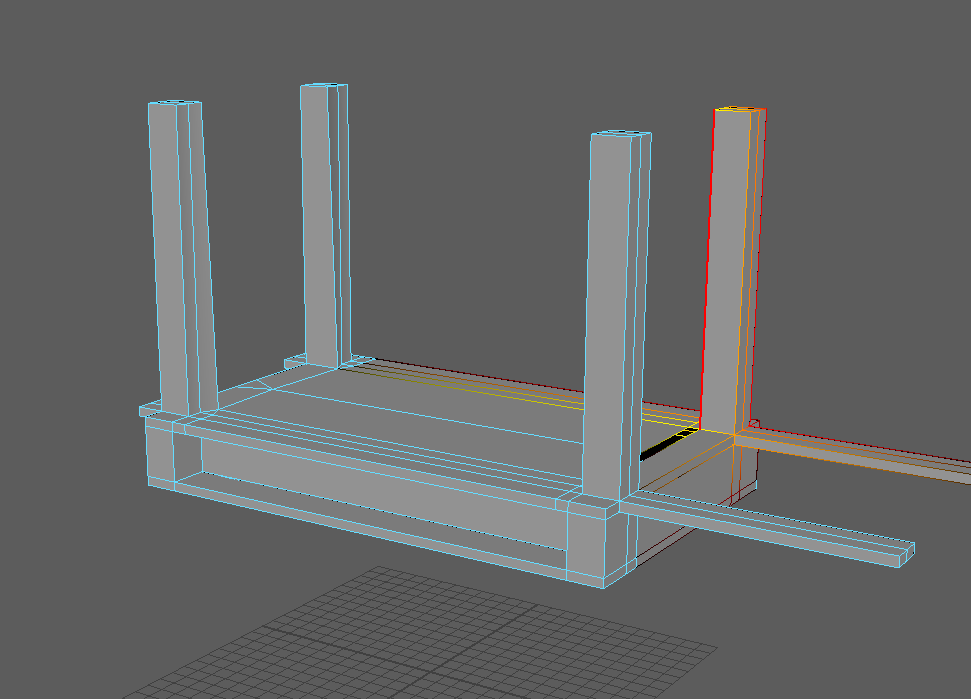
This would act to help as a base for the finalised design however i was un happy with certain parts of this. The pillars are too thick, and the beams across are embedded in the plank base.
Carrying on with the cart i designed some planks to duplicate and make a majority of the asset out of.
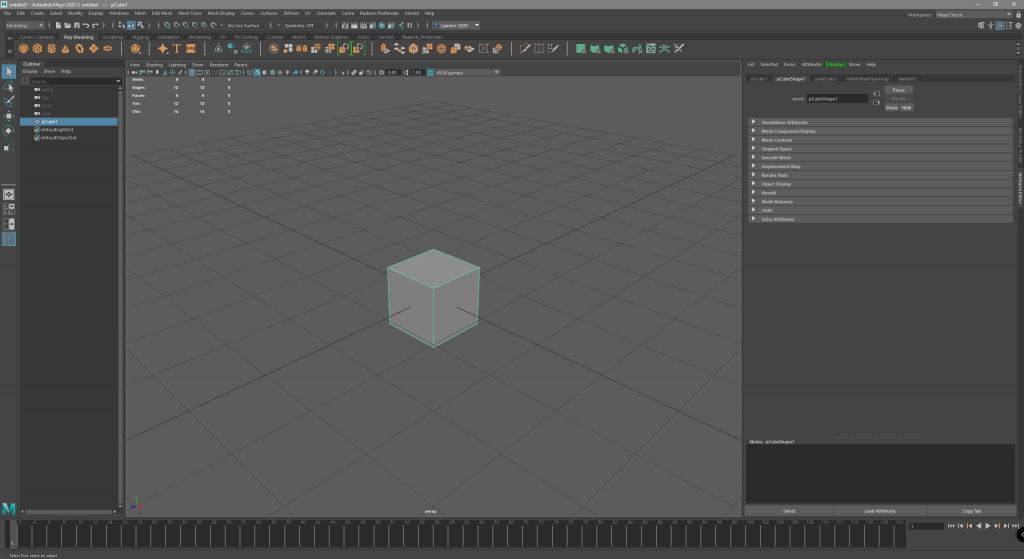
Insert cube 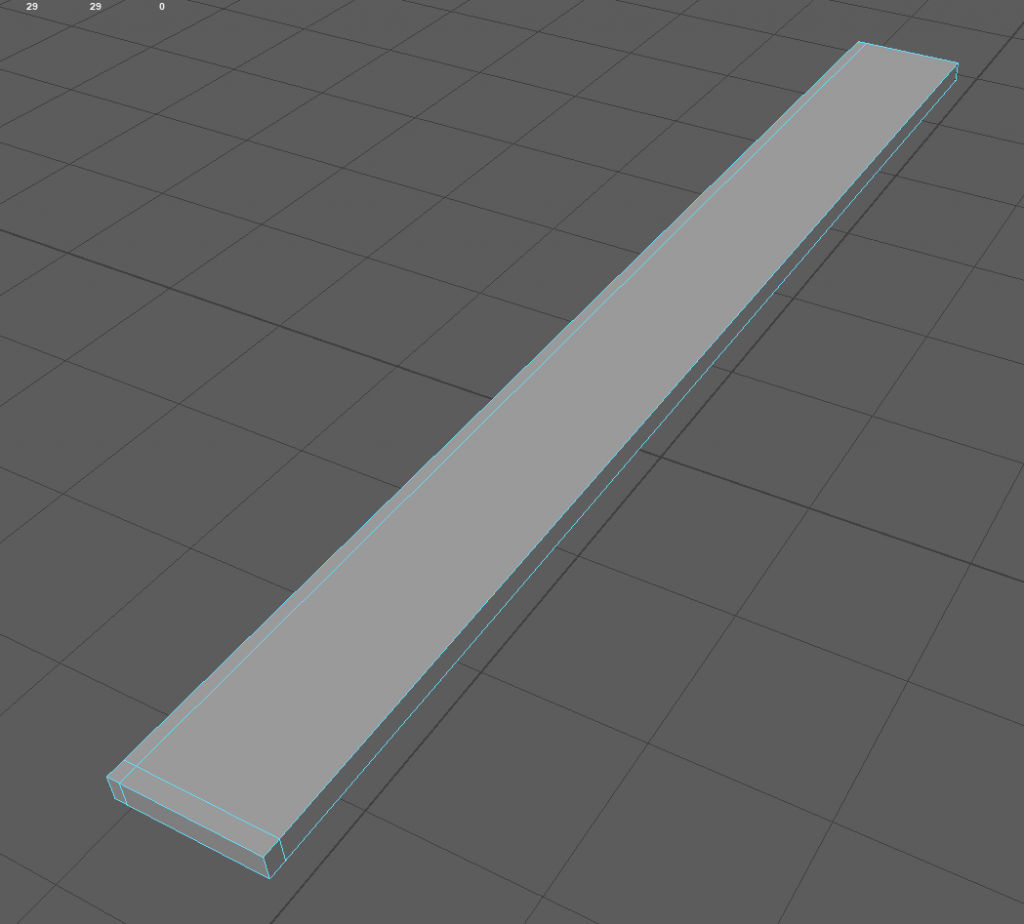
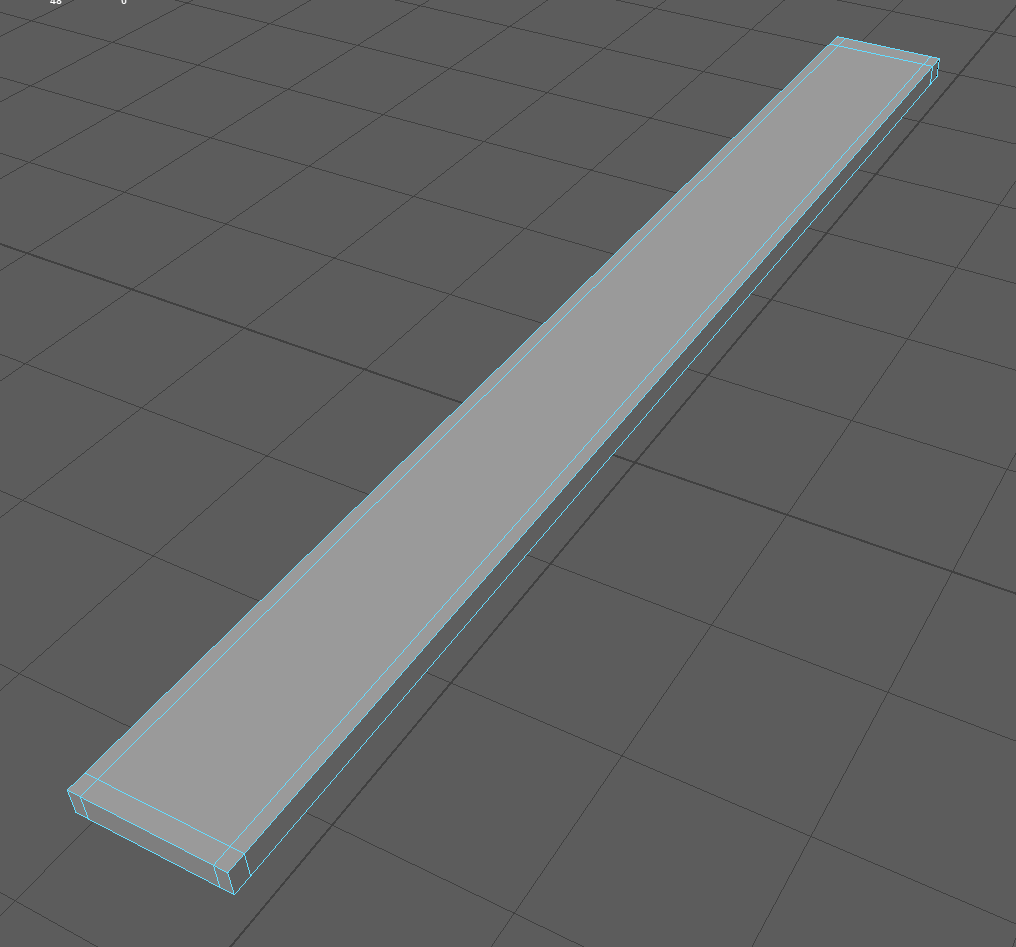
Applying structure lines
Applying smooth 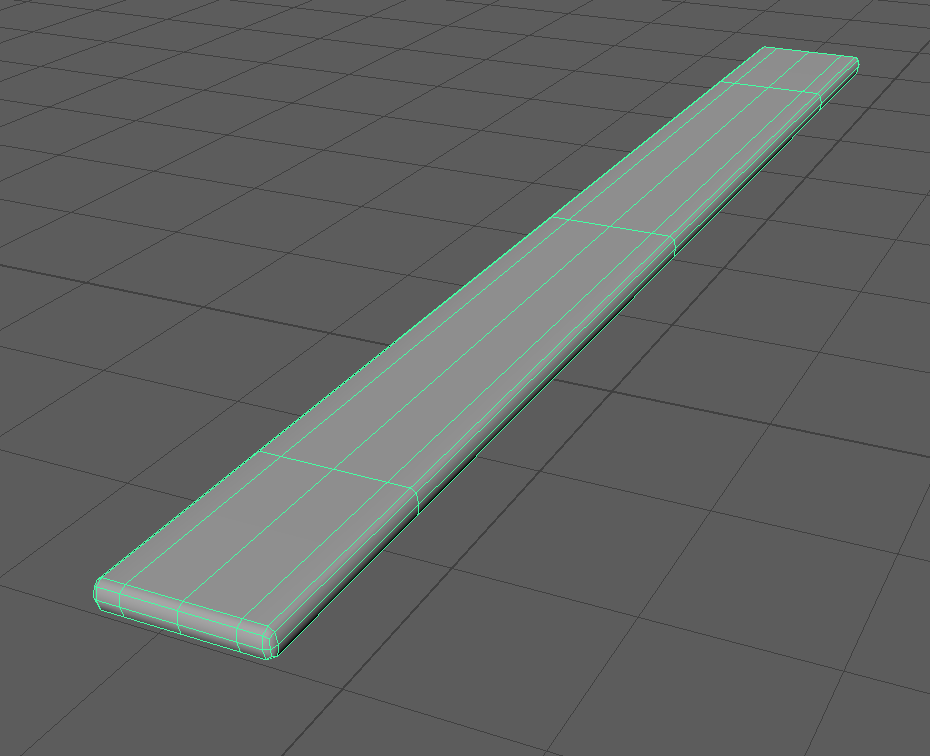
Finished plank
These are the 4 stages i went through of making the plank. Starting off with a basic cube i flattend it down to make it oblong then stretched it out, once it was a suitable length and height. Once the shape was suitable for the design, i had to think about how to stop the ends curving to an oval once i applied a smooth to the shape. To do this i used the multi-cut tool which can allow me to place in some edges and vertices to give the shape some more structure. Once the structure lines are in place i can apply the curve and the plank will be finished. I will use a variety of planks like this to make the cart as a whole.
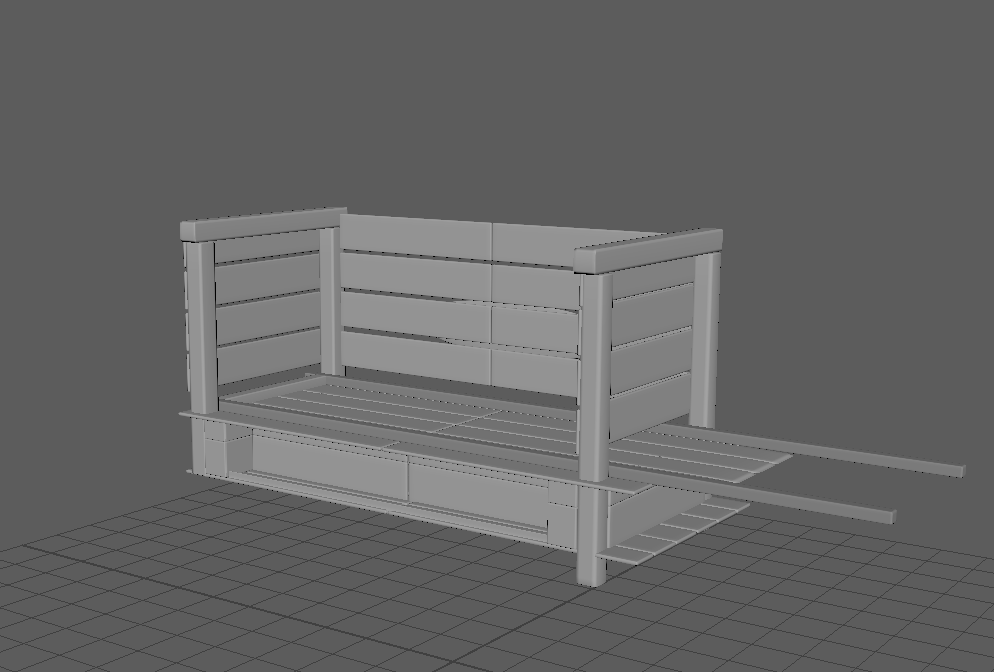
applying the designs of planks i made, i refined my basic cart design to something more suitable for my liking. I applied the smooth effect as i went along so i could see the cart come in to shape better and more visually.

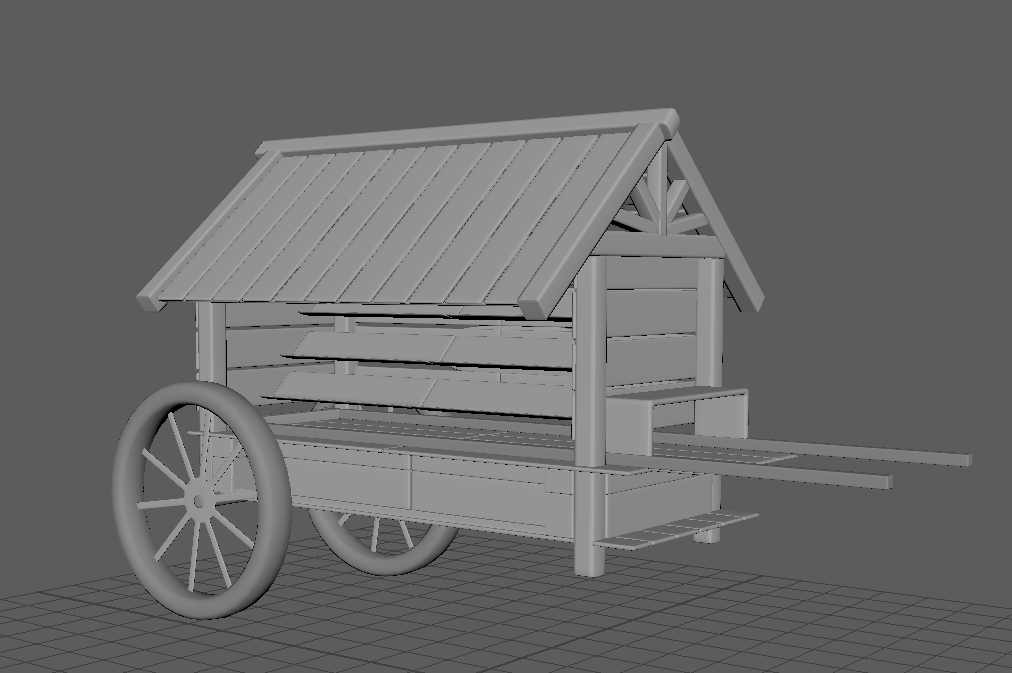
Going forward with the design i added a roof and then later wheels and a seat following similar designs with the planks and beams made from a cube. Making the seat was a little bit different and used more extruding; making the oblong then making an oblong either side downwards to make the sides of the seat. The wheels were very hard for me to do and challenged my experience on cylinder designs.
For the wheels i forgot to doccument each stage however i made two offset rings inside a cylinder, One near the edge and one closer to the center. Once i deleted the inner most faces i could connect the faces together to make the circle complete. Making the spurs was a matter of putting a cylinder in and making it a flat cylinder to extrude outwards on every other face outwards to the wheel.
Texturing this asset i would have to apply a wooden effect to it however a standard wood material looked to bright and not enough dirt and grain to it for my cart. I layerd it with grunges and noise to give it more personality to the wood look. Once i chose the darkness to the colour of the wood i would move on to the metal aspects of the design, with a steel effect.