Overview

As spoken about in my Pre Proposal for my major project, i am creating a custom unique character called the Vaikaxick (Previously called Vaiposick) to fit within my personal universe. This creature will be under the race known as the “Niemahridien” (Nymayridian in english)

This development log is dedicated to the experimentation and design process I have taken in to reaching my end result rendered at the bottom of the page, Above any references.

Previous Model

In previous projects for the university, I have made a character design set within the same universe as this Vaikaxick. During the process of creating the Niemahridien Drone, my previous model, I learned a lot about hard surface sculpting and how I want to form the shapes in ZBrush.

Reflecting on what I have learned from creating this character, there are several things I will be implementing in my new character. Such as seperating parts up, allowing for a smoother design and better animation once things have been combined. During my attempts to rig the drone, I had various issues with the movement of certain parts of the model, in particular the neck and claws. My Vaikaxick will be sculpted in several stages, starting with the body and tail, then moving to the legs, which will be separate, and the head, which will also be separate. Additional features such as spines and quills on the tail will be individual to help later with customization of my character in future projects where there will be evolutionary differences.

Niemahridien Drone - Second year assignment piece

I want to have better distinction between what is a softer fleshier tone as well as the chitin. In the drone, as it was all one large model, it was hard to texture properly but also to show detailed individual parts like the red rings on the shoulder and wrist joins.

Story and Lore

The Vaikaxick, previously named Vaiposick, had its name changed to fit within the Niri alphabet to give it a more immersive and lore-accurate name for the universe it is based in. Compared to my pre-production proposal, the back story of the Vaikaxick is very similar, with more updates and fact-checked lore.

This creature has a ranged attack that fires from the tail in the form of two spine-like or quill-like projectiles. This projectile is grown within the tail and sent to the end via muscle and growth accelerant, which are found within the body of the Niemahridien species. This allows it to fire either individual quills or both at the same time for more destruction against its target at high velocity. The quill does not fire as fast as a traditional kinetic projectile from a ballistic rifle or firearm.

Example of my Custom Language "Niri"

It is unsure when the Vaikaxick came into existence exactly or if it originated on Nioakta through gene spinners splicing native species of wildlife into the swarm. The Vaikaxick (Vaye-Kah-Zick) is a flying lesser species of the Nymayridian hive mind, an evolutionary variant of the Vucacait (Voo-Sah-Sait) (name subject to change), in which its main role within a hive is to be a flying swarmer unit.

Despite this lack of velocity, it can pierce thin metals, which makes it extremely deadly against light armoured targets such as people or some light combat units that can be found within the sector, such as the robotic combat suits of the Xevak. The ideal target for attack for a Vaikaxick would be clustered infentary, where the spines have a larger chance of hitting multiple targets as it fires both quills from the tail. There is reason to believe there might be different evolutionary variations of the Vaikaxick depending on what hivemind has them in their swarm and how they intend on using them, or if they have a gene spinner to alter the species evolutionary traits.

Software Usage

During the process of development for my proposed character, the Vaikaxick, I will be refining skills within the software I am already using. For 2D conceptualization, I am using a combination of Clip Studio Paint and Adobe Photoshop. 3D Designing: I am aiming to only use Pixologic ZBrush for the sculpting and potential UV wrapping, then export to Autodesk Maya for a rig and animation sequence. Texturing the model, I will be using Adobe Substance Painter to achieve a semi-realistic art style. I will be looking to experiment with Unreal Engine for rendering or Maya.

Pre Model Experimentation

Vaikaxick Top Down Profile

As I have some background on what it is I am to be designing, I made a very basic blockout within Maya to help visualise some of this background. The blockout is only meant to help conceptualise the shape of the final form I will be designing for the Vaikaxick, complementing the concept drawings I had previously made.

Once I knew what form the Vaikaxick would take, I started experimenting in Zbrush with some tools before and during the process of modelling the creature. I had made a very basic model in ZBrush, which I temporarily called the Niemahridian Larvae. The experimentation for this is primarily to help me understand how some of the large variety of brushes work in Zbrush, as there are many I have not yet used until recently.

Vaikaxick Side Profile Annotated
Vaikaxick Blockout

Idea expansion

With my creature, I want to design it so I can easily customise it later on. The Niemahridian have a lot of variations in species depending on the hive mind they are used for. For later project work, I want to have it easily modifiable so I can redesign aspects of the design. To do this effectively, I will be designing each part of the creature independently and segmenting it so I can show, hide, and remove individual parts such as the wings, spine, legs, head, and other parts. During my design process, I have re-evaluated certain parts like the head, back, and tail, altering them from the original concept design as I felt the base was like Vaikaxick, such as having only two of the four wings. The four-winged evolution would be an alteration via a gene spinner that aims to improve the mobility of the creature.

Project Research

For the creature I am designing, I will have to do some research into methods and anatomy, which will help the overall process of 3D sculpting the Vaikaxick. Not only will this help with the sculpting process, but it will also give me a better understanding of how I will be rigging and potentially animating later on in the process. Along with anatomy, I am researching some more ways to use Zbrush more effectively to get a better, more professional workflow and outcome. A great way I have found to learn using ZBrush in different ways is by watching FlippedNormals on YouTube (FlippedNormals, 2018)  who have a variety of ZBrush beginner videos. However, I have found these not just useful for beginners but have some tips that other people may not realise, such as how to effectively use Dynamesh and subdivide together or what type of order you should be looking to create your model in, starting from a ball and blockout to blocking in details, refining, and using alphas for better detail.

(Alexants97, 2021) - Ant Anatomy

Along with anatomy references, I have looked into the sculpting of my inspiration universe, Warhammer 40k (MLW Creative, 2022). This has helped me understand the process that other 3D artists take in designing their character concepts as well as the approach and techniques used for sculpting with a variety of brushes and the use of dynamesh and subdivisions. This to me is important as it can give me a more professional workflow that I can look to adopt myself, as well as a comparison of a similar type of creature design.

(FlippedNormals, 2018) – Zbrush Guide

For researching anatomy I have looked at what my main inspiration was for my personal project which was mainly Warhammer 40,000 from Games workshop. Along with this I looked into other interests of mine that I already have some understanding in such as Myrmecology, a branch of entomology with a focus into studying of ants. For my Vaikaxick I felt like looking in to ant anatomy was a great starting point as it could allow me to get an understanding for how a thorax looked and how to design insect like legs and how many bends i should be expecting. I would both be working from memory but also an annotated and broken down image of the anatomy of ants, this shows exactly every external feature to the ands and their scientific names. Normally ants are broken down in to three segments, The head, Thorax and Abdomen however the scientific breakdown takes it a step further as well as giving them their official names. Not all of this will be relevant for my creature however it doesnt just show the anatomy, it shows a breakdown of how the gaster is layerd for their exo skeleton aswell as the thorax and how the legs connect to the main body along with their elbows allowing me to mimic this in my rigging for natural looking joints.

(MLW Creative, 2022) – Warhammer 40k Hormagaunt Sculpt

Design Process

During the design process, after I had my concept done for the proposal assignment as well as my pre-modelling experimentation, I started with the core body. I had laid out some very rough blocks of shapes in order to get a solid starting shape fitting for what the body would represent. The sizes of the shapes roughly represent what to expect the final body to be. A thinner front part, tapering off into the tail, with a front section for the head to fit within.

Once I had the core body blocked out and some basic detail sculpted into the core body, I changed the way I was documenting my design process, as I found it a lot smoother and helped my workflow. Previously, I screenshotted as I went along with the sculpting, but I found this had too many interruptions, so I would from here on out start recording my sculpting process in bursts as I did things. This allowed me to go back and review my content and take stills of what I had been doing more naturally than stopping and starting my work.

Each segment of the spine is individual and can be designed independently.

Moving on from the body and spine of the Vaikaxick, I changed my focus to the tail. For this, I did some brief experimentation with the move brush to help design the tail’s shape and how it would be formed. Using this with a combination of damstanding and clay buildup, I could experiment with different-shaped tail segments to determine the shape of the tail, as I had changed the original concept, moving it from a layered coil to more of a segmented extension of the spine.

Next on my priority list for the design was the head; however, with the character, I am doing a redesign and will describe my experience with the wings first.

With the design of the wings for the Vaikaxick, the original concept had four wings: two larger and two smaller. I re-evaluated the design of the character, and for the scale of the body, I have decided to remove the two smaller wings and just have two larger wings. This does change the feel and design of the Vaikaxick quite a bit, in my opinion; however, with more story development, this could help add extra evolutionary differences. When designing the wings, I mostly used the move brush with light use of clay buildup and smoothing. To get the wing design in place, I made a 3D plane on which I could then use the masking tool to draw a shape, allowing me to cut it out of the plane and then separate them so only the wing segment remained. Giving it a thickness is just as easy by using the dynamic subd under geometry and increasing the thickness slider greater than the base 0.

Furthering the design process of the model, I built up and defined the body some more, with some more main blocked-out detail going back and forth on how I wanted to design the back. I was going to differ it from the original concept some more, but at this time I have decided not to do this. In the original design, it was to have one singular spine going down the middle and be spiked. I looked at doing a total of three of those spines on the chitin, giving it a more unique and defined look on the back, but decided against this because of my time frame for the assignment and how I wanted this base evolution of the Vaikaxick to look. I had decided to fill in the channels I had made for the additional spine, giving the chitin a more smoothed-off, rounded look like my previous character design, keeping it a more basic evolution of this creature with less significant key differences to the original concept and lore.

After deciding to move on to a more segmented tail, I did some further experimentation with it and came to a final design that would look like the tail could only coil downwards, giving the Vaikaxick an ariel weakness as it can’t fire above itself. Doing this, I feel like it helped add some extra detail to the design of the character, as it can’t be good at everything. The tail tip is designed to have grooves where the two quill-like projectiles emerge from and then fire off. Moving towards the more segmented tail, I feel like it complements the rest of the design more effectively.

During my design process and modelling I had started visualizing the face properly and had decided I am starting to dislike it and become dissatisfied with the route it was taking. I started feeling like the face i was designing would not fit this models characteristics properly and would only serve to look out of place. As i noticed this i started desgining a new route the face would be taking. 

Example of Vaikaxick Original Face
Vaikaxick Newly Designed Face

To help create this new conceptualized face. I had taken a side profile screenshot of the models head in its current state and imported it into Clip Studio Paint to be redesigned, erasing parts and using black lines to help define what currently exists and what i would be changing. A combination of greys would be used to act as a mock up of how it would look in ZBrush. The annotations i had given it help describe what parts of the chitin are to represent and to help start thinking how i could be designing it. With the new design for the mouth, i will be modeling it in the pose i have drawn for it, which should allow me to allow for animation to close it in Maya.

Detailing

In creating the detailing for the Vaikaxick, I used a combination of ZBrush as well as Substance Painter. I used a variety of brushes in ZBrush to help develop more detail, particularly along the spine and around the face, using brushes to implement teeth and give some hard surface detailing to the spine, which I am most proud of. The brushes in ZBrush, mostly Damstanding and Clay Buildup with Smoothing and Pinching, allowed the curvature tool in Substance Painter to build up a nice level of colour tone and pattern on the spine, which is what I was aiming for.

Close up of Spine

A variety of tools in both ZBrush and Substance Painter allowed me to layer detail, getting some very intricate detailing around the teeth and body in particular, allowing some contrasting colour tones while keeping the eyes looking unique and the wings organic looking with a leathery effect.

UVs and Textures

Given that I was against the clock with how much time I had left, I decided to use Zbrush for my UVs by creating them with polygroups. This did have some issues, as in substance, it didn’t give a smooth canvas to work from. This would be one thing I would change massively if I revisited this project. I would have liked to have done the UVs within Maya using the quad draw tool to create a smoother and more usable UV map.

Substance Painter UV Example

Given my issue with my UVs in substance painter, I did make sure to have everything labelled correctly with a professional naming system that was fitting for the model. All of my textures were made with mostly hand-painted patterns using a drawing tablet as well as applying the base materials in Substance Painter along with curve nodes and dirt generators, keeping a similar colour theme to my previous Niemahridien drone.

Rigging

For my rig i hadnt much time remaining for this process unfortunately having to scrap my idea for animations and just get something functional. The Rig is rather basic however follows a structured naming scheme allowing me to revisit it at a later date for animation. I mostly looked towards the anatomy of the ants and the image from Alexants97 (Alexants97, 2021) in order to structure the skeleton and get some basic form in the rig. This did allow me to have some basic movement however not smooth as I could not get my Skin Weight done within the time frame.

Renders

Experimental Unreal 4 Render Video

Rendered in Maya using Arnold with a skydome light to capture the contrast difference vs neutral lighting in Substance Painter

Reflection

Given that I had more time, I would have gone much more in depth with some of my processes, especially closer to the end. I had a constant battle with personal and family issues that affected my assignment, but I hadn’t given up on it once. This was a very close and personal project for me to get done, and while I am happy with it, I know there is so much more I could have done with it. My renders and rigging, especially I wanted to get some animations and a full skin painted for my submission. I had used a variety of software pieces to get my renders done, including Maya Arnold, Substance Painter, and Unreal Engine 4. I had huge issues with normals in Maya for quite some time that I couldn’t resolve until I just reset my Maya instance and started over. In Unreal Engine, I really struggled with getting some smooth rail lines for camera movement, so this is a big part I would improve on given I had more time. Another issue I had throughout this process was the lack of word count I could use. I feel like for a development log, I could have gone into a lot more detail and explored newer and more refined methods. Overall, the main things I would change in my design are the UVs I did in ZBrush, more refined renders in general, and animating my model. This project has pushed me to achieve the best I can given the time and resources I had available at the time. I do see this project as a huge success for me personally; not only is it a good model I have made, but it is a personal project piece I am proud of. I would also like to explore more references as this is currently one of my main weaknesses in my workflow, as well as experimenting and have a more explorative approach to achieve my goal with better rendering methods and detailing.

References

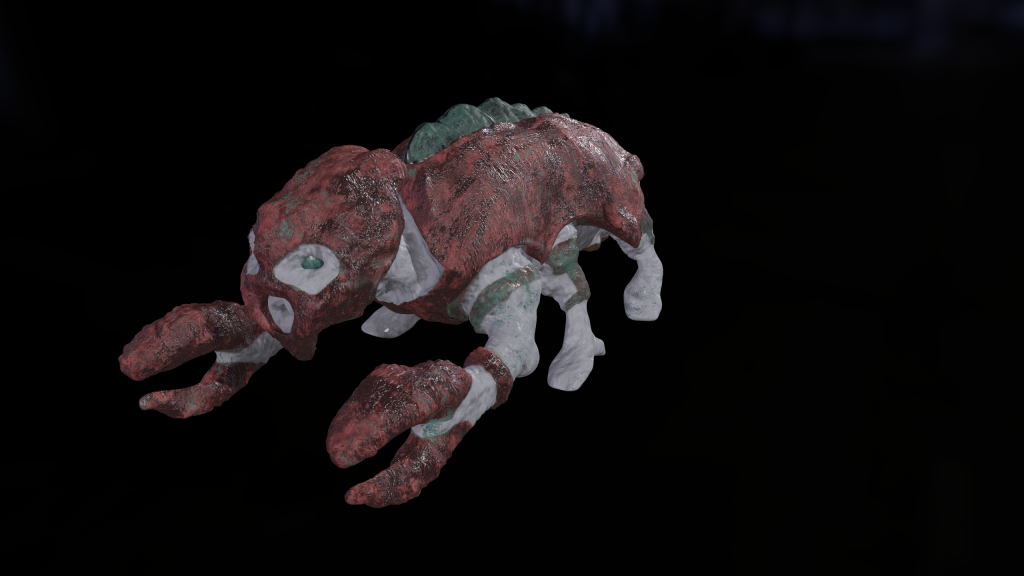
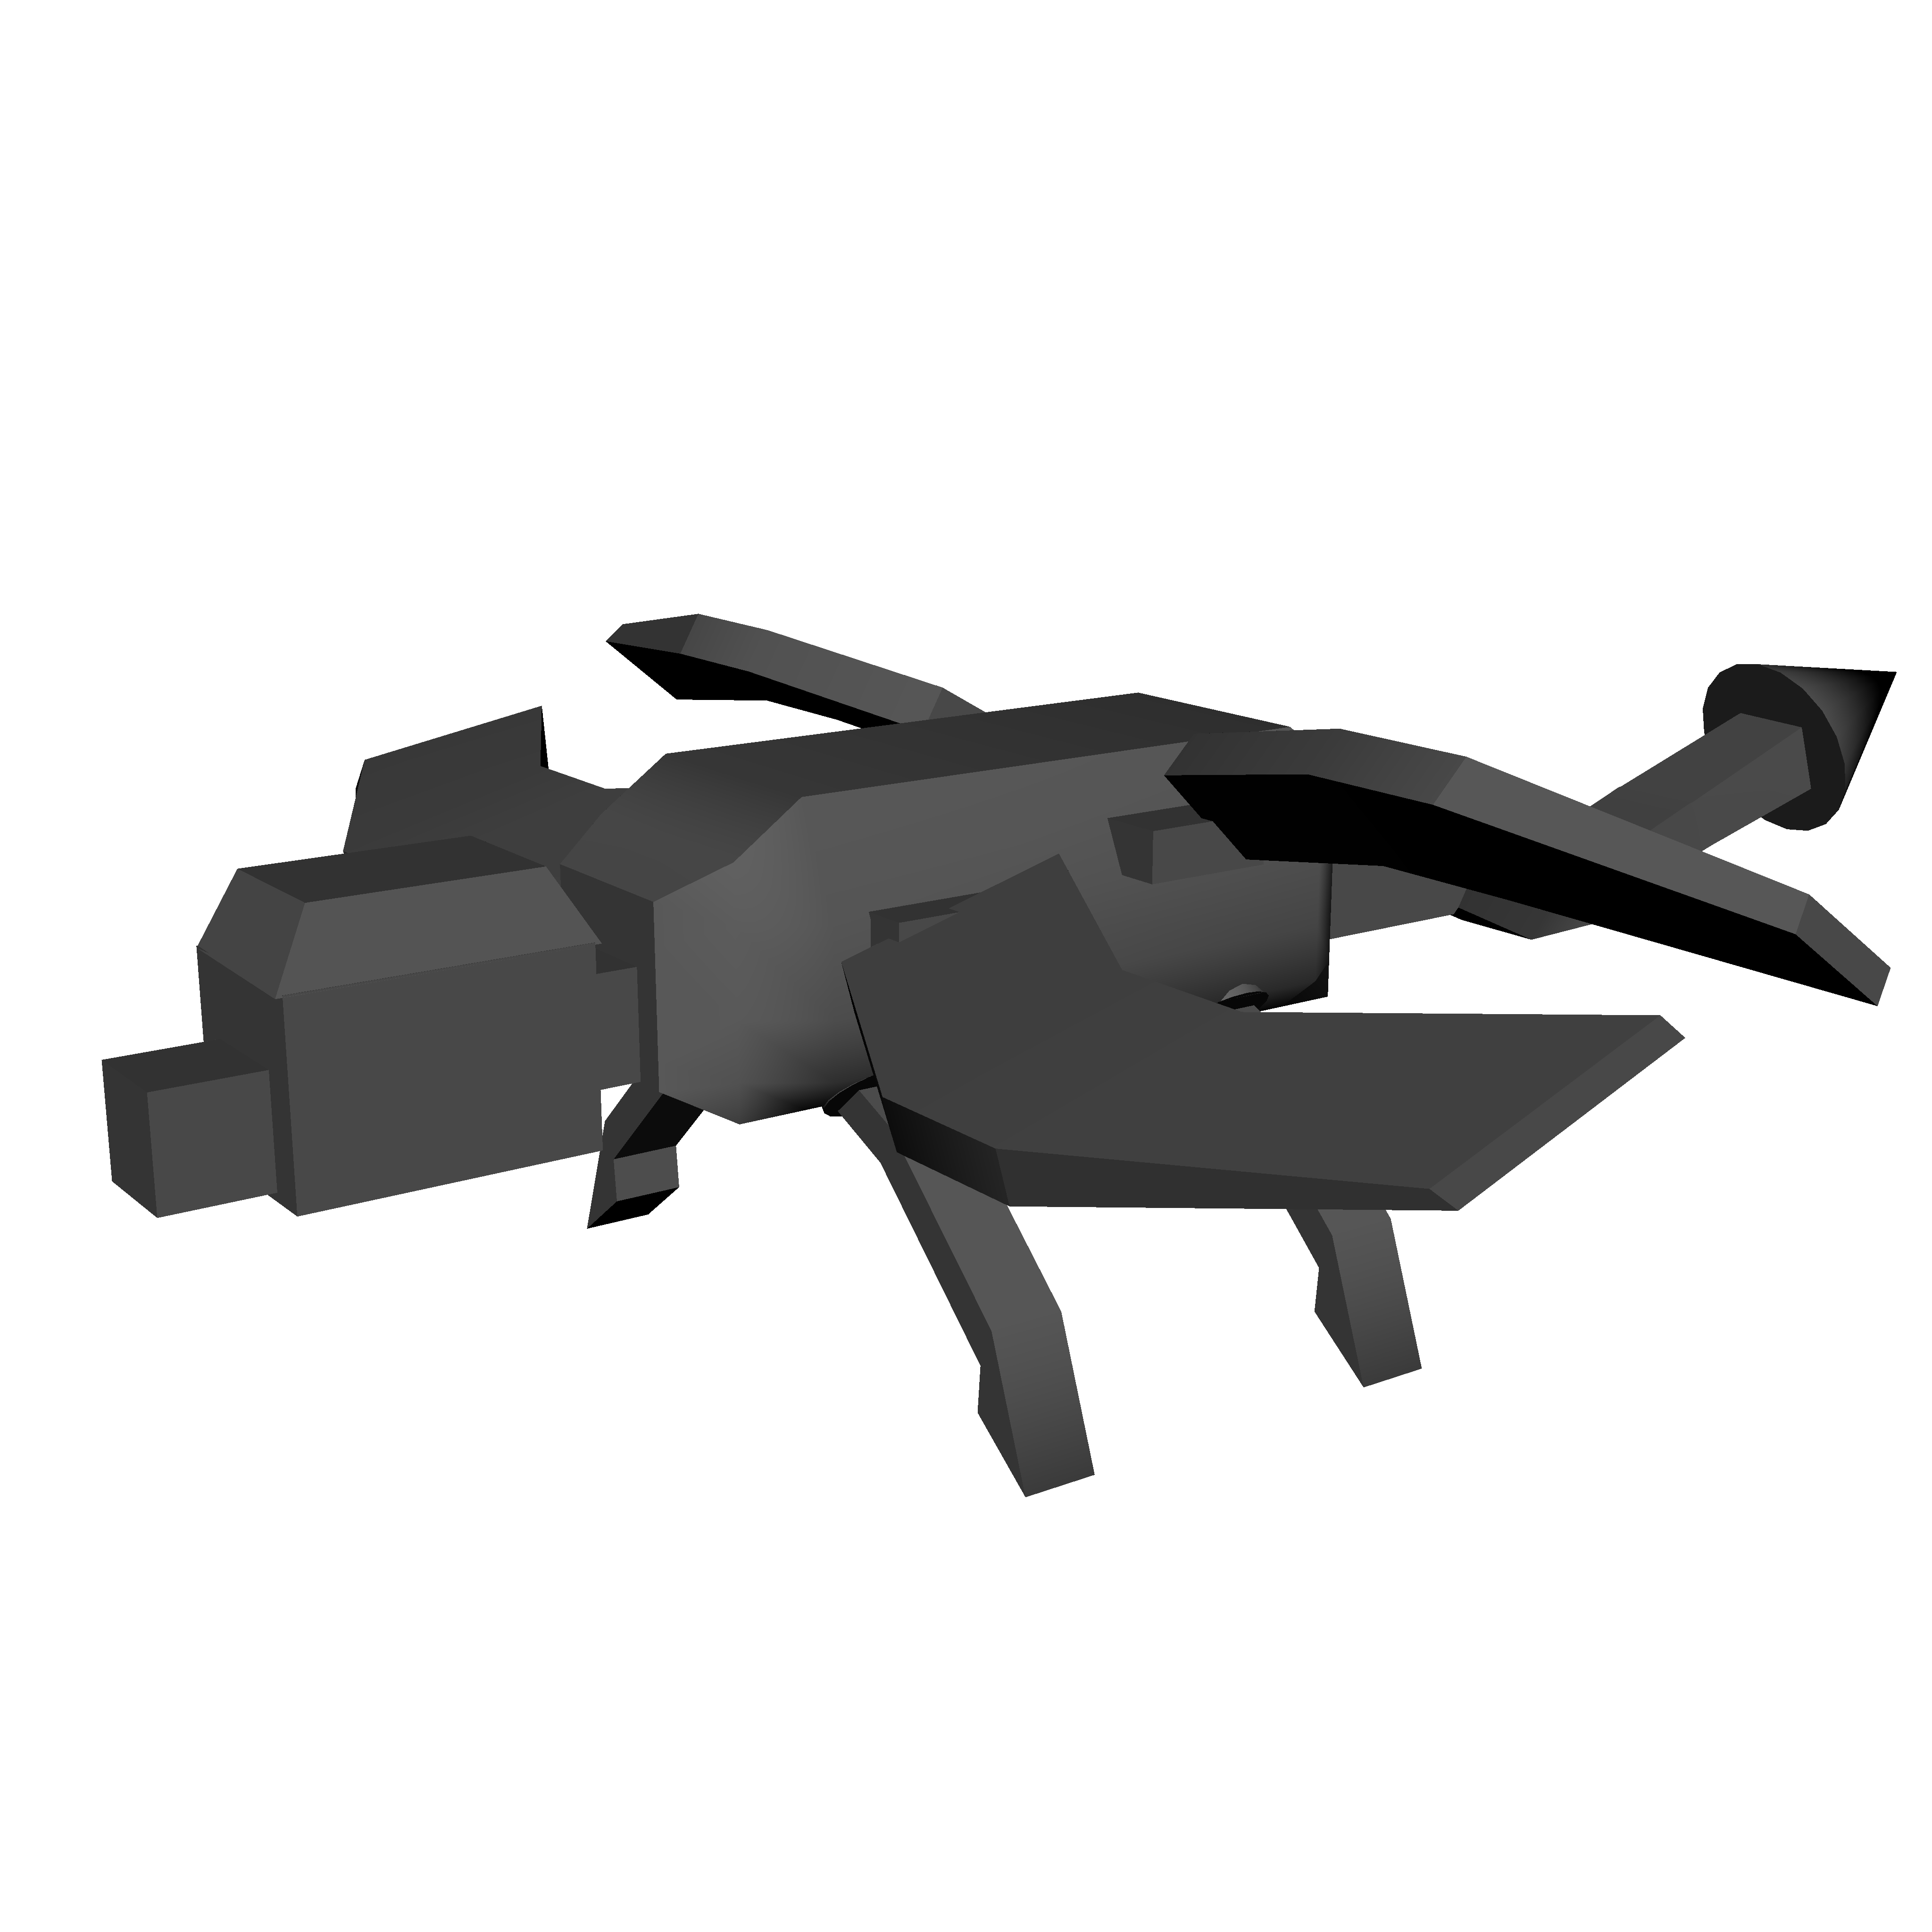
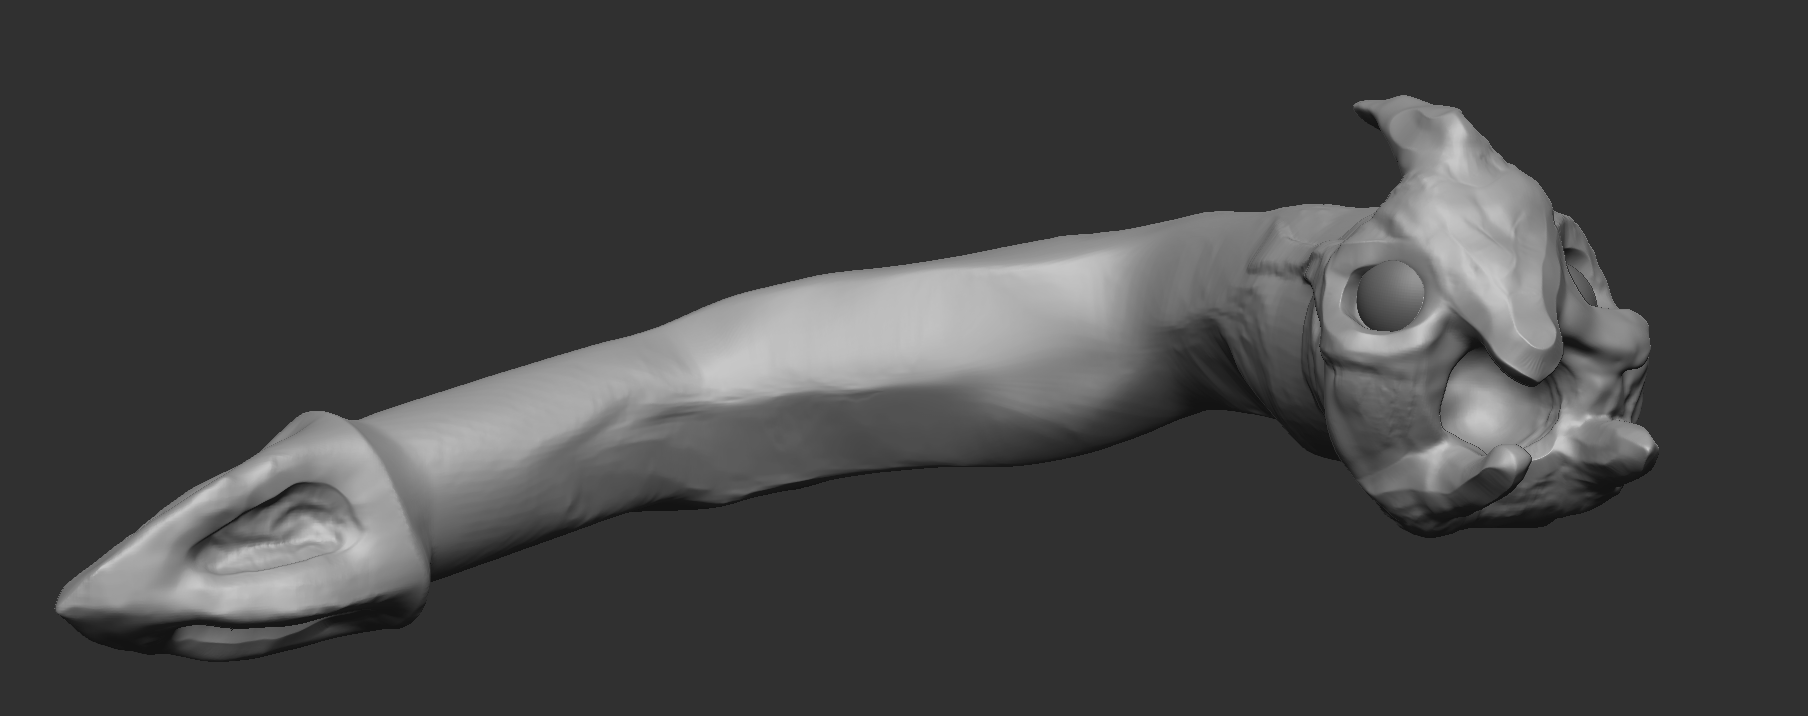
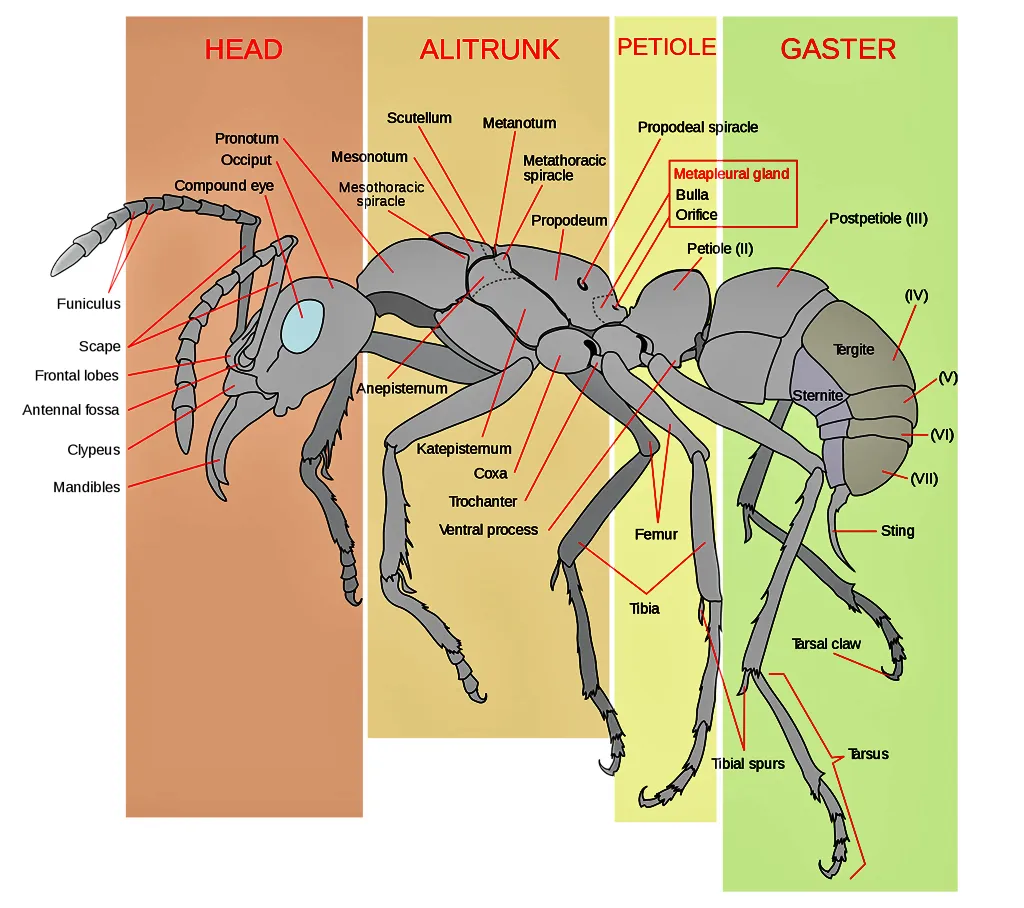
Alexants97 (2021) Ant Anatomy. Alex’s Ants. Available online: https://alexants3141519.wordpress.com/2021/10/16/ant-anatomy/.

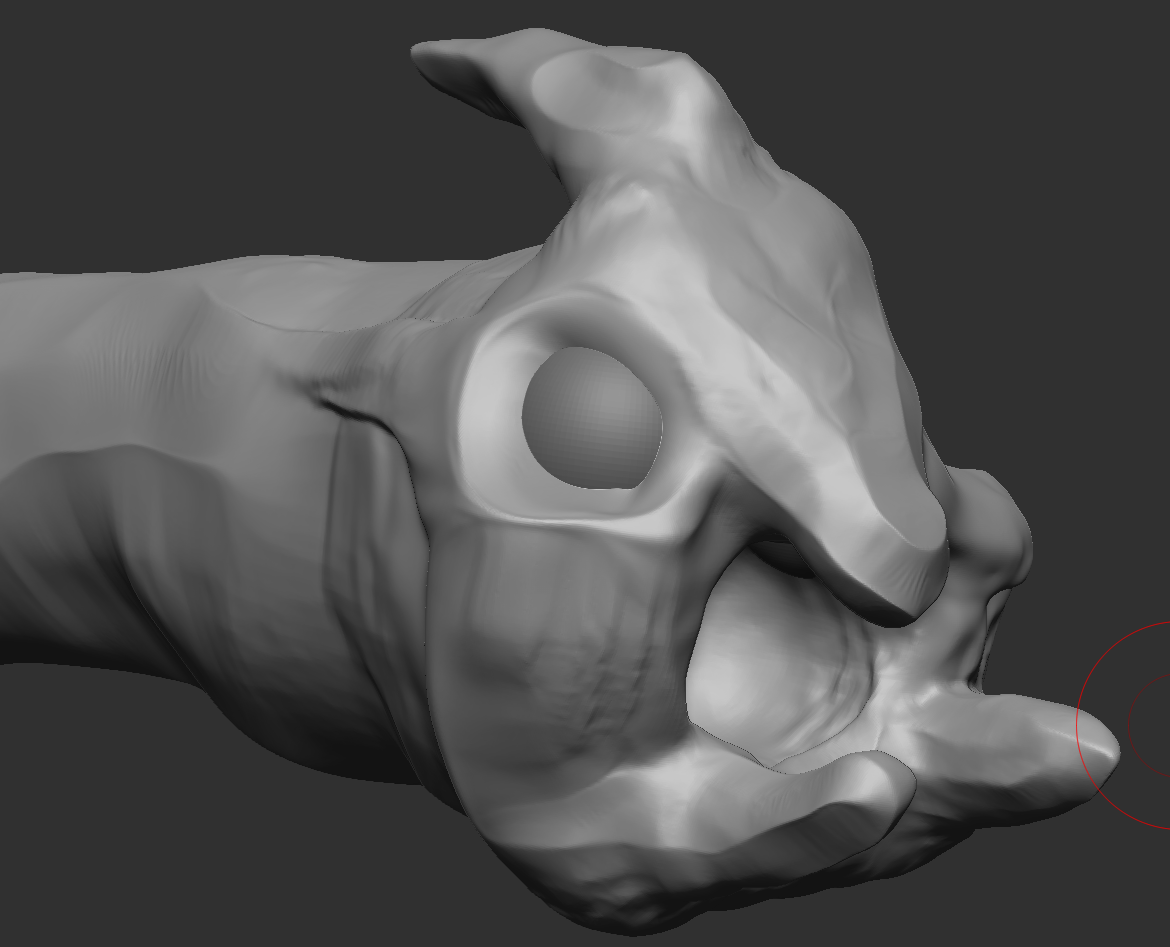
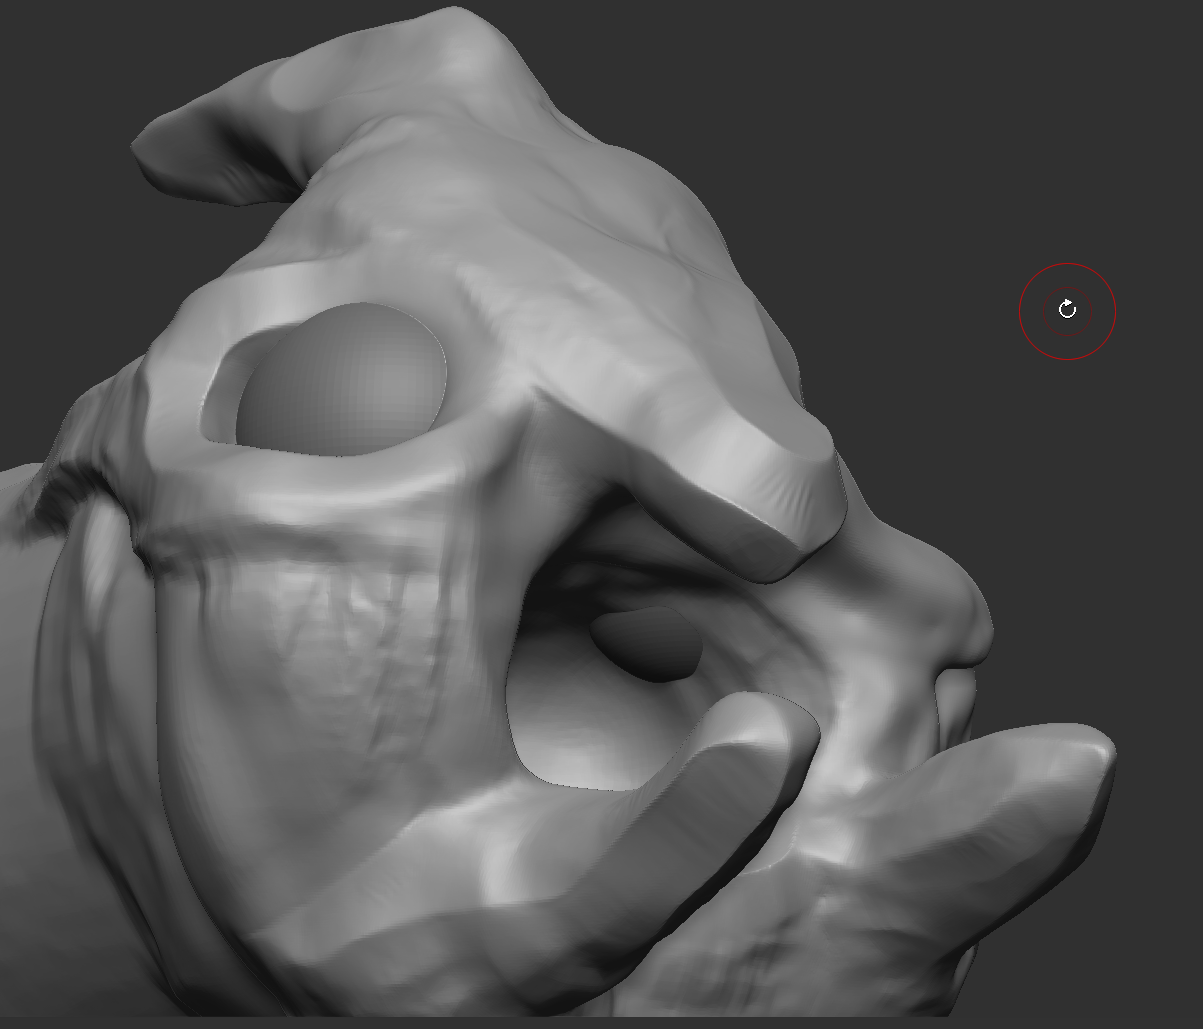
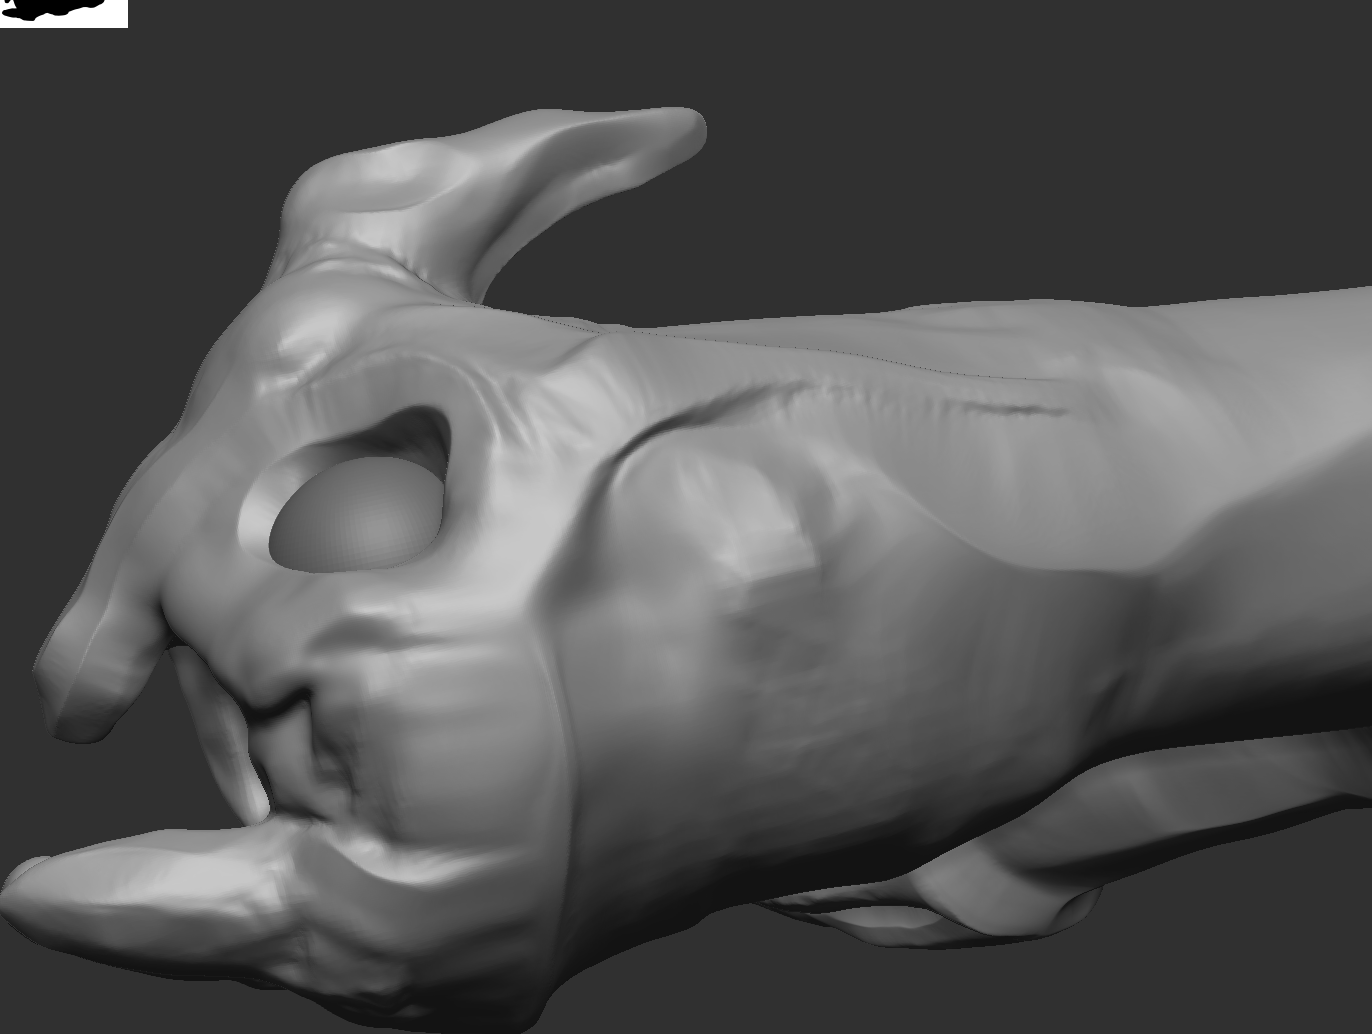
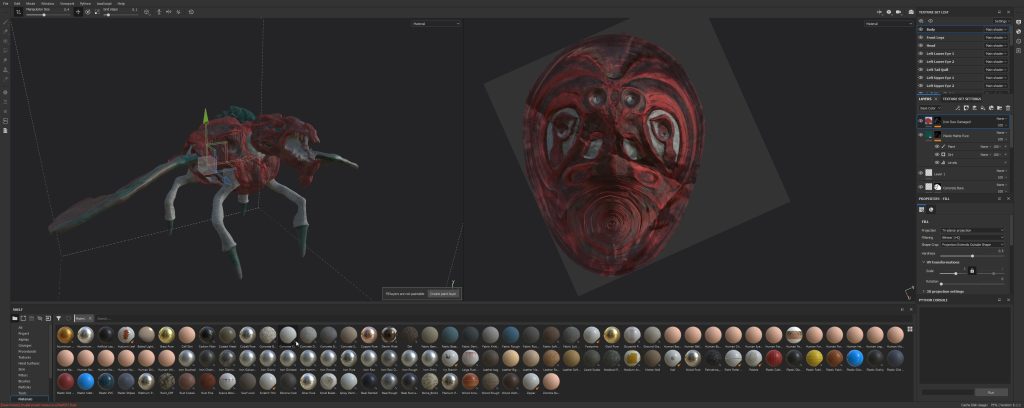
FlippedNormals (2018) Getting Started with Sculpting – ZBrush for Beginners Tutorial. www.youtube.com. Available online: https://www.youtube.com/watch?v=_yKGfcp2z3k&list=PLwZXdiXEnHI9AlR5-htNuyrHV67Q6paFI&index=7.

MLW Creative (2022) ZBrush to Photoshop Timelapse – ‘Tyranid’ Concept. www.youtube.com. Available online: https://www.youtube.com/watch?v=VYxkh5hzbpg&list=PLwZXdiXEnHI9AlR5-htNuyrHV67Q6paFI&index=7&t=2.

Doccument Files

Files used can be found here, If more is required please let me know as i have over 100 gb worth of my original work doccumented.
Vaikaxick Major Project