Inspirations

Nymayridian Story and Background For This Development Log

(Click the buttons to navigate to the back story pages directly)

Development Log : Drone

This page is dedicated to the development of my species character the Nymayridian Drone. For my species i have started designing, known as the Nymayridian. I started with writing lore and story for the species before choosing one of the two creatures I did sketches for to design in 3D for my assignment.

I have had a couple of main inspirations for my species as a whole which influenced the design and style of my characters I am developing the drone for several reasons which I will go in to detail in each step within this development log. Anything within used as inspiration and reference images has a citation at the bottom of the page correlating to what it is and where it came from aswell as its inline citation.

The reason my character developement pages and the research journal of the drone is set the way it is, is by my design. As i stated, i was writing the lore and story before chosoing but i was doing this on paper as if it were a research book similar to that of Gravity Falls (Wikipedia Contributors, 2020b) As i liked the idea and didnt want the Nymayridian species to be a one time thing but also an ongoing personal project of my own.

Inspiration

The main concept of my species was derrived from two main species within their own universes. Those being the “Zerg” from Starcraft 2  (StarCraft II Official Game Site, n.d.) and the Tyranids which are a part of the Warhammer 40,000 Universe. (Wikipedia Contributors, 2002) The main similarities my  species has with these two are they share a similar heirarchy consisting of a Overmind mind (Fandom Wiki Contributors (C), n.d.) and other leader organisms going down. In the Tyranids (Fandom Wiki Contributors  (A), n.d.) This would be a Hive Tyrant (Fandom Wiki Contributors (D), n.d.) and in Starcraft (StarCraft II Official Game Site, n.d.)  it would be a Cerebrate (Fandom Wiki Contributors (B), n.d.) and later a Queen (Fandom Wiki Contributors (F), n.d.)

My Nymayridian Drone Has some major similarities with the Zerg Drone (Fandom Wiki Contributors (E), n.d.) Species however has a very different take on how i have chose to design it. My perception of the Zerg Drone (Fandom Wiki Contributors (E), n.d.) it appears as if it has taken on more of a crustacean or critter like appearance however i have chosen my main design to have taken on a chameleon main anatomy however still with a exo skeleton or chitin for more added defence. 

The anatomy of a chameleon didnt give me much room in adding hands or pincers and posed quite a challenge in choosing how i wanted to go about doing the extra limbs that was on the original Zerg Drone (Fandom Wiki Contributors (E), n.d.) which i wanted to imitate and make a more personalized creature with a similar concept and role. My other creature was my Nymayridian Soveregin which was inspired by the Queen (Fandom Wiki Contributors (F), n.d.) and more of a support leader. The Sovereign does not have a page made for it as of yet however  some of the early design work is below.

For some of my references i would look in to some game characters and art from titles such as Starcraft 2 (StarCraft II Official Game Site, n.d.) and table top models from Games Workshop. (Wikipedia Contributors, 2020a) For my chameleon references i got in contact with a photographer and was allowed permission via email to use his photographs of some chameleon images.

Referance Images

Design Choices

When it came to designing my model i had two i mind. The “Nymayridian drone” and the “Nymayridian Sovereign” 
The first of the two would be the one i chose to design in 3D based on my early basic sketches. Once i chose which creature to make i had to think more on what the anatomy would be like to become a functioning skeleton and shape for the creature. I hit quite a few issues choosing how i wanted to develop it. I was looking in to insect biology to try and shape the body however no insect i looked at had a strong enough or right structure for the anatomy and chose to look elsewhere. Once i looked at my sketches again i had used chameleon like feet which would also be the base of the body which i would adapt for two extra limbs and a exo skeleton. The tail would be more streamlined than a chameleons own tail and i would look to do a different head aswell. the “Nymayridian Drone” Should only be sharing anatomy with the chameleon and not look like a direct evolutionary clone of it. 

I will be moddeling this as its resting pose being legs on the floor and claws forward as it is not a bipedal design it wont achive a t pose the same way.

Sketch of the “Nymayridian drone”

The introduction of extra limbs and characteristics to a already existing animal did pose some potential issues however on my early sketches it left me some room for adaptation in mind with the shape being very rough and not finalized, it allowed me to experiment with some anatomy types as i hadn’t found one that would work yet. The shape of the exo skeleton has become more curved rather than sloped to match a chameleon like back shape as well as the extra limbs. The claw/pincers would be connected to the skeleton through an extra set of ball joints elongating the shape of the chameleon or of setting its original shoulder joins. So through this experimentation i would find that my creature would take on a very chameleon like shape.

Drone Development

My design was not going to be easy for me to model especially with learning a new program with some new techniques along the way. ZBrush is the main program that i would be using to shape and model the “Nymayridian drone” With mainly my own sketches as reference along with “Crab/Crustaceans” (Wikipedia Contributors, 2019b) aswell as “Beetles/Coleoptera” (Wikipedia Contributors, 201a)  based critters for some chitin or exo skeleton design and shaping keeping in mind with my original inspirations.

Main tools i would be learning at the start are using IMM Primitives stacking a couple of basic shapes together to outline the base body. using Spheres only, However i dont have screenshots of this stage as i had restarted the model due to corrupted save.

Progressing on from the early blockout of the creature i would be looking to start doing a basic rough sculpt of some of the core body. I chose to not do the legs with the primative brush as i was a little unsure on how i was going to impliment the sholder joins yet and how they would look and function. This was a choice that i had to keep in mind for later on when it would come to adding more material inable to sculpt with. As the base body started building up i started to look to other tools rather than just a Clay Buildup brush.

New brush introduced into the process of developing my creature. The Smooth brush and i would use it to help develop some more defined areas for later adding my chitin.

I would also start utilizing the Masking tools to section off areas that I could work on without interfering with certain parts. The usage of this brush would be limited for now.

As i progressed with designing the drone i had ran in to a couple of issues with the design and choices i was making with my model. When i originally did the chitin on the back i had no seperation in it. Without this seperation it oculd have some issues during animation and range of motion. Once i had introduced this gap i had made the choice to re dynamesh and hit a issue with the gap. The dynamesh had briged parts of the seperation and i had to look in to ways to clean and tidy this up. I chose to use the ZModdeler tool top alter the poly faces and stitch it back together correctly.

The next stages i took for my model were cleaning the shape to give a better surface for detailing aswell as looking to add my aditional limbs and body parts the head and the claws. I was very unsure how i wanted to do the head and had no clear design however i settled with a basic rough shape that i feel like can give me some flexibility to add a unique look to the design of it. The claws were added by using ZSpheres to get the basic angle and shapes as it was an easy way to add new poly shapes quickly and allow me to have a good customizability to a basic resting pose.

Now i have gotten the main model blocked out with some low level details i have decided to make a turntable video render to get a good angle of all of the model to show the mid progress of the design. to show off all the angles and give a good representation compared to the final model.

These are the core individual parts of the creature and have had a selection tool isolate them from the body itself to give a better view of what certain things look like.  However detailing these parts i would have to change some of the main brushes i use. Once i remesh it and start using a higher detail amount i will need to change the smooth to a heavier smooth tool for example. 

I started feeling happy with the way the design of the drone was coming along and was begninning to look at more depth and detail of the creature itself. Looking at how i wanted the mouth to be. As it is a herbivore like creature i have chosen to design the mouth like a fly. Thinking about this type of mouth would lead me to getting some more reference images for my newer design of how i envisioned it to look. 

Once i had found some nice images for my references for a mouth i would start to design the entrance of the mouth. For the final renders the mouth would be shown without a stem to it. But once i decided the style of mouth i wanted it would help me massively to help further detail the face and finalize the look of the creature and allow me to get on to texturing soon.

I had started using the clay build-up again to block on some of the layout and faces for the main shape and personality the facial structure can hold. It would be flattened out and smoothed with the Stronger Smooth brush and pinched together to give it some harder looking edges for a hard surface look. 

The process i went through with the face and head was a lot of sculpting with the build-up, smoothing and removing of material trying to get a unique and interesting looking face. The finalized face was screenshotted while the entire model had been detailed and also had its poly reduced as it was getting in excess of 7 million. The shape of the mouth would always have a part of it open as the creature doesn’t have a nose, It would have some airway within its mouth, meaning it cant breath and eat at the same time. The mouth piece would be able to extend out of the mouth and envelope what it is eating like that of a fly using saliva to liquidate its meal so it can swallow it. There were several attempts with trying to get a shape and mouth piece designed that would fit the rest of the style of the creature but also seem functional. 

Touching Up Before Texturing

I am rather happy the way my model is taking shape now and i am looking to get some preparations made before i start texturing. This would involve with polygroups and looking into some methods of what i can do. My main references i am looking at for the texturing are the warhammer images at the top of the page as i feel like they will be able to help me define the difference in my chitin and the fleshy parts such as the legs and arms aswell as the underbelly which will define the style and personality of the creature

These 4 images are the final ones i would take before the texturing segment of the model. The glimpse of the mouth piece would be the start of how i could introduce the fly inspired mouth however would not be present on the final renders or texturing segments of the model as i am focusing on the main creature itself and its main features and focusing on how it could animate properly at a later date.

As i was about to start poly grouping the model i had looked at some extra tools that i had not yet used mostly to do with the material and texture of the creature. This lead to a new depth of detail and helped bring some new looks about the drone.

All of this was done pre texturing within substance painter as i felt like this was a level of detail i couldn’t achieve with substance as easily as i could within zbrush itself. With a little more experimentation i managed to get some detail to the shell that i was happy with, the same technique was then applied to the spine just with the alpha channel on the zbrush standard tool.

Texturing

During the texturing stages i hadnt got many screenshots of my workflow in substance painter however i did have some ideas and colourations i doccumented. I didnt quite know what i wanted to do besides making a clear difference between the chitin and the skin. One of my early attempts had quite alot of experimentation with some new methods of using substance painter inorder to experiment with the style i was looking for.


This didnt please me in the colours and how it contrasted however i was very happy with the approach i had taken to segment the chitin and decide what should look more like exo skeleton.

During this experimentation there was alot of different masks i had tried to give different effects, aswell as different colours untill i had decided a pattern i was happy with for a final and more detailed approach for what i was doing. Having this experimentation allowed me to learn some new aspects about substance painter that i had no previously known.

During this experimentation i had realised i forgot to create a UV map for the model in Zbrush so i could not reimport my textures back there atall. Along with other complications with Zbrush i had attempted a baked low poly version of my model however i wasnt happy with the level of detail and the way certain parts of the model deformed in zbrush and the UV map was not the most workable once it was unwrapped.

Due to these complications and lack of knowledge with high to low poly baking i chose not to approach this further for this assignment and model however it would be something i revisit heavily in the future as it would be a very useful thing to learn going forwards. This could just be an issue with the way the model is created or could be the detail of the zbrush scult.

As i carried on exploring some substance painter and some of the smart materials, masks, generators and things i started feeling more comfortable with making certain details for what i wanted. The attempts with texturing i had each progressed on from one another adding new bits that i felt made the look of it feel more organic rather than preplanned and generic. 

I had played about with alot of different colours and concepts and ways o fdetailing the creature differently. This evolved from the original concept to including more detail up the side of the arm and some more shading along the spine and main body chitin.

Following on from these experiments i had chosen my favoured colour patterns and started working more on these. The two that stood out to me were the red chitin on white skin and diorite looking chition on red skin. Having two selected gave me a bit more confidence in the model as it allowed me to see it in fit in different environments as the creature species can evolve per environment. 

These two colour pallets made me realise i needed a third colour to help accent certain detailes and aspects of the models and i chose a bluish teal for the red on white and a black on the white on red.  I felt this was important to help it stay a organic colouration rather than it looking as if it was made rather than grown as this is a evolved creature and not a genetic experiment. Both the texture sets to the left hand side are finalized and would both be rendered as the final piece.

For the final renders there will be three of everything. One for the red on white, one white on red and a wiremesh view aswell.

Renders

Each of the images for the stills are clickable to see in a larger view

All renders are done in marmoset

Turntables

Each of the turntables are uploaded to youtube and rendered at a 1440p Quality.

References

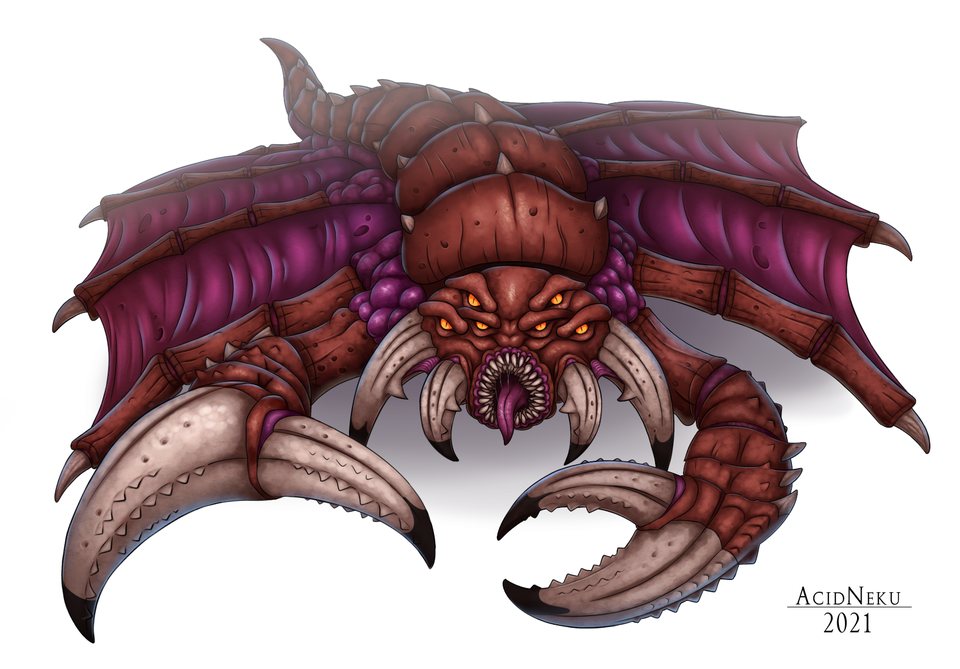
AcidNeku (2021) Drone by AcidNeku on DeviantArt. www.deviantart.com. Available online: https://www.deviantart.com/acidneku/art/Drone-877823712 [Accessed 6 Jan. 2022].

Fandom Wiki Contributors (A) (n.d.) Tyranids. Warhammer 40k Wiki. Available online: https://warhammer40k.fandom.com/wiki/Tyranids [Accessed 7 Nov. 2021].

Fandom Wiki Contributors (B) (n.d.) Cerebrate. StarCraft Wiki. Available online: https://starcraft.fandom.com/wiki/Cerebrate [Accessed 13 Dec. 2021].

Fandom Wiki Contributors (C) (n.d.) Overmind. StarCraft Wiki. Available online: https://starcraft.fandom.com/wiki/Overmind [Accessed 24 Nov. 2021].

Fandom Wiki Contributors (D) (n.d.) Hive Tyrant. Warhammer 40k Wiki. Available online: https://warhammer40k.fandom.com/wiki/Hive_Tyrant [Accessed 4 Dec. 2021].

Fandom Wiki Contributors (E) (n.d.) Drone. StarCraft Wiki. Available online: https://starcraft.fandom.com/wiki/Drone [Accessed 18 Nov. 2021].

Fandom Wiki Contributors (F) (n.d.) Queen (StarCraft II). StarCraft Wiki. Available online: https://starcraft.fandom.com/wiki/Queen_(StarCraft_II) [Accessed 24 Nov. 2021].

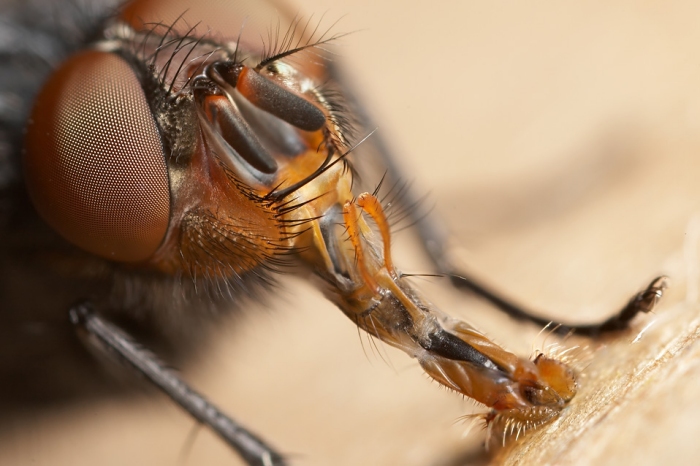
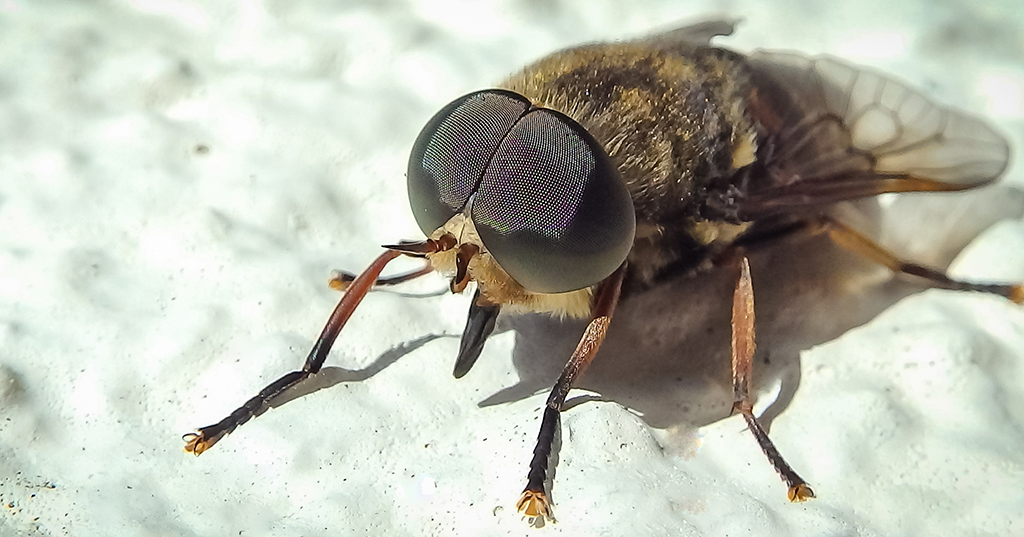
Fletcher, M. (2016) The Amazing Eyes of a Horse Fly. Flickr. Available online: https://www.flickr.com/photos/134832191@N08/27209226373/ [Accessed 4 Jan. 2022].

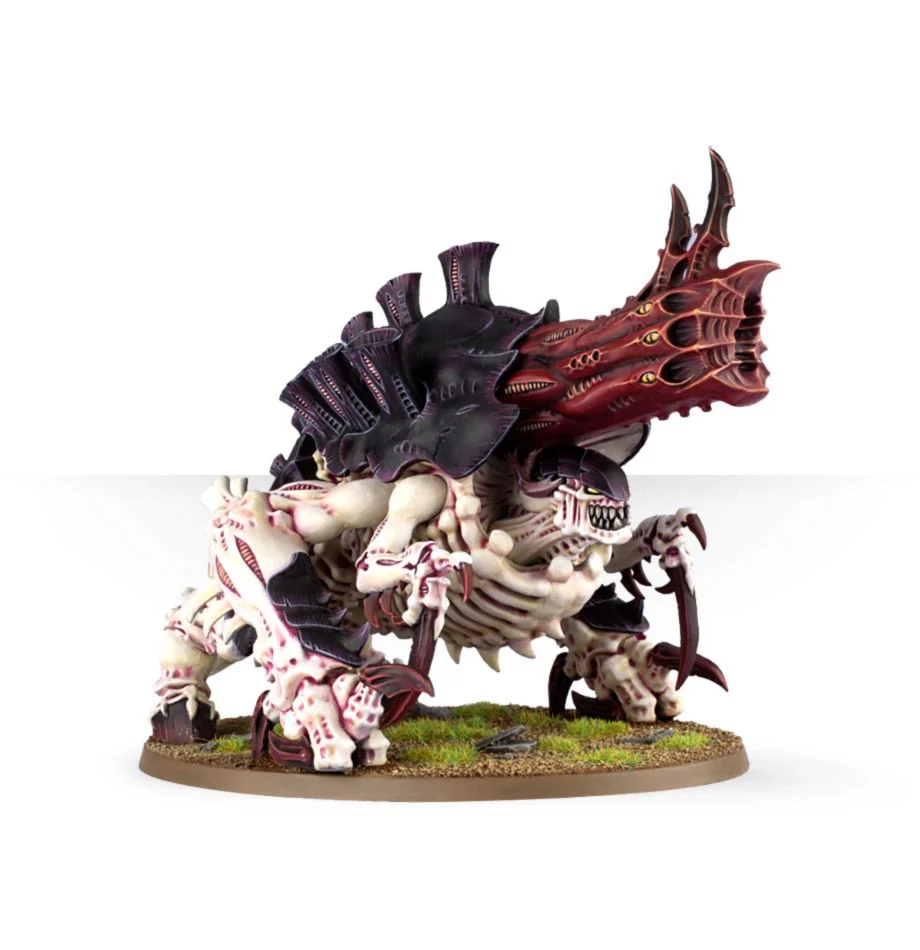
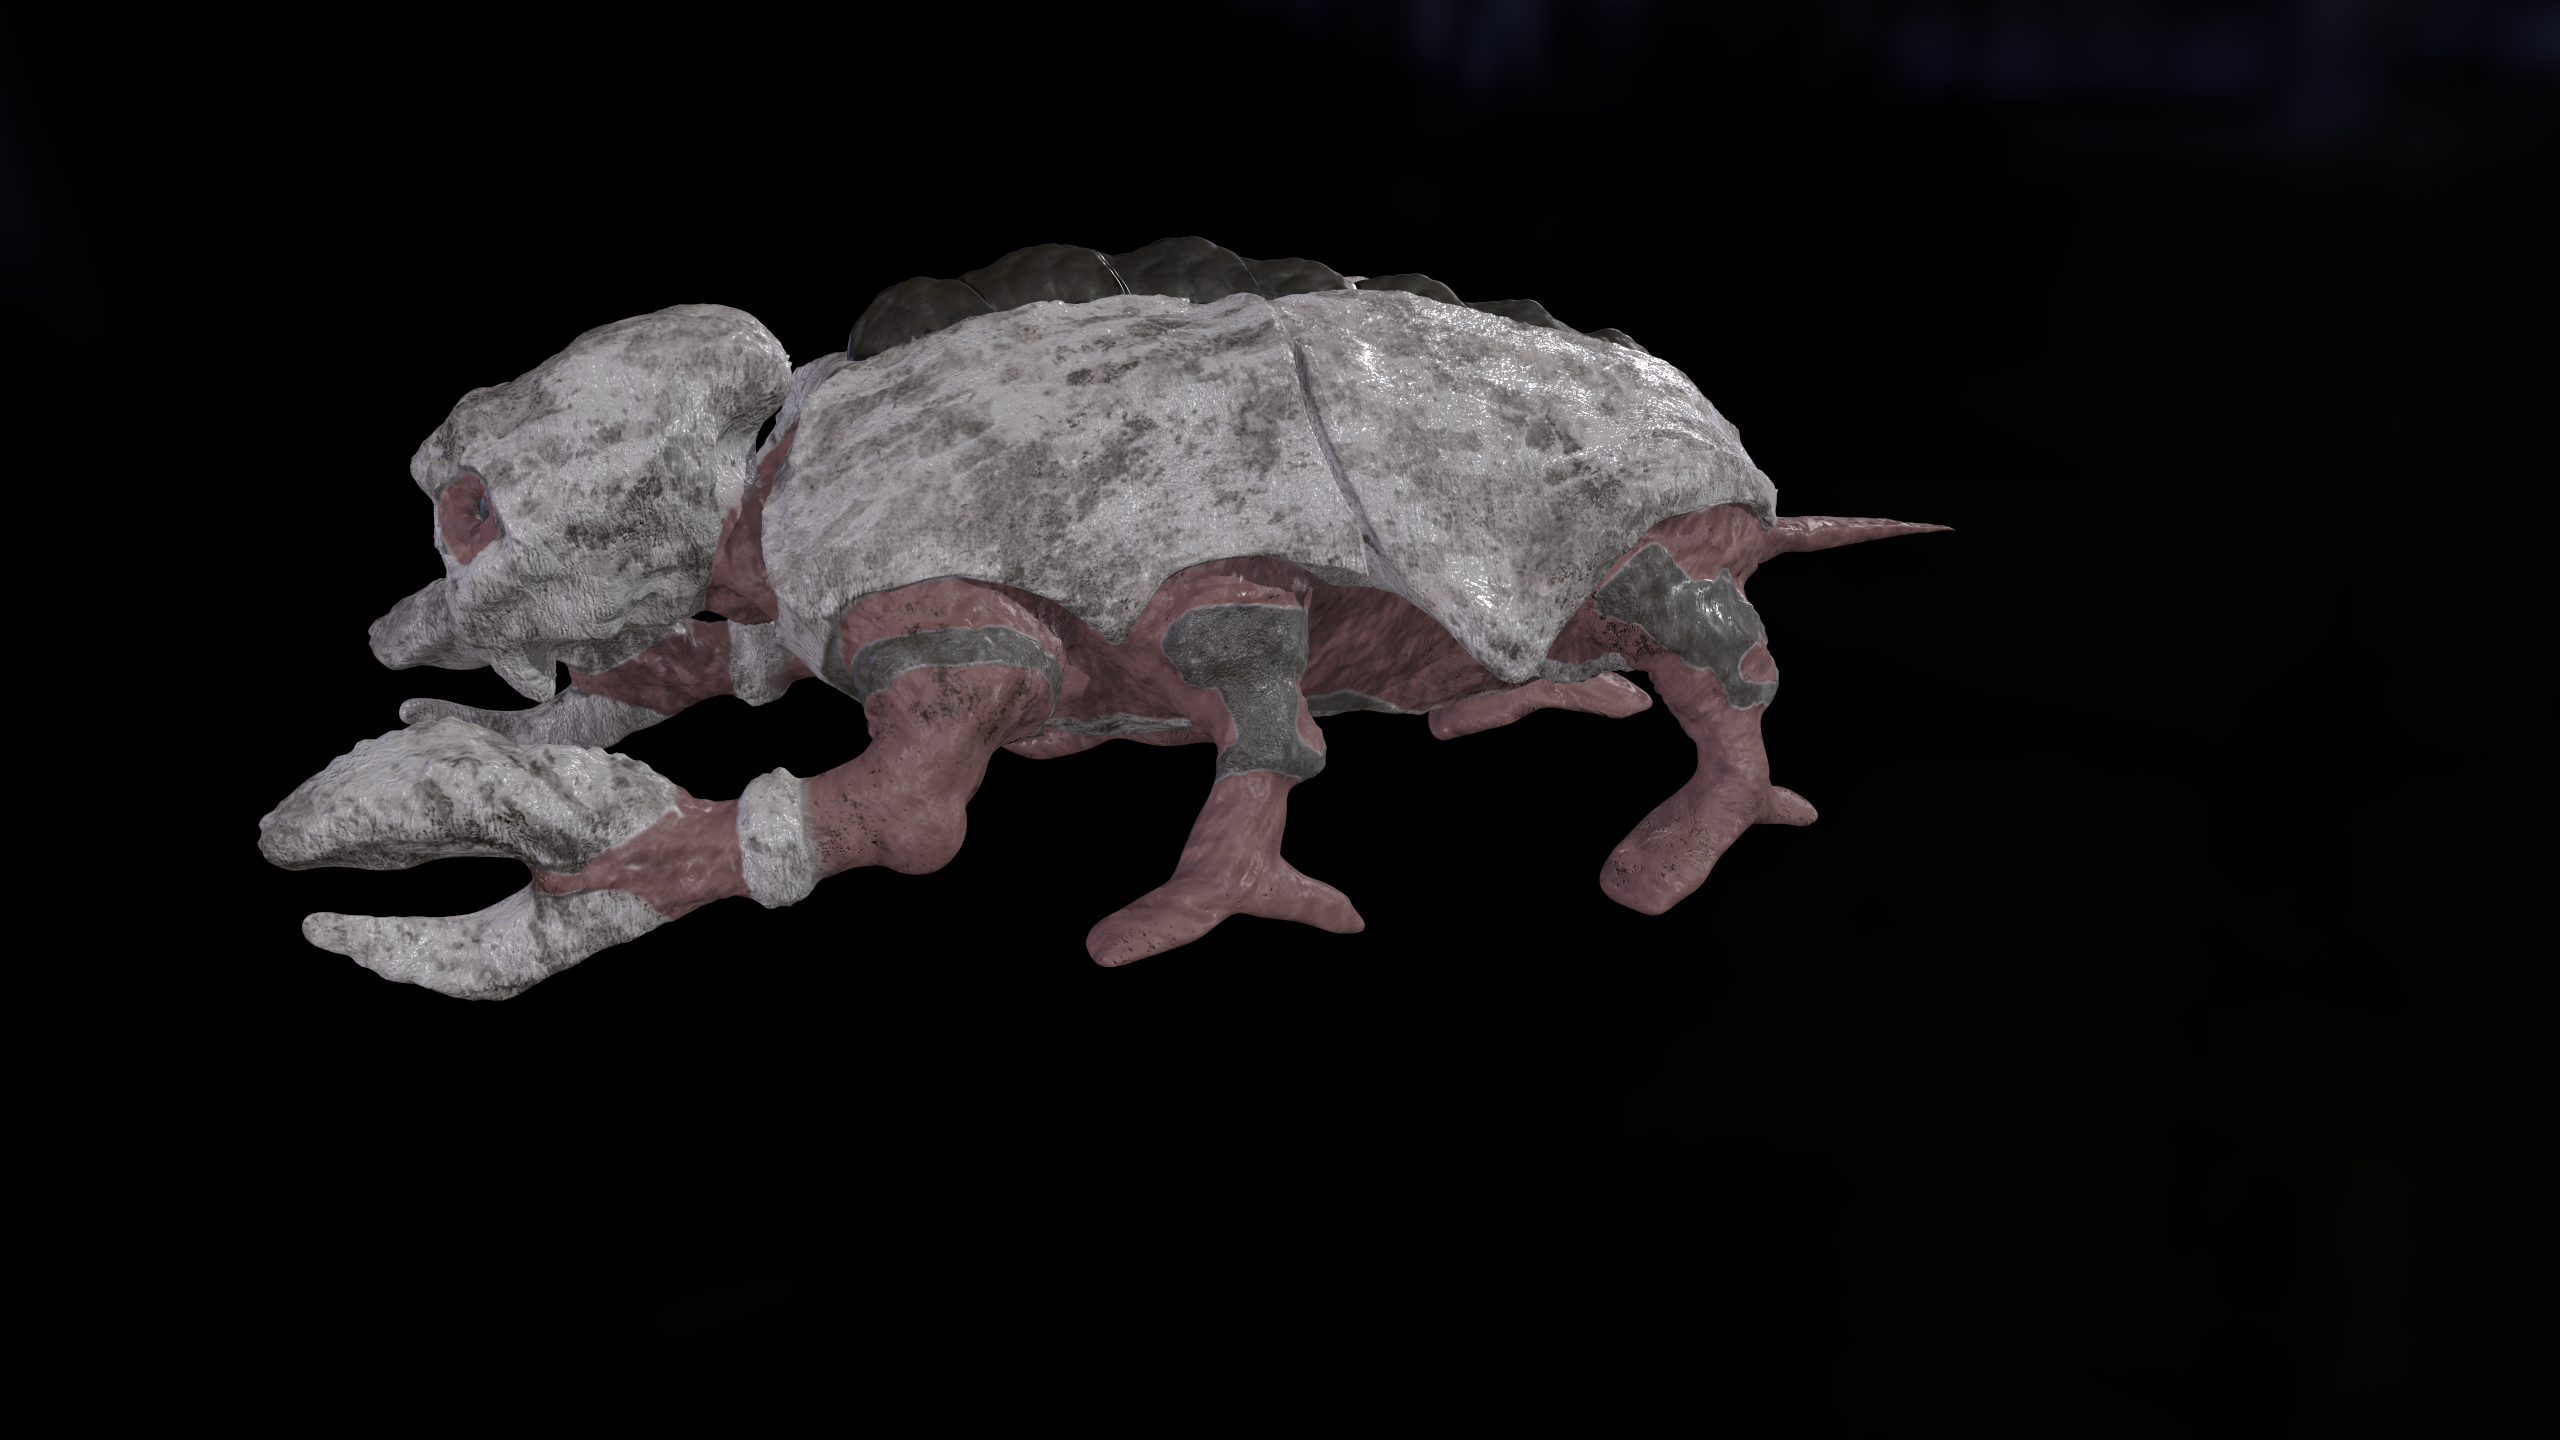
Games Workshop, Exocrine. (n.d.) Exocrine. Available online: https://www.games-workshop.com/en-GB/Exocrine.

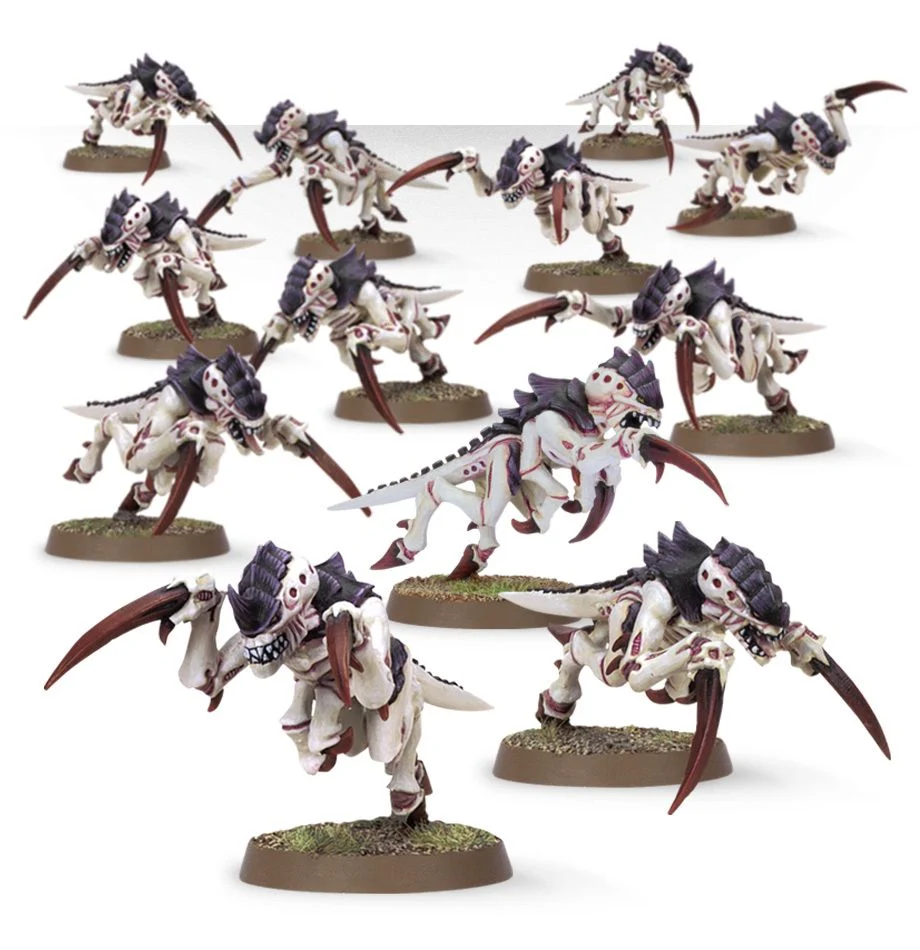
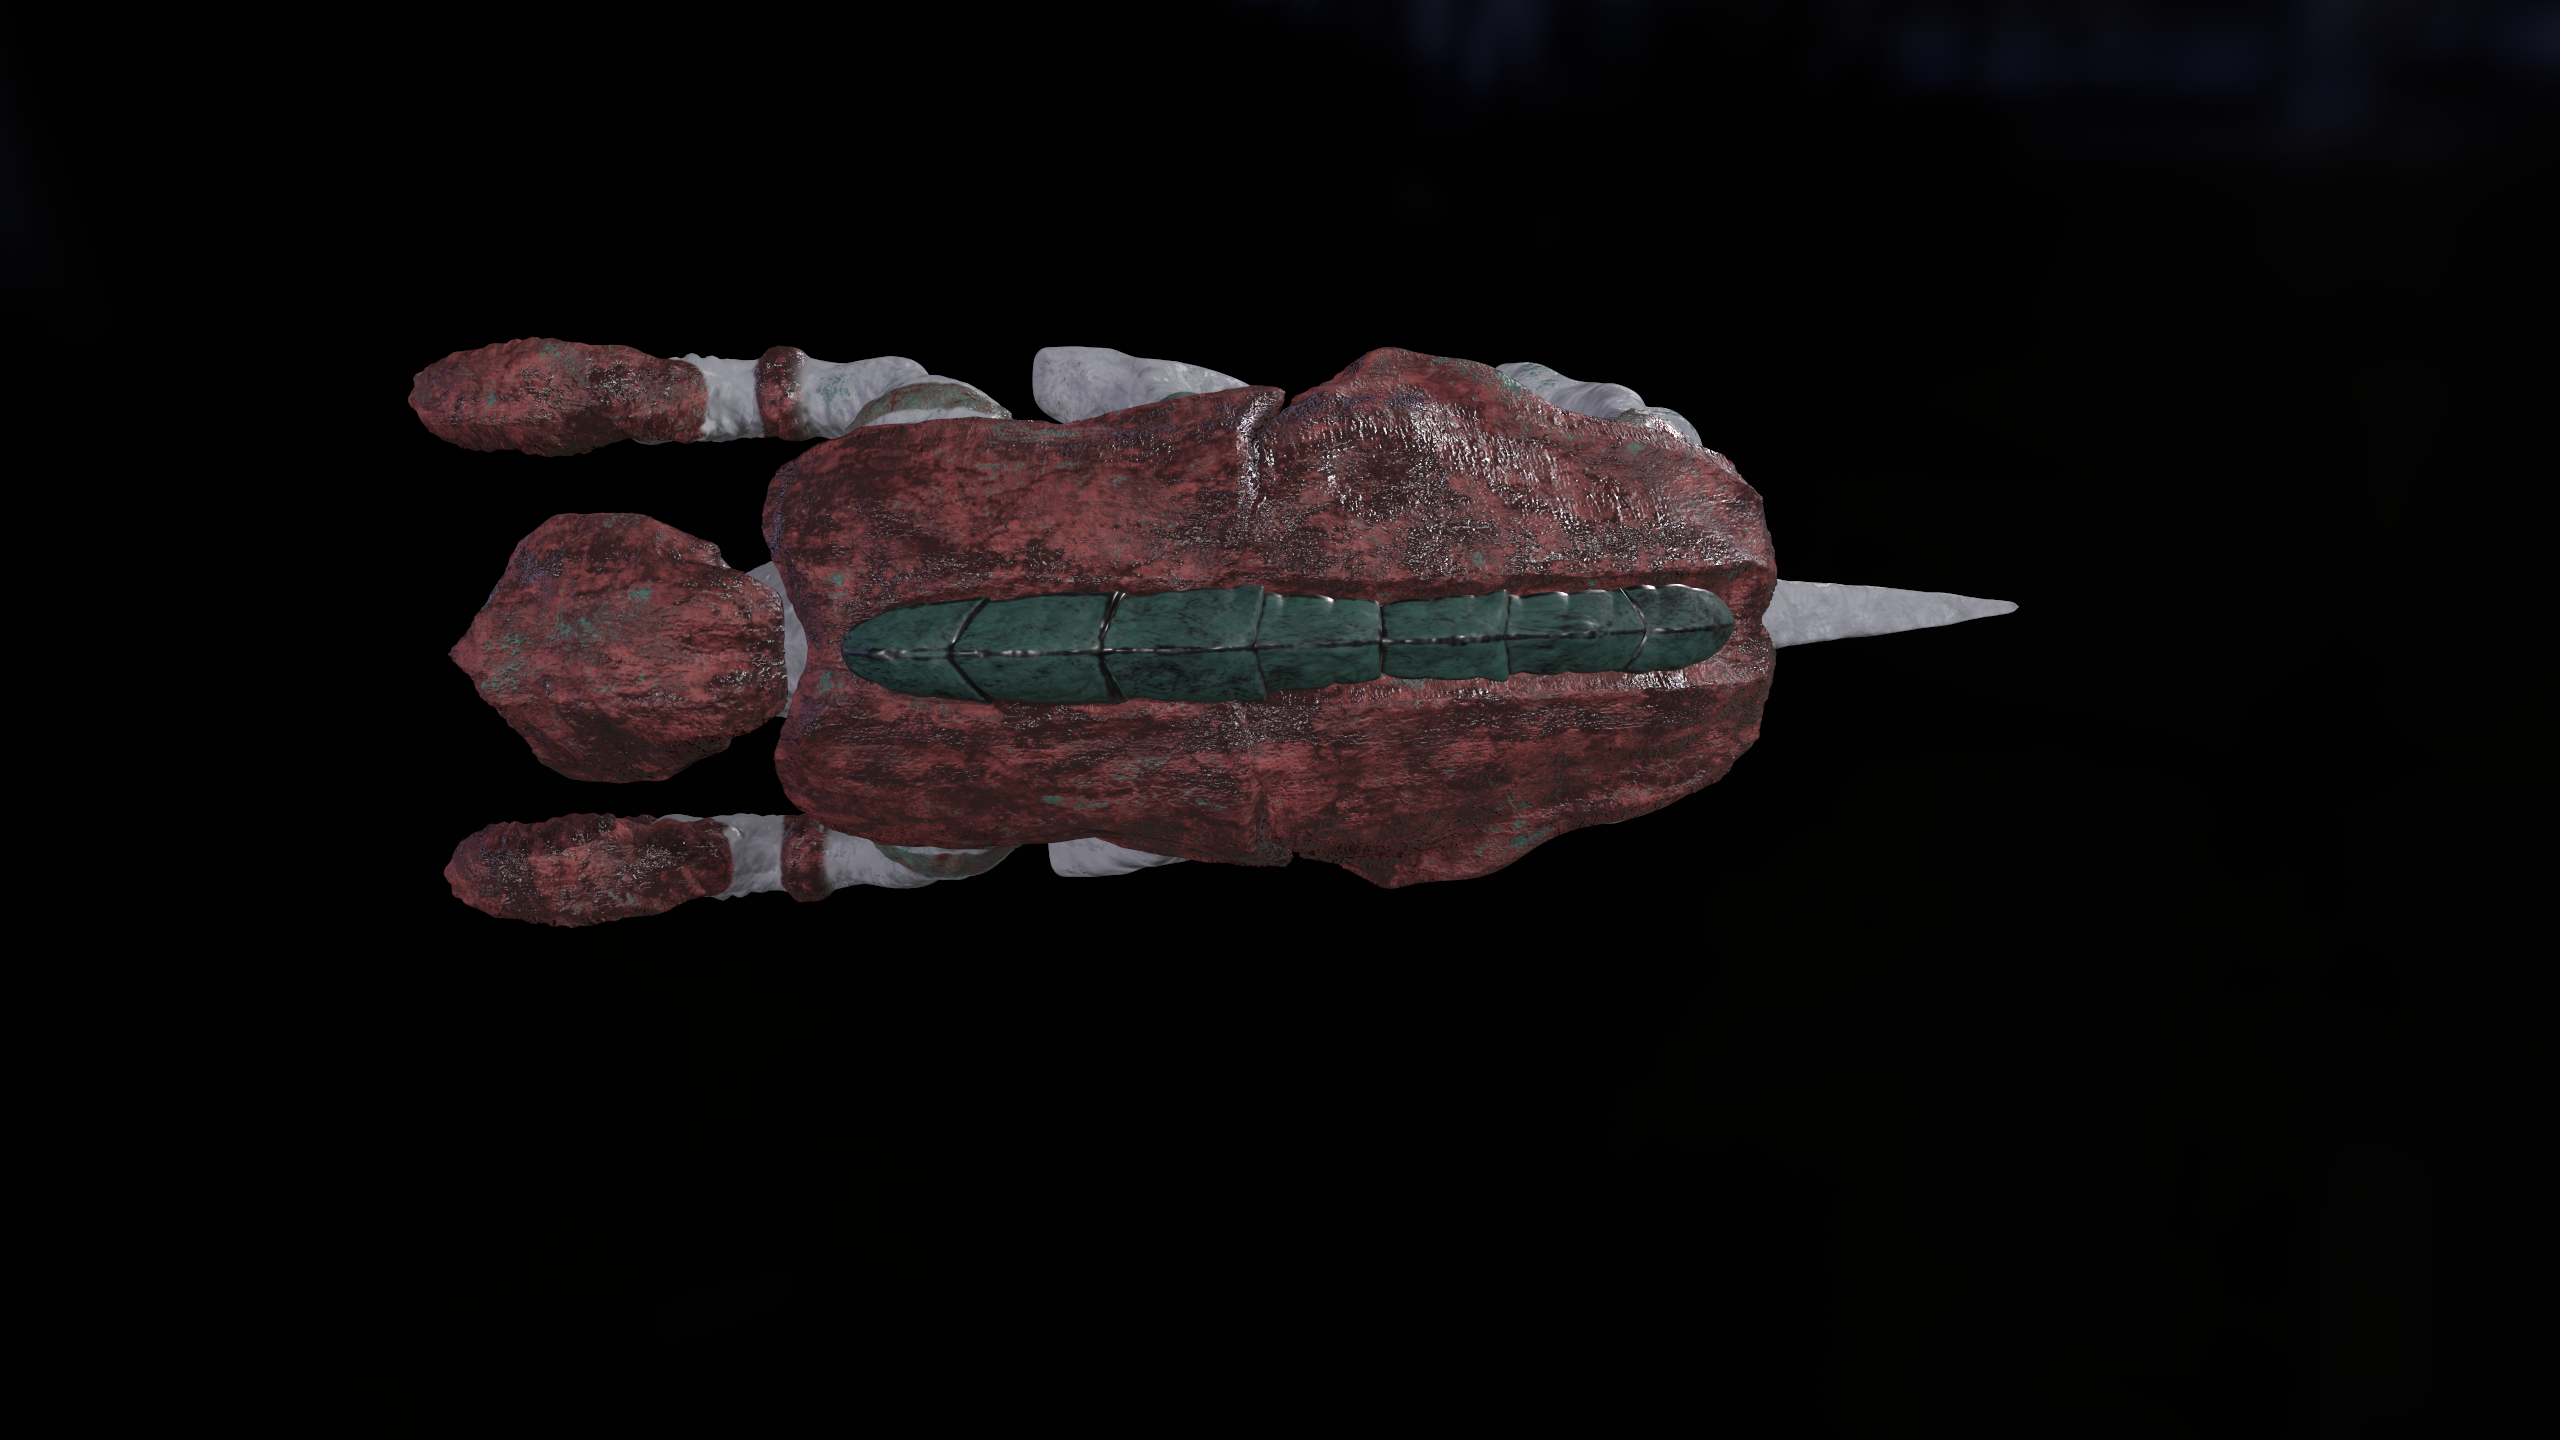
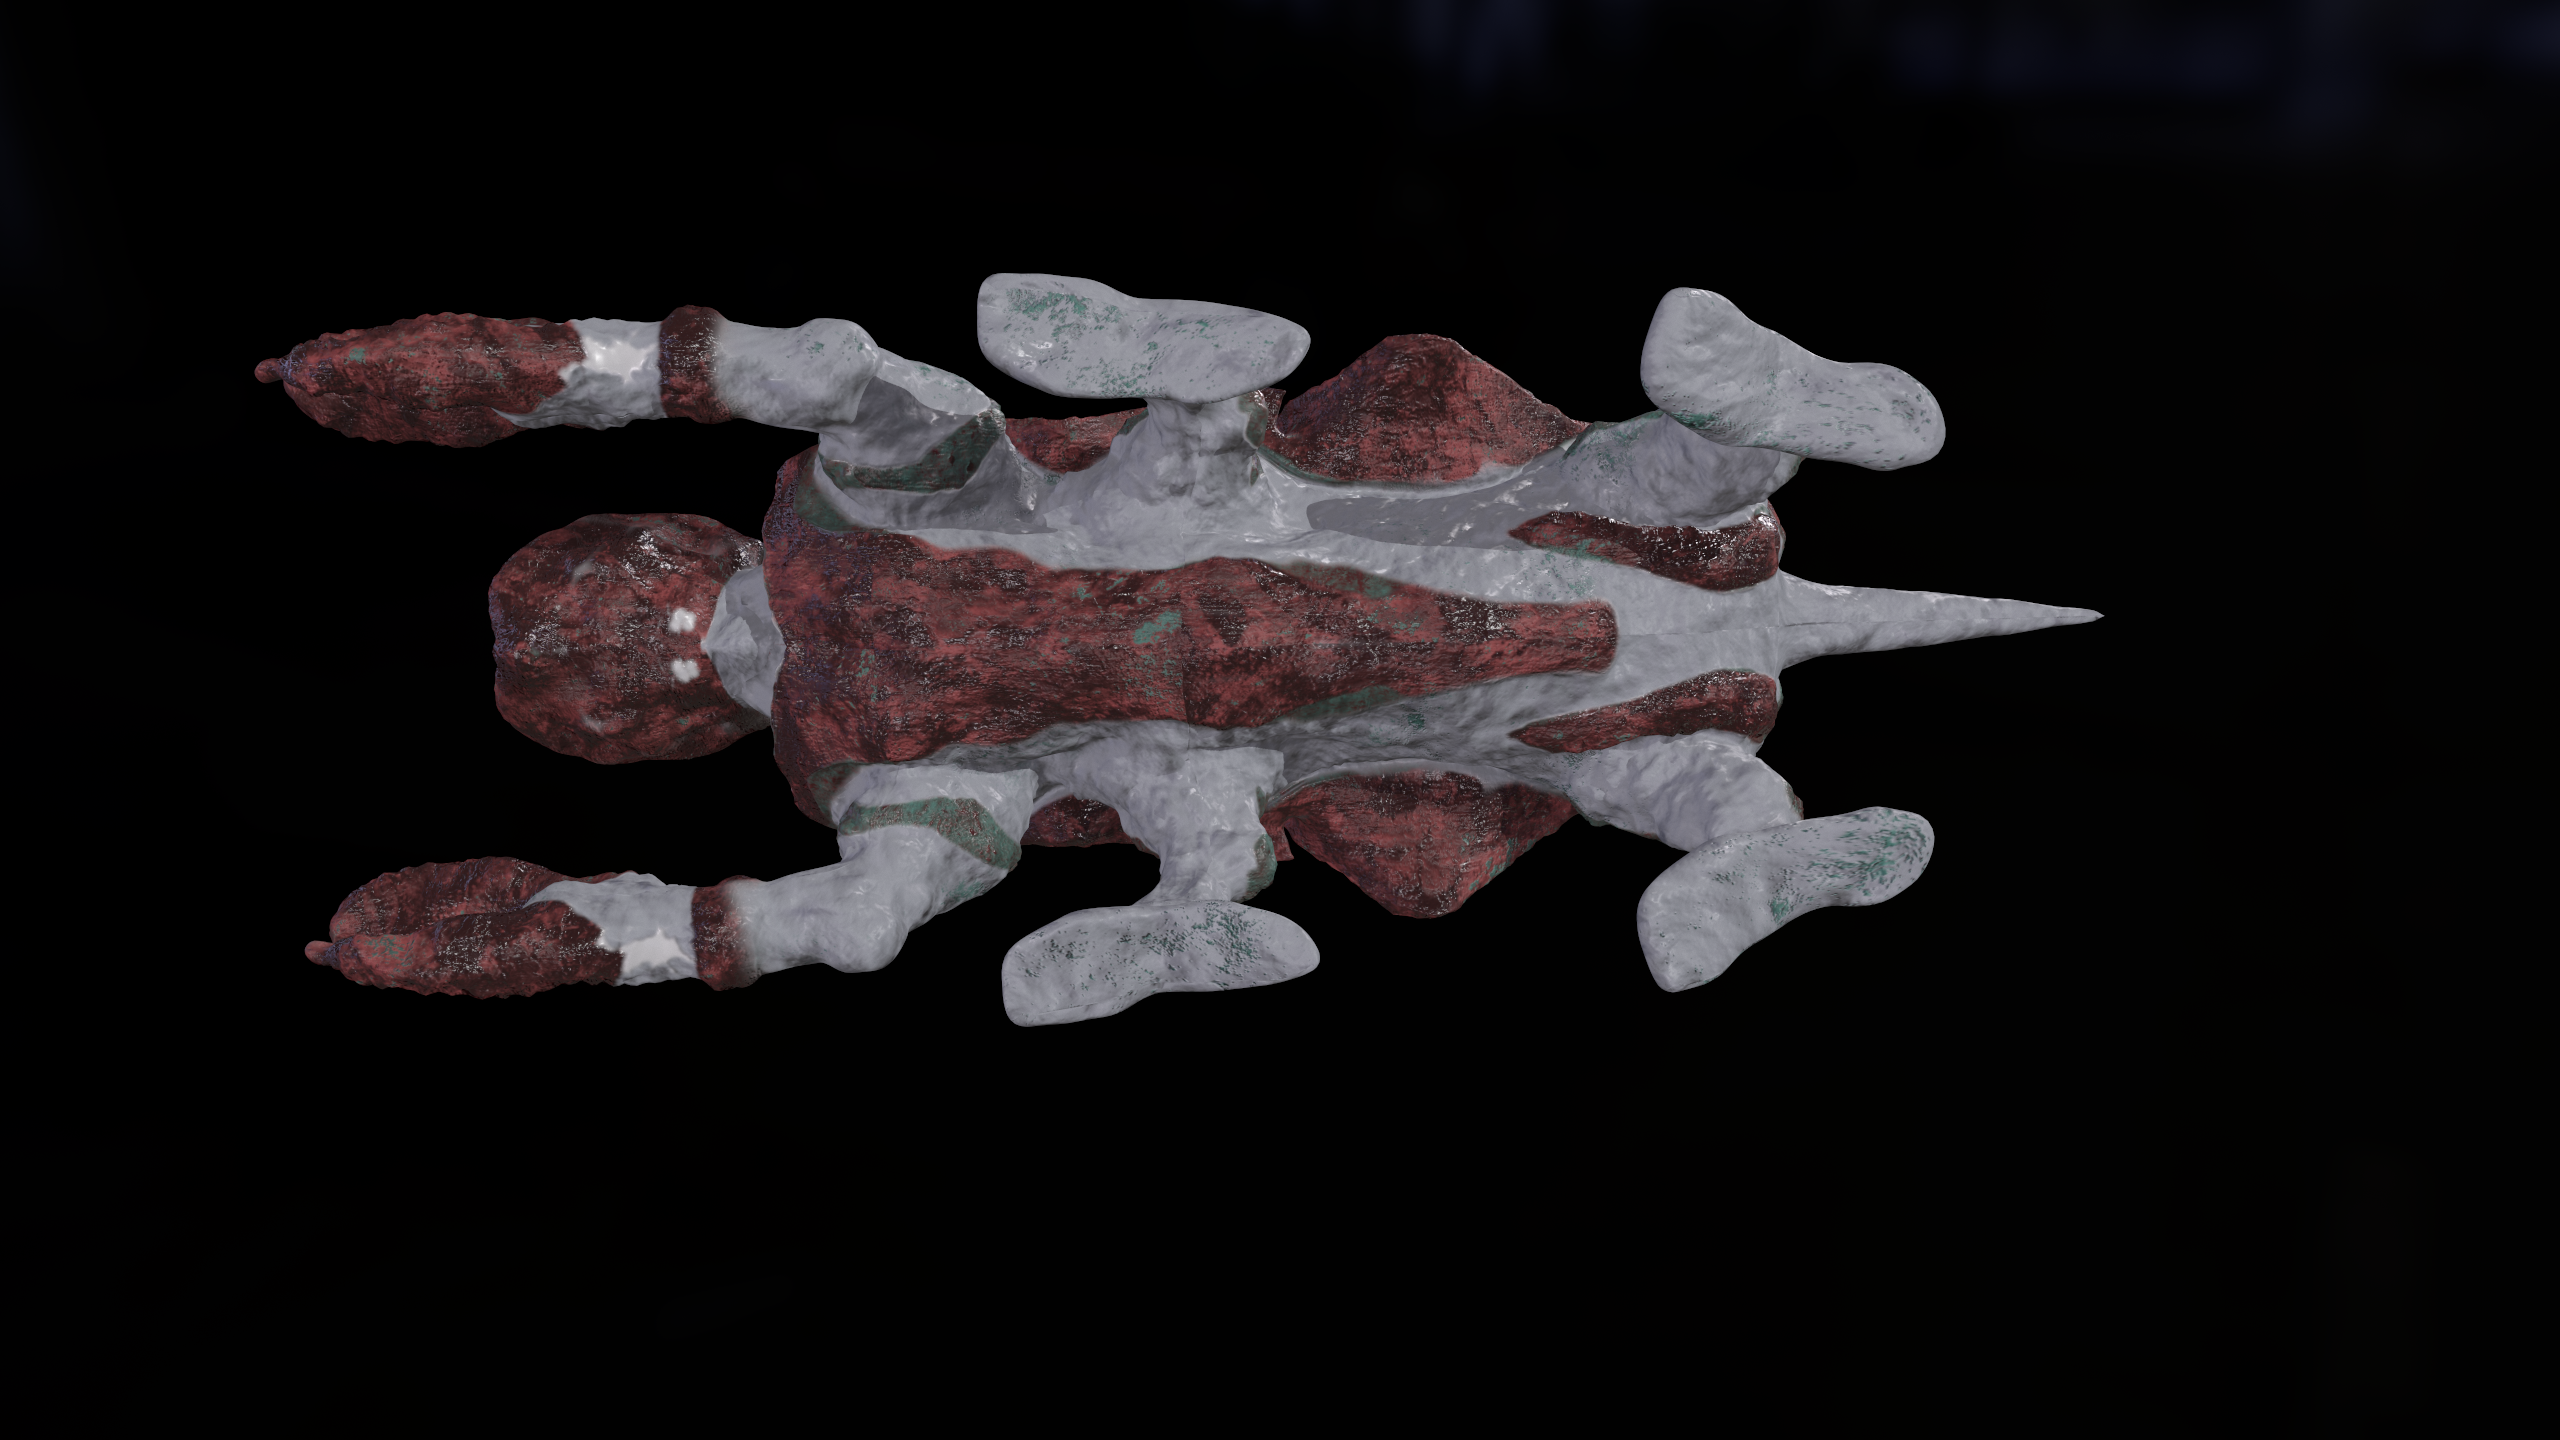
Games Workshop, Hormagaunt. (n.d.) Tyranid Hormagaunt Brood. Available online: https://www.games-workshop.com/en-GB/Tyranid-Hormagaunt-Brood-12-Models.

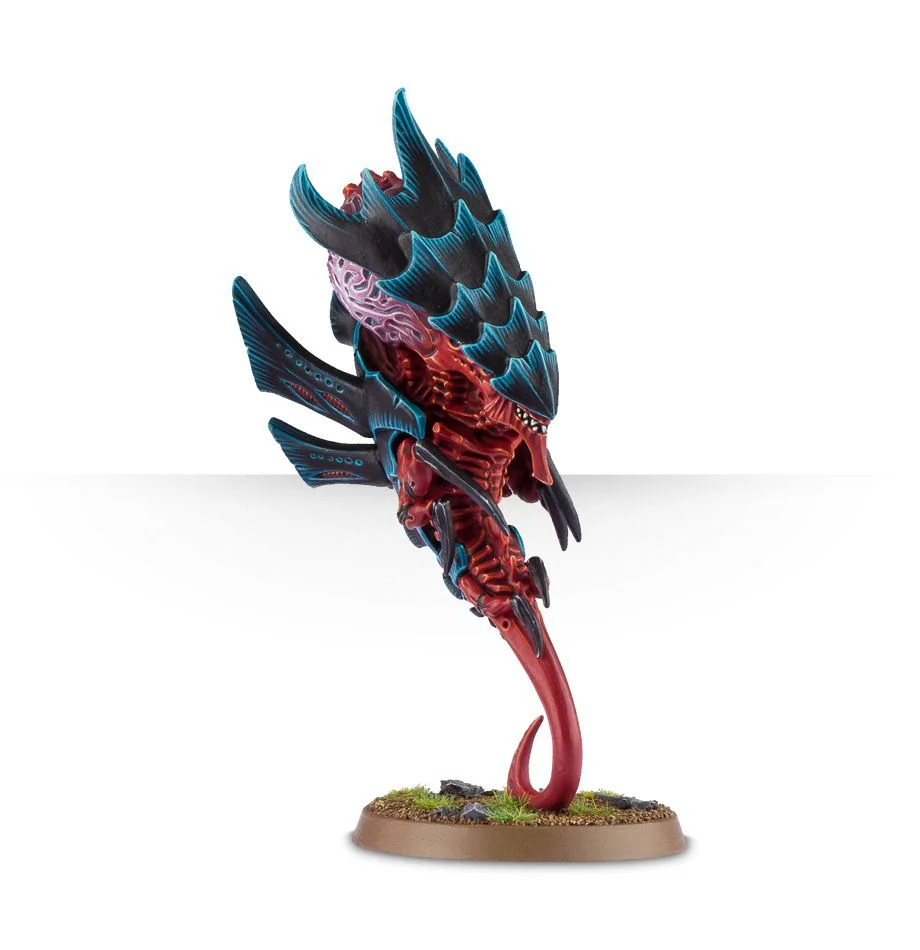
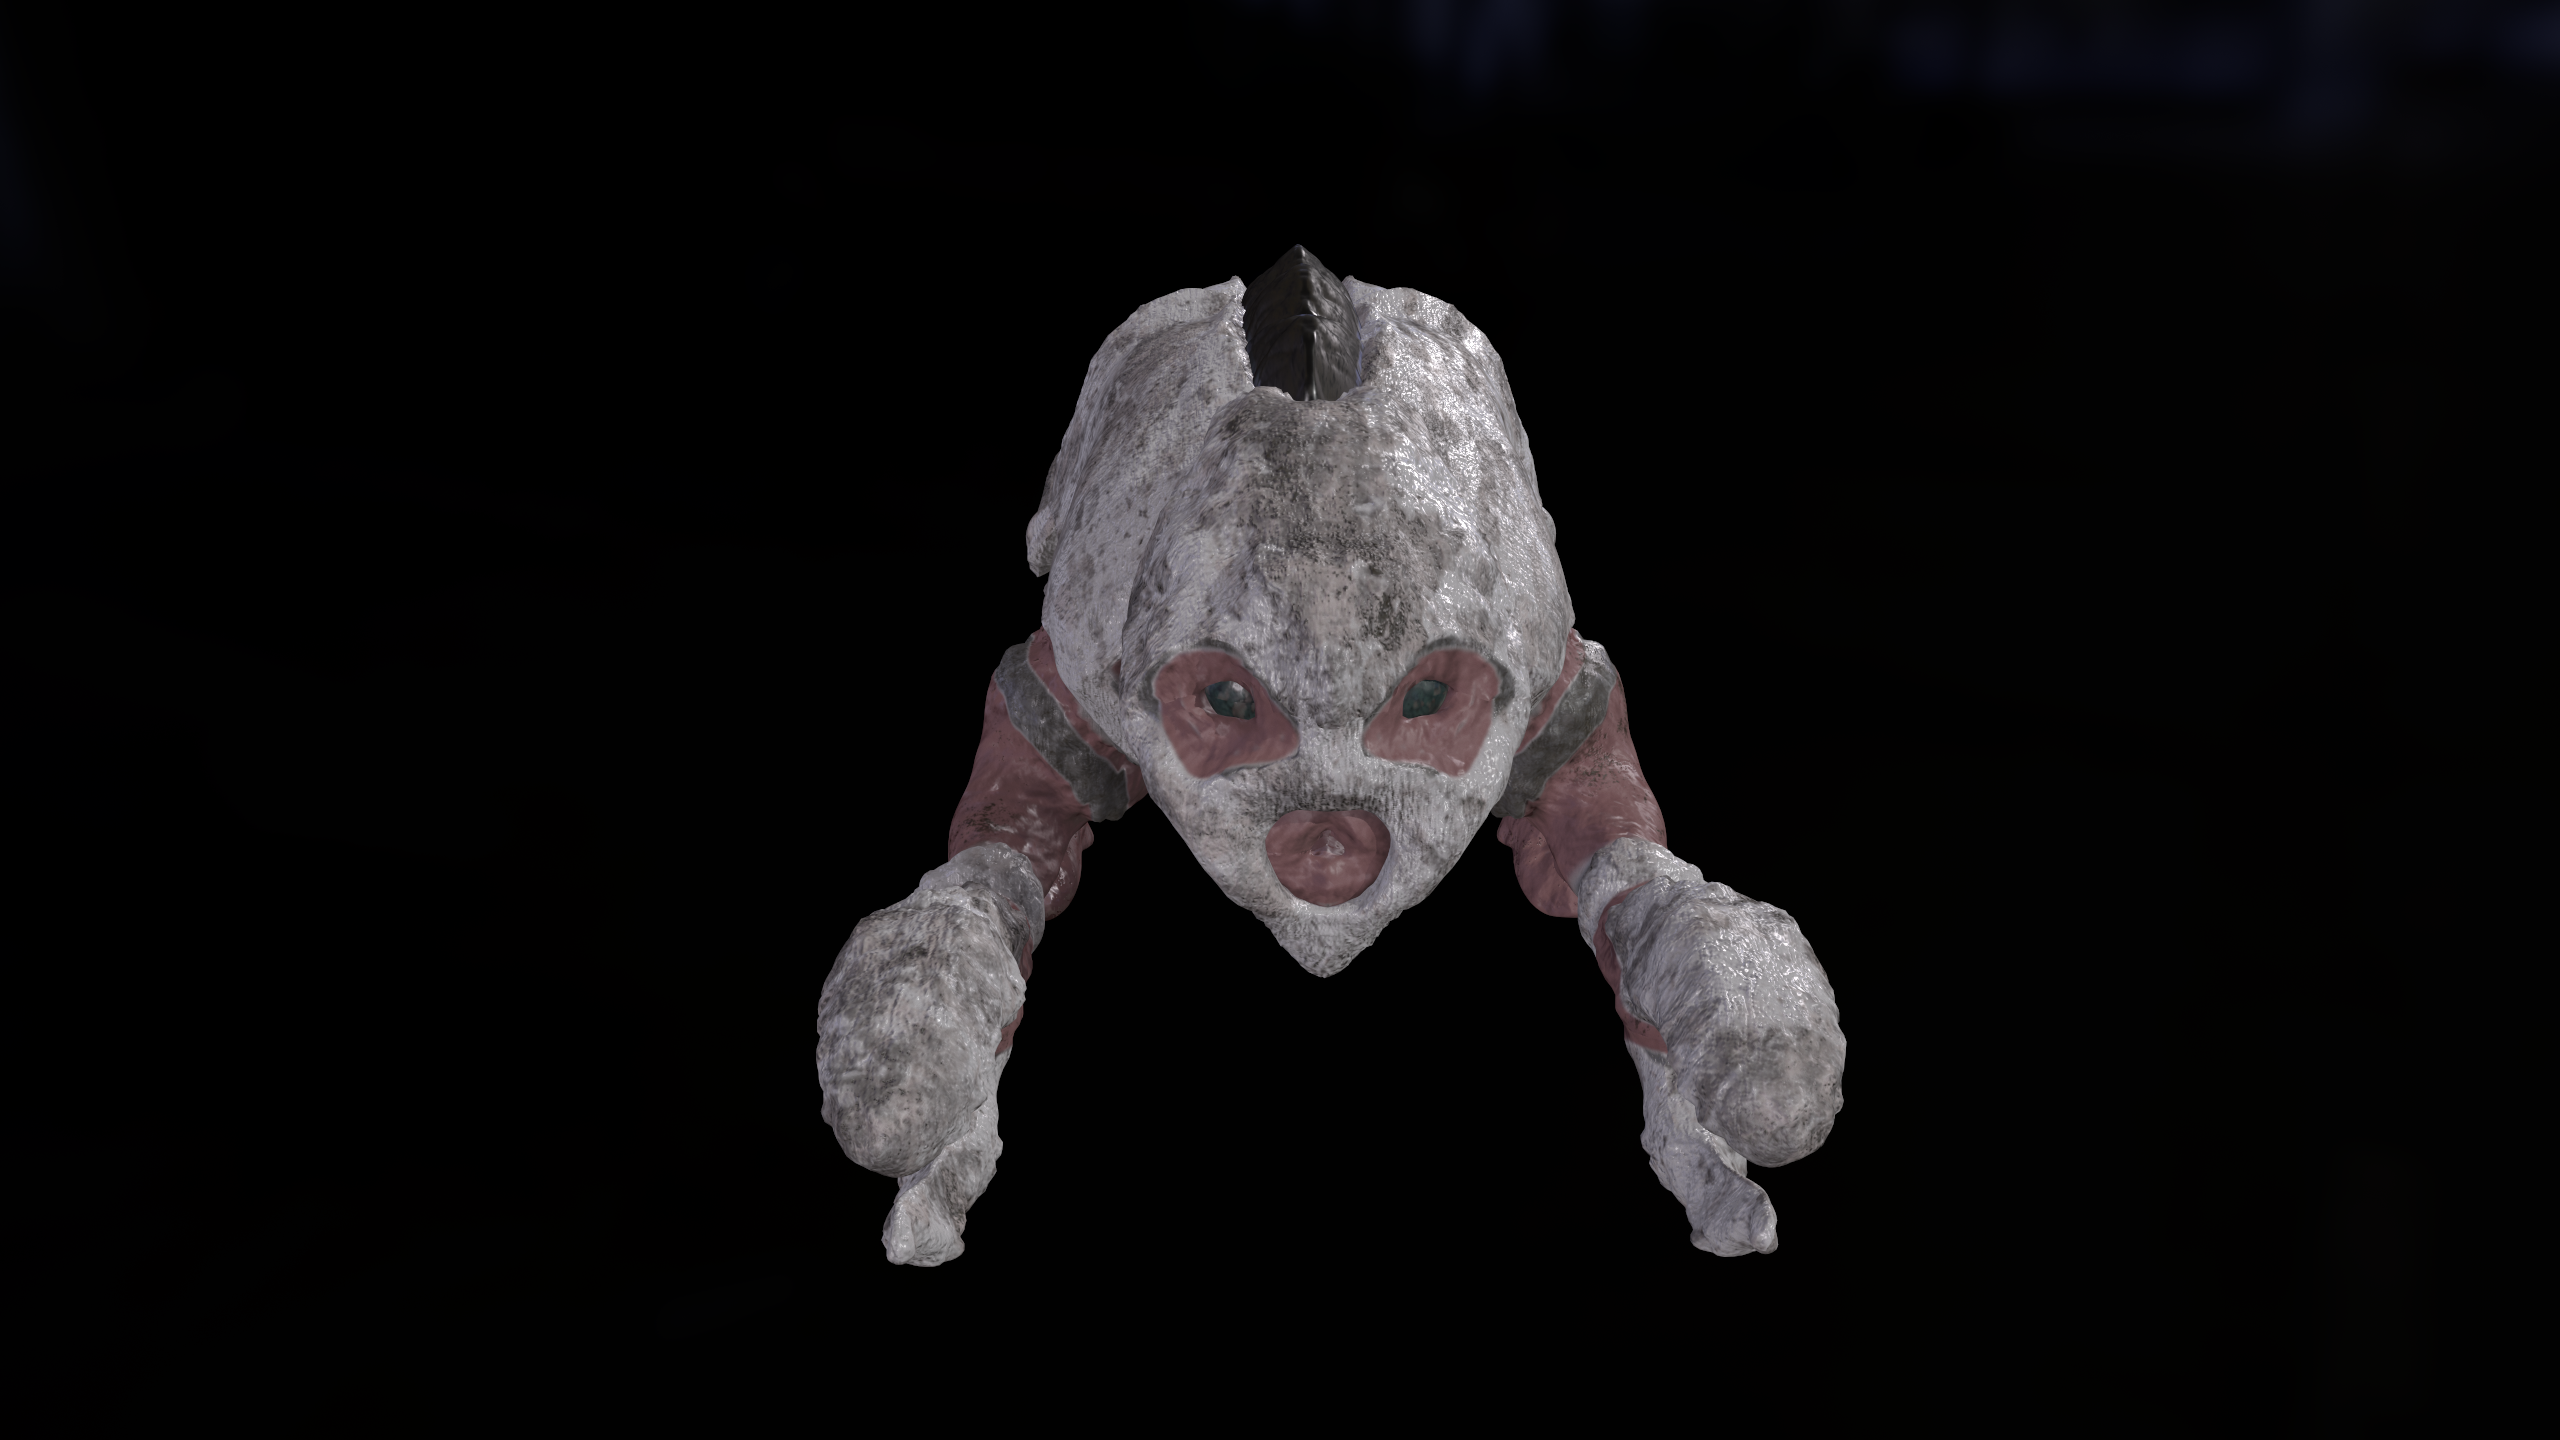
Games Workshop, Zoanthrope. (n.d.) Tyranid Zoanthrope. Available online: https://www.games-workshop.com/en-GB/Zoanthropes.

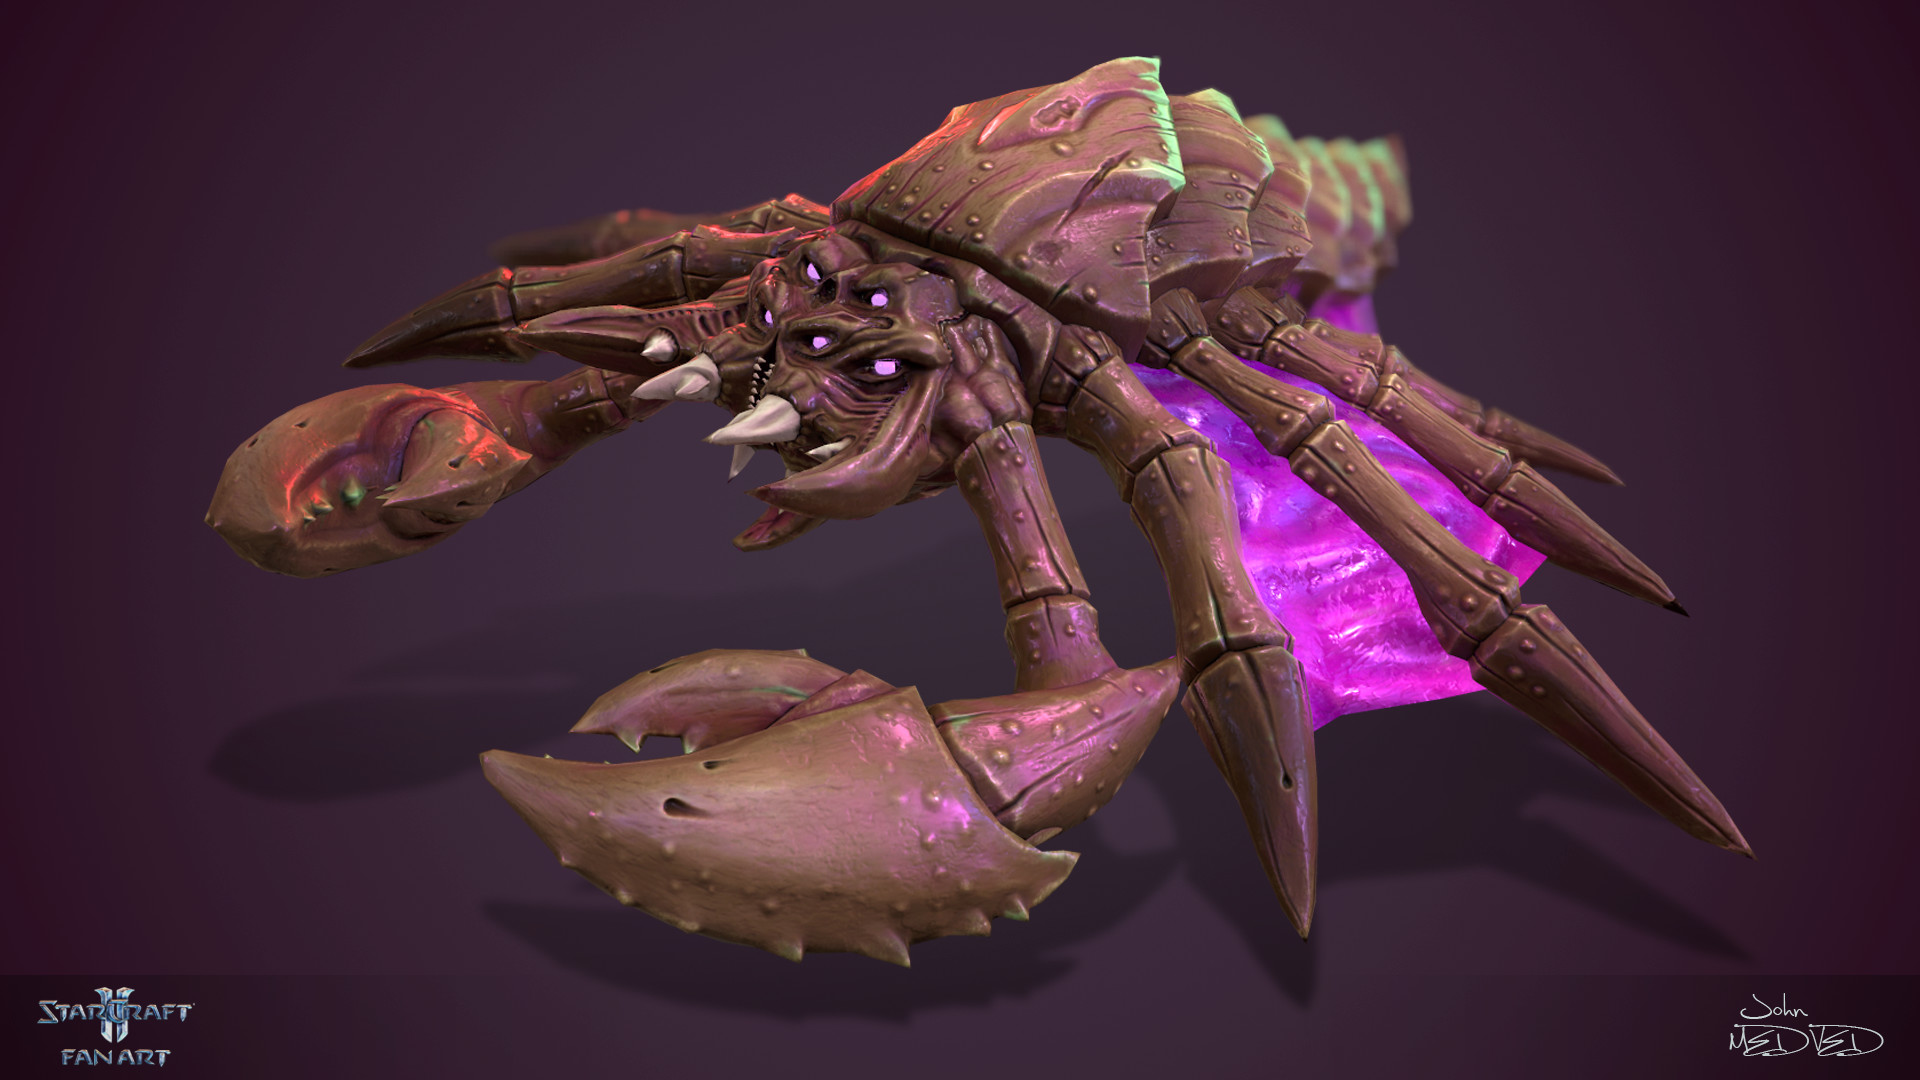
Medved, J. (2018) Game of Drones. Art Station. Available online: https://www.artstation.com/artwork/lwwoG.

StarCraft II Official Game Site. (n.d.) StarCraft II. Available online: https://starcraft2.com/en-gb/.

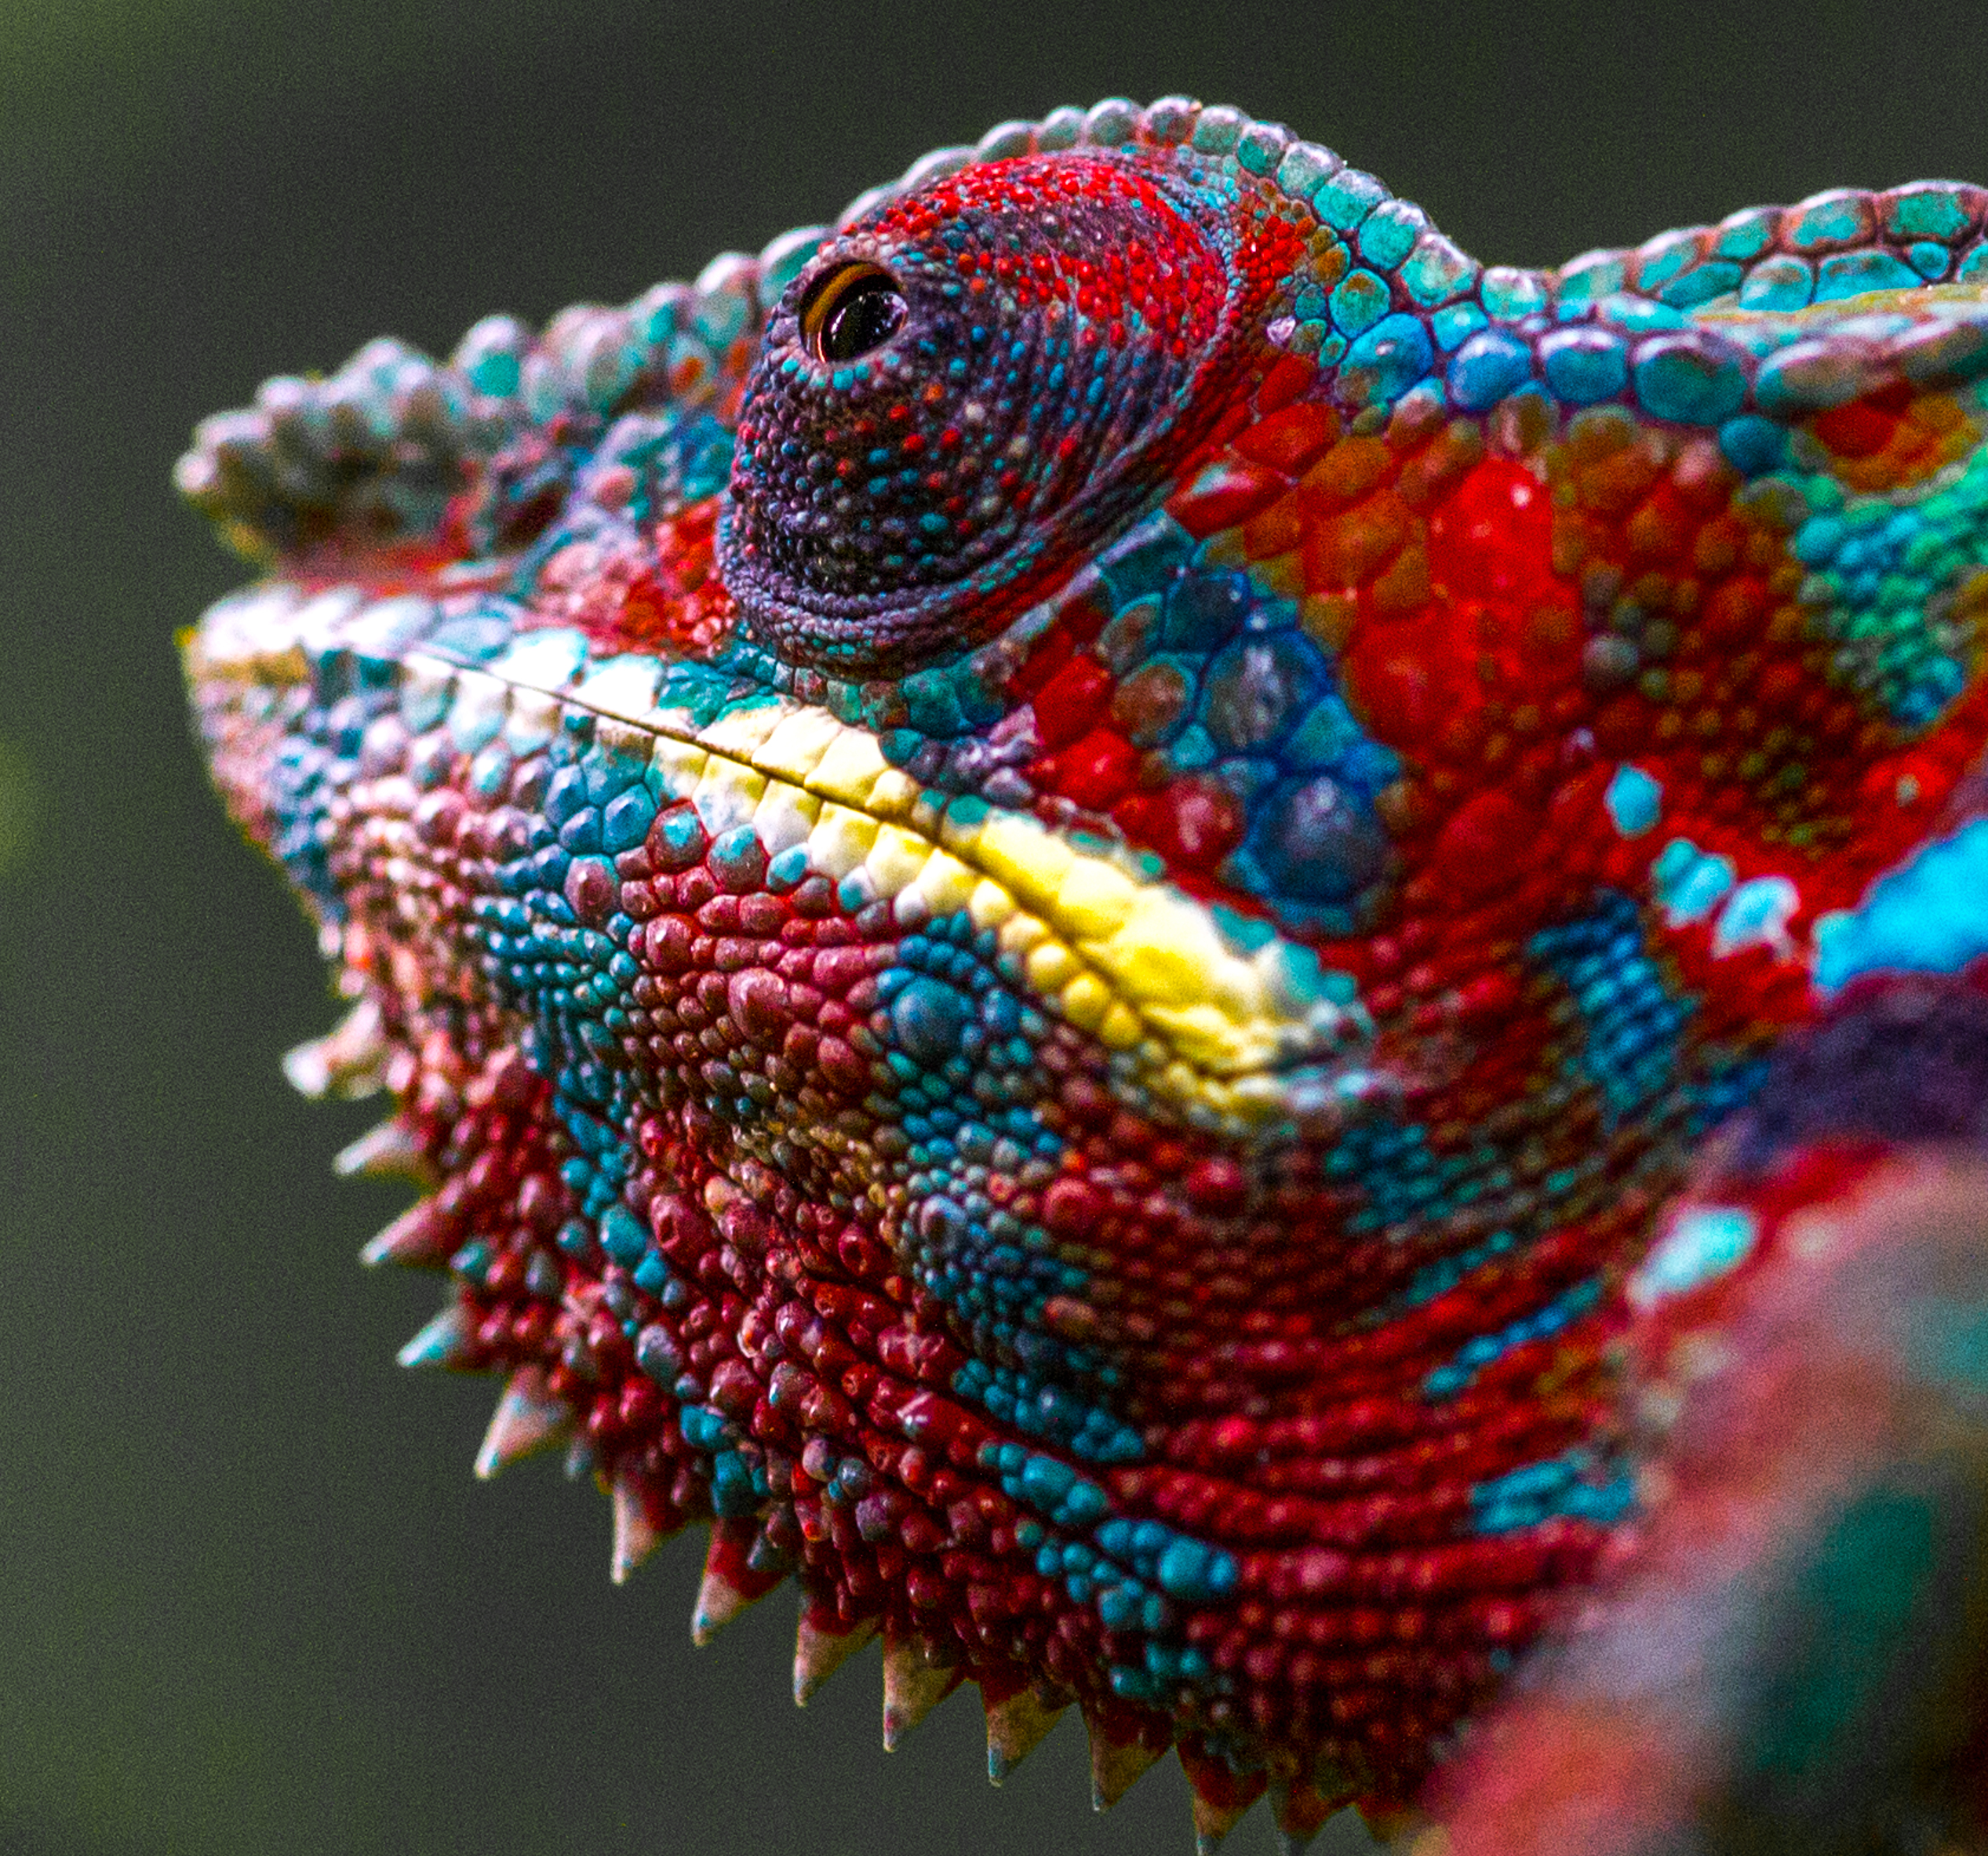
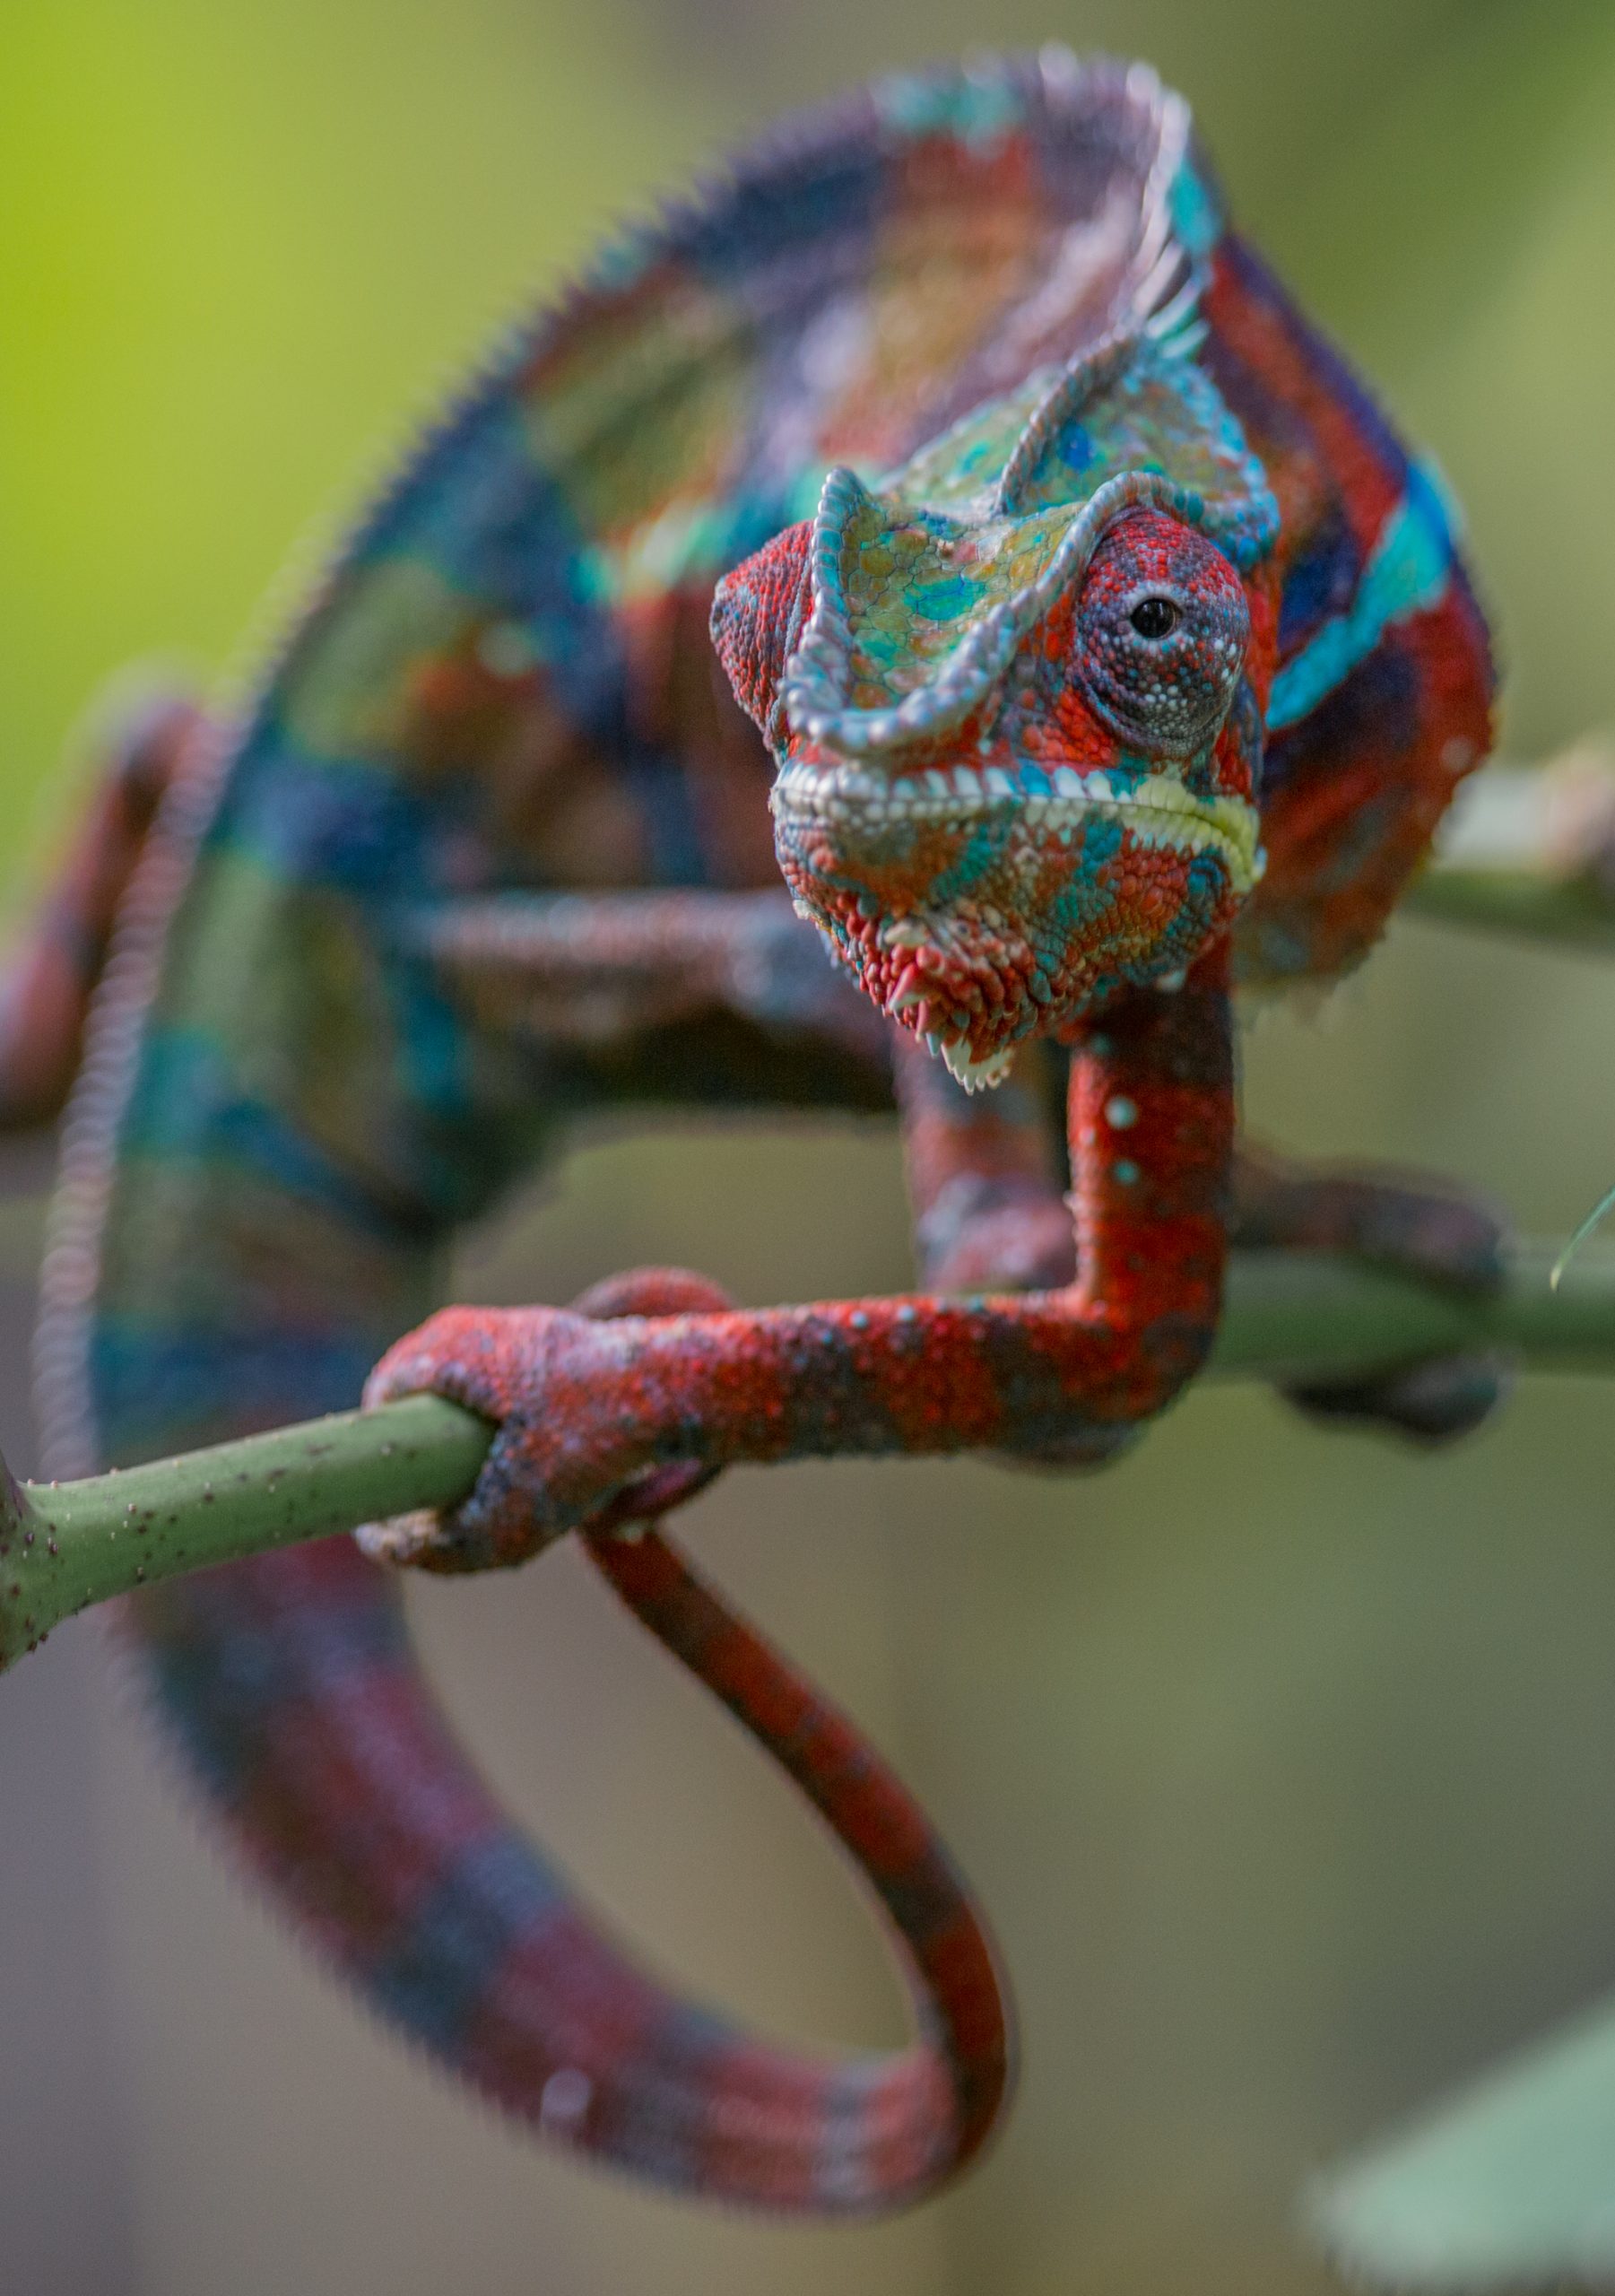
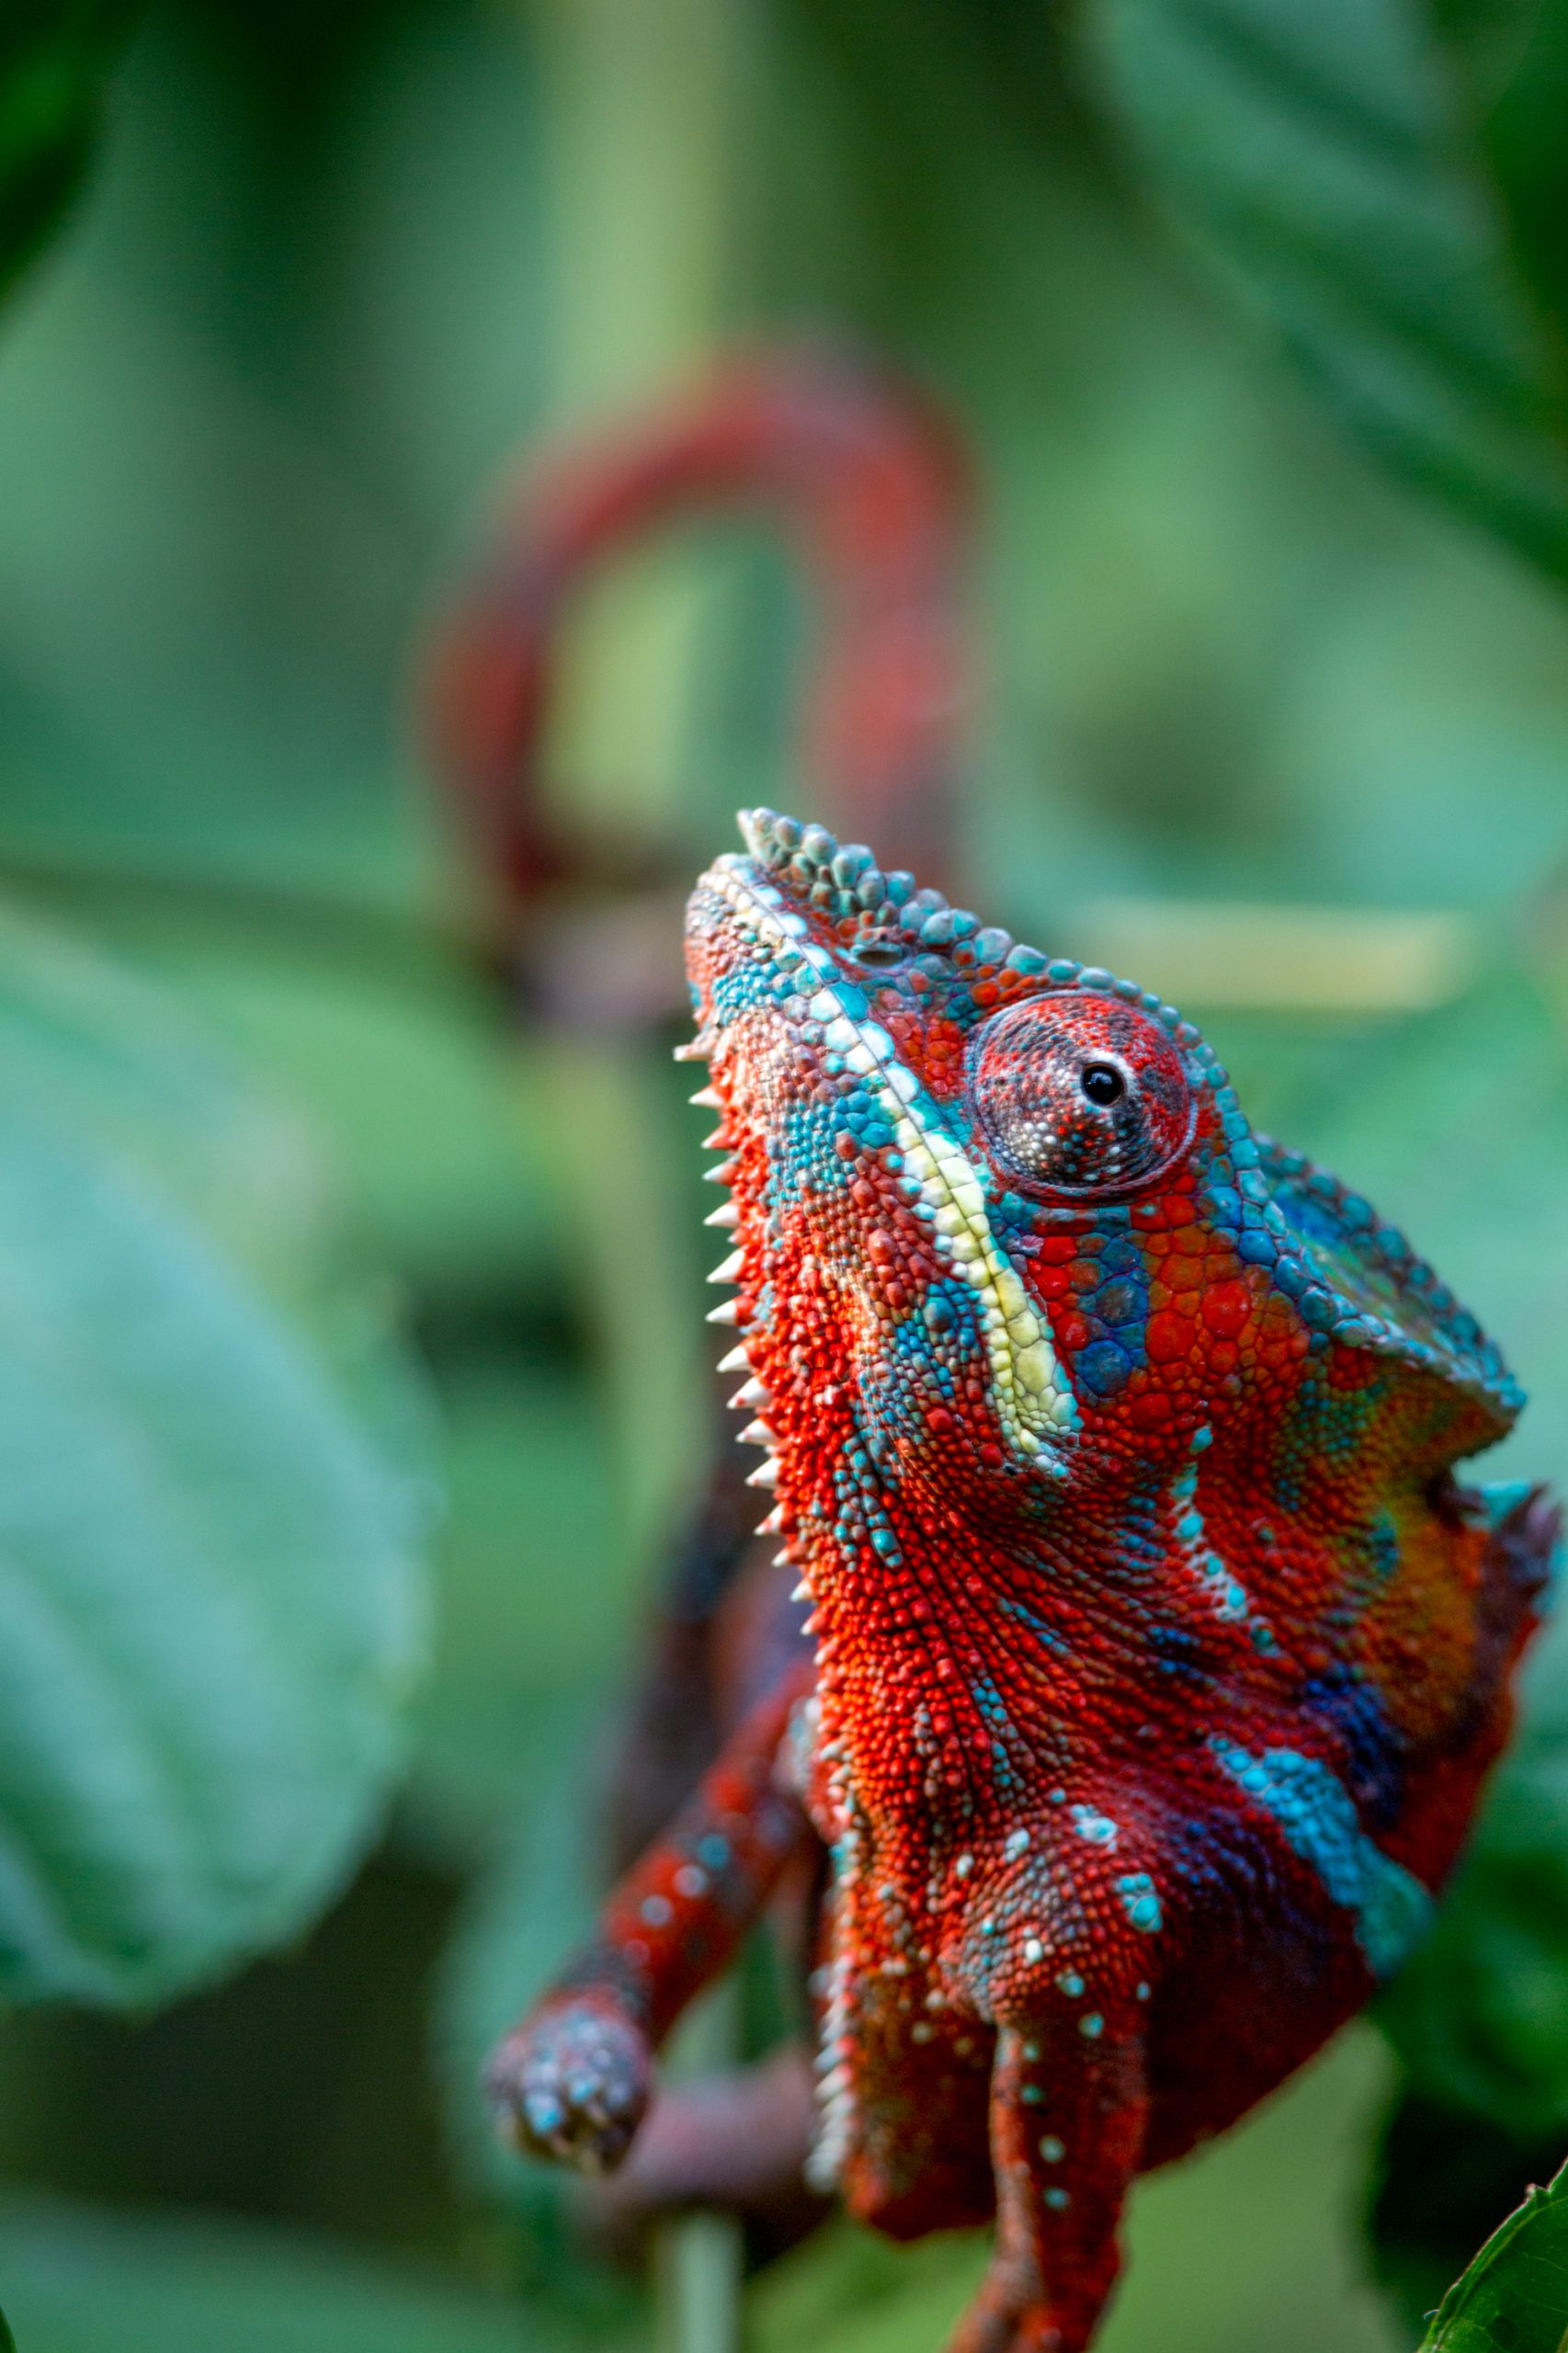
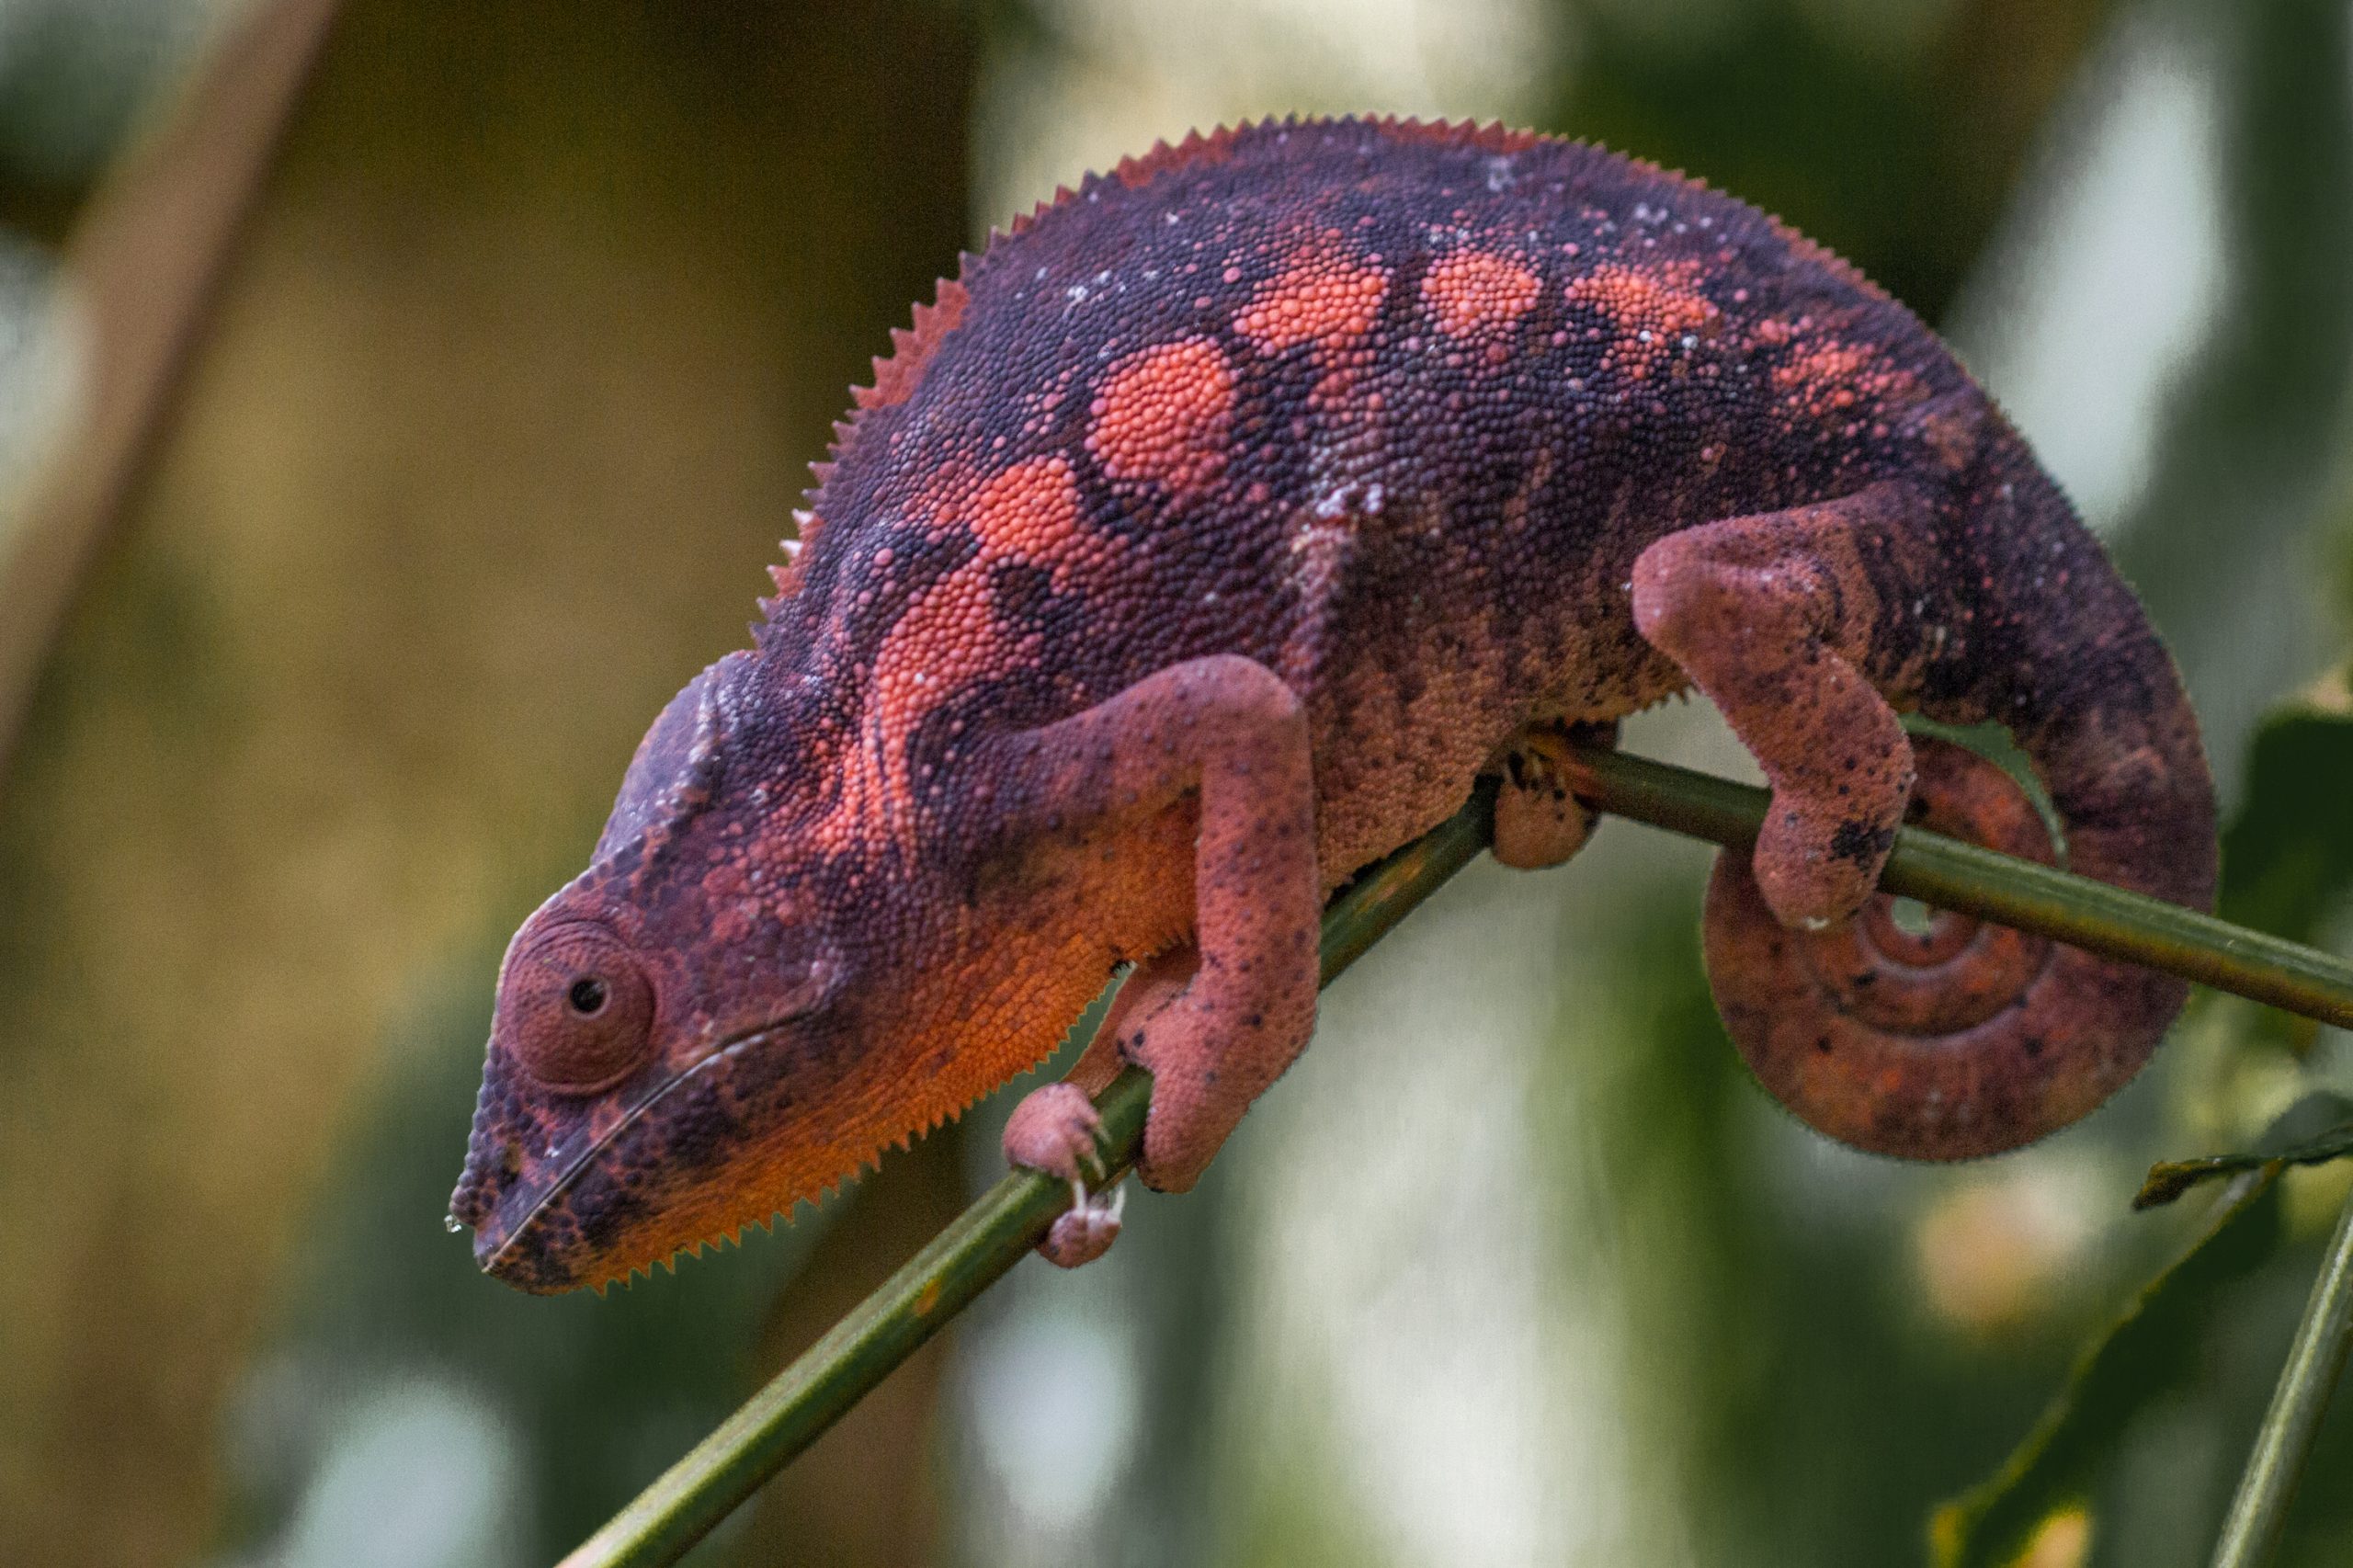
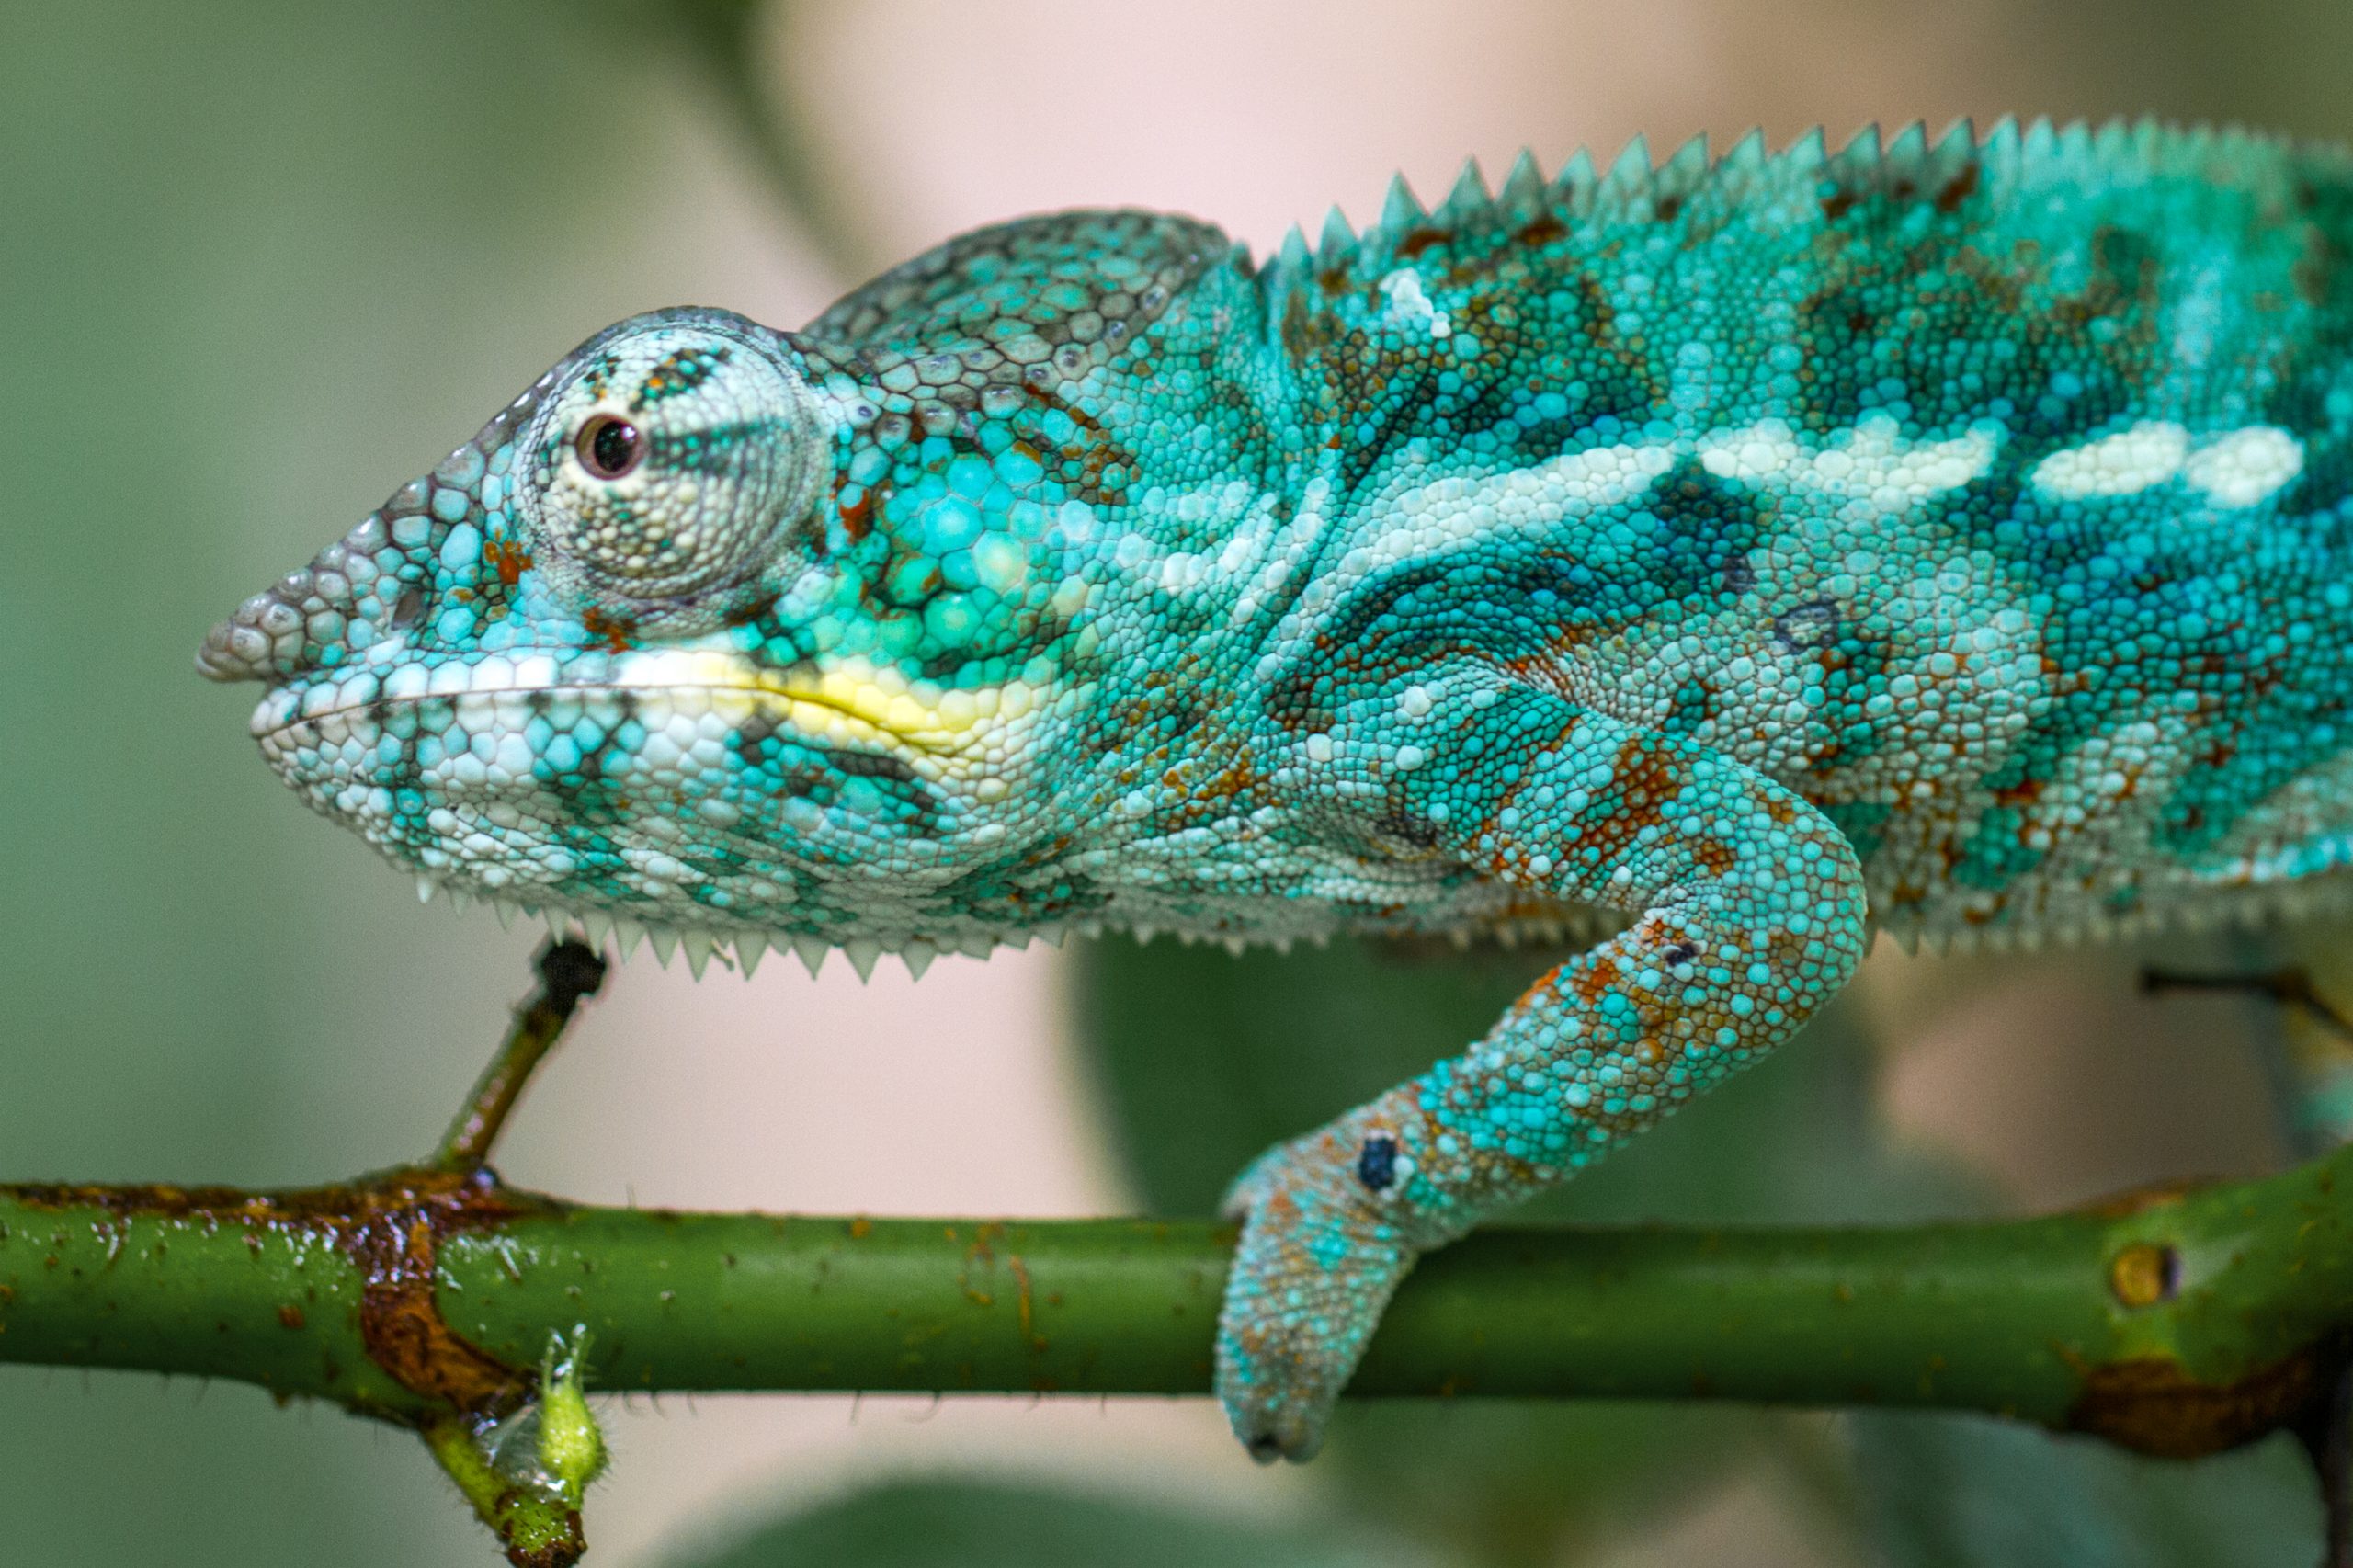
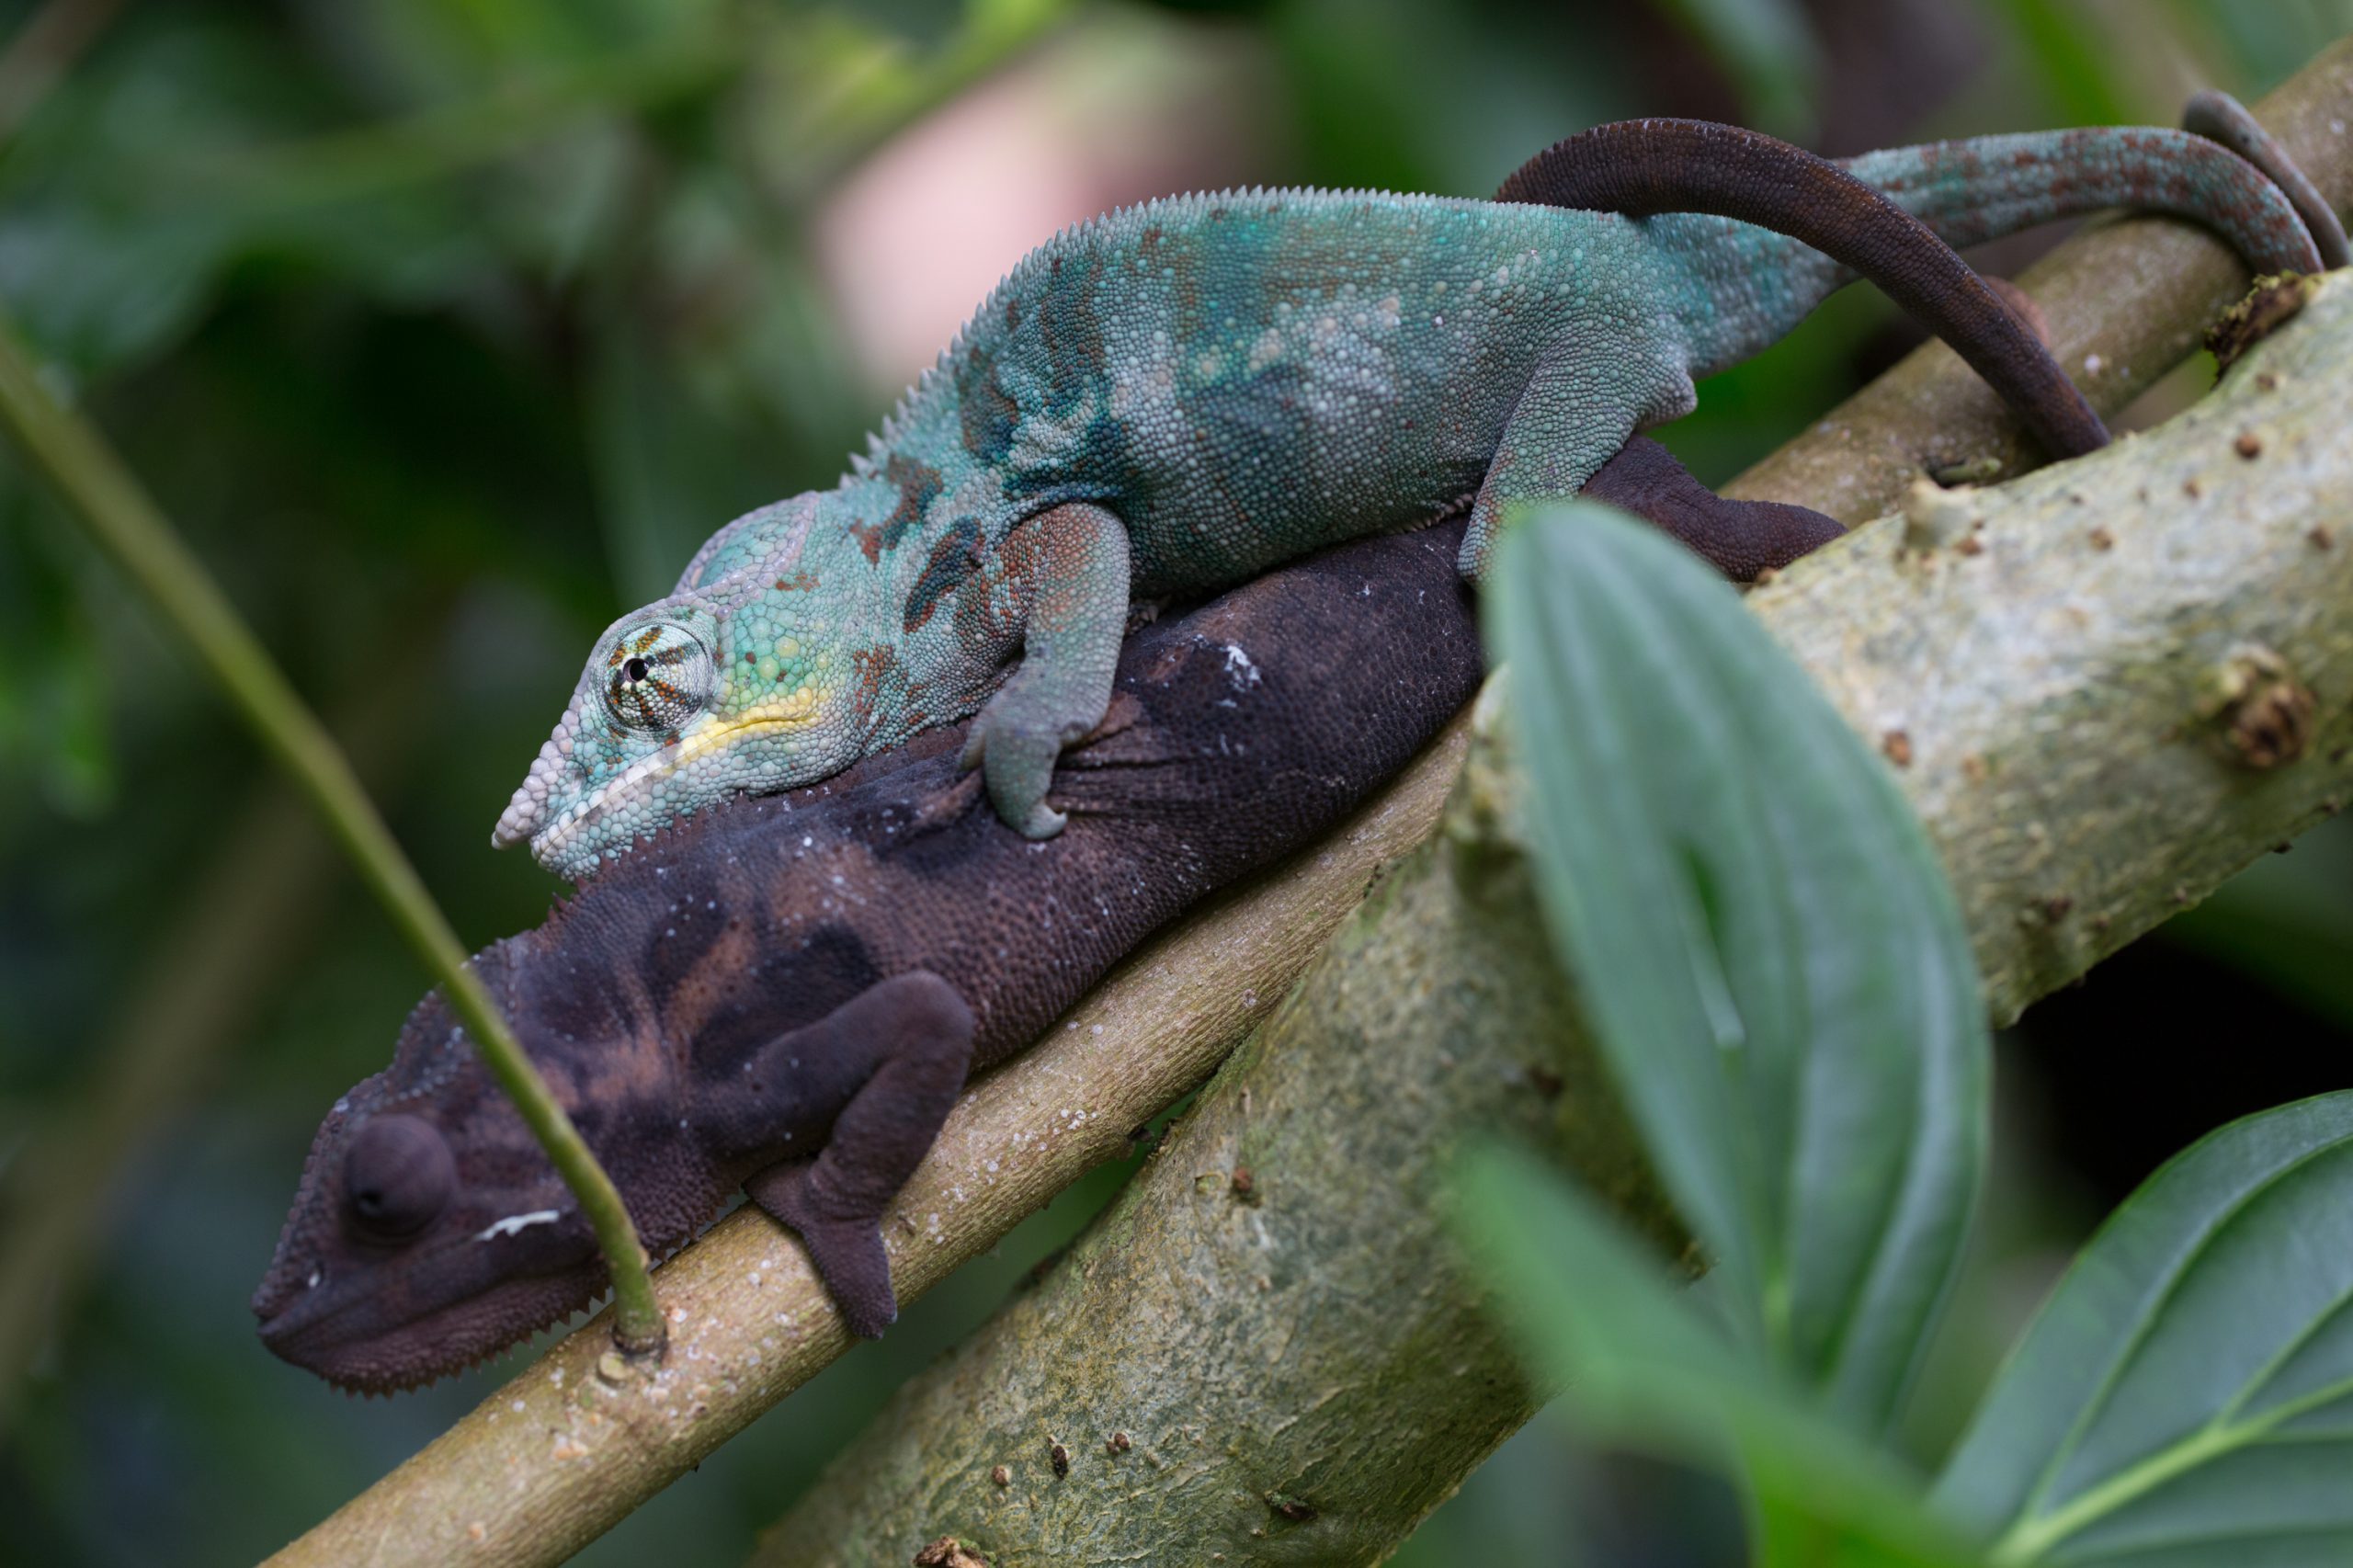
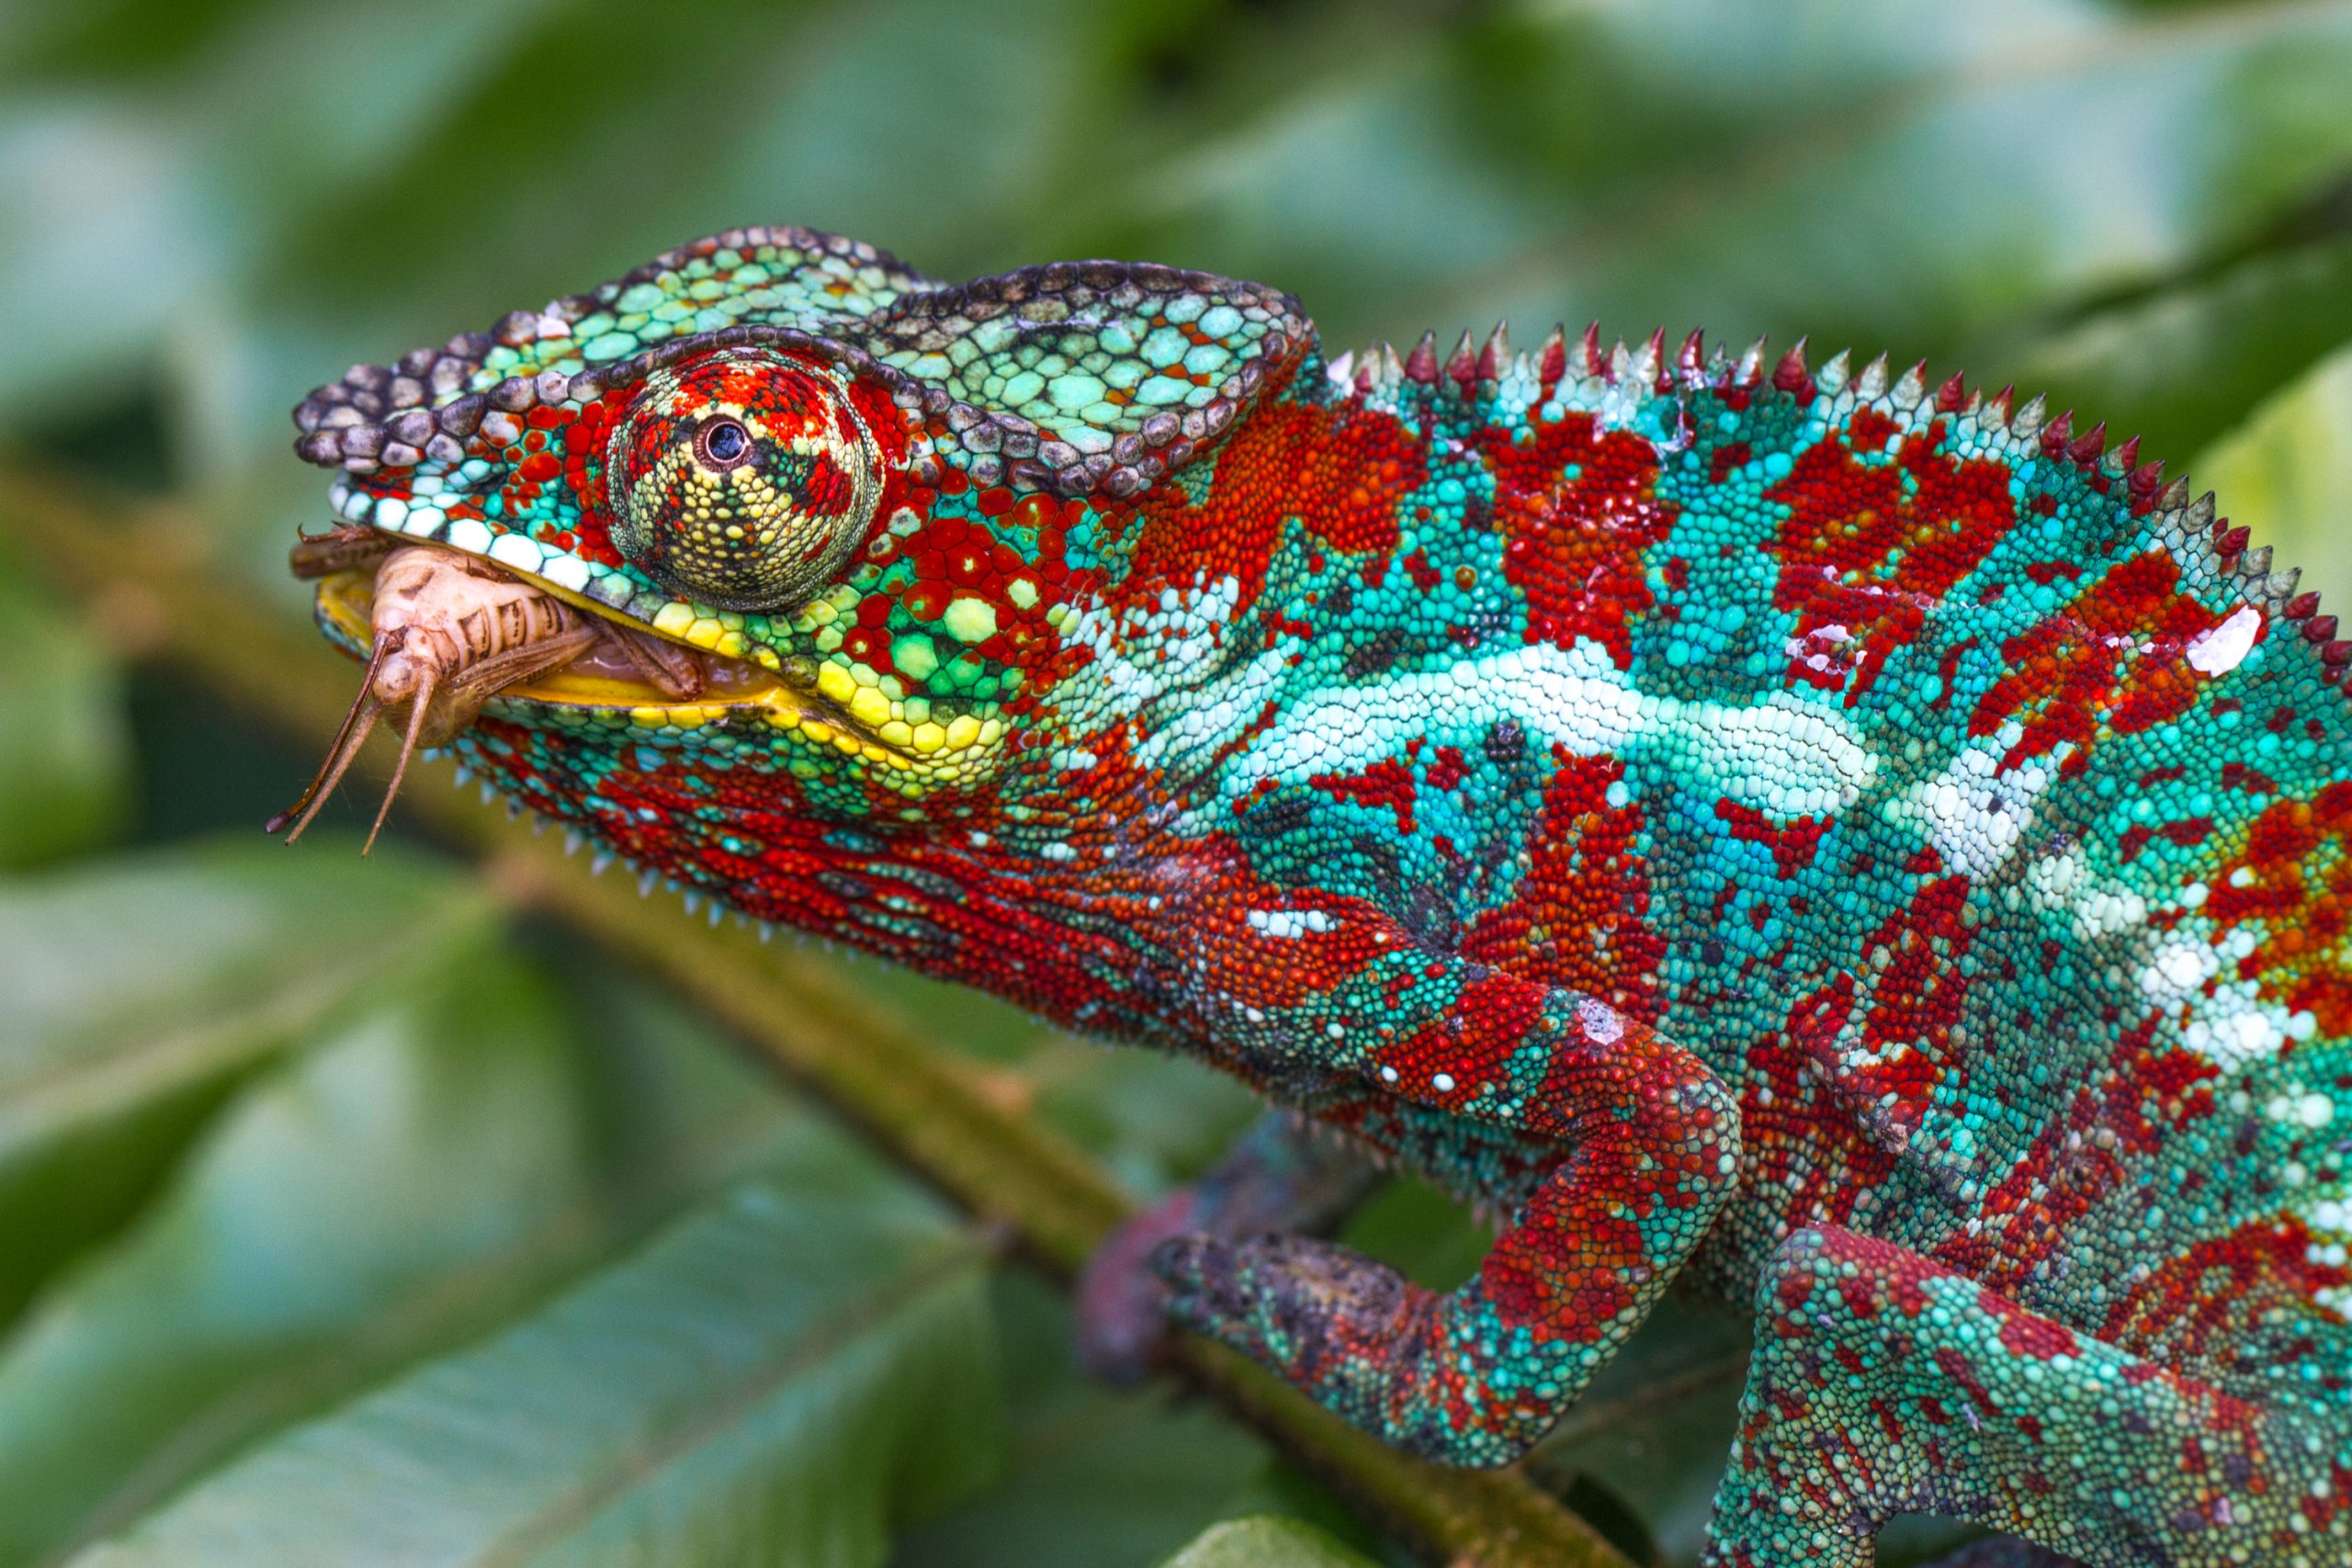
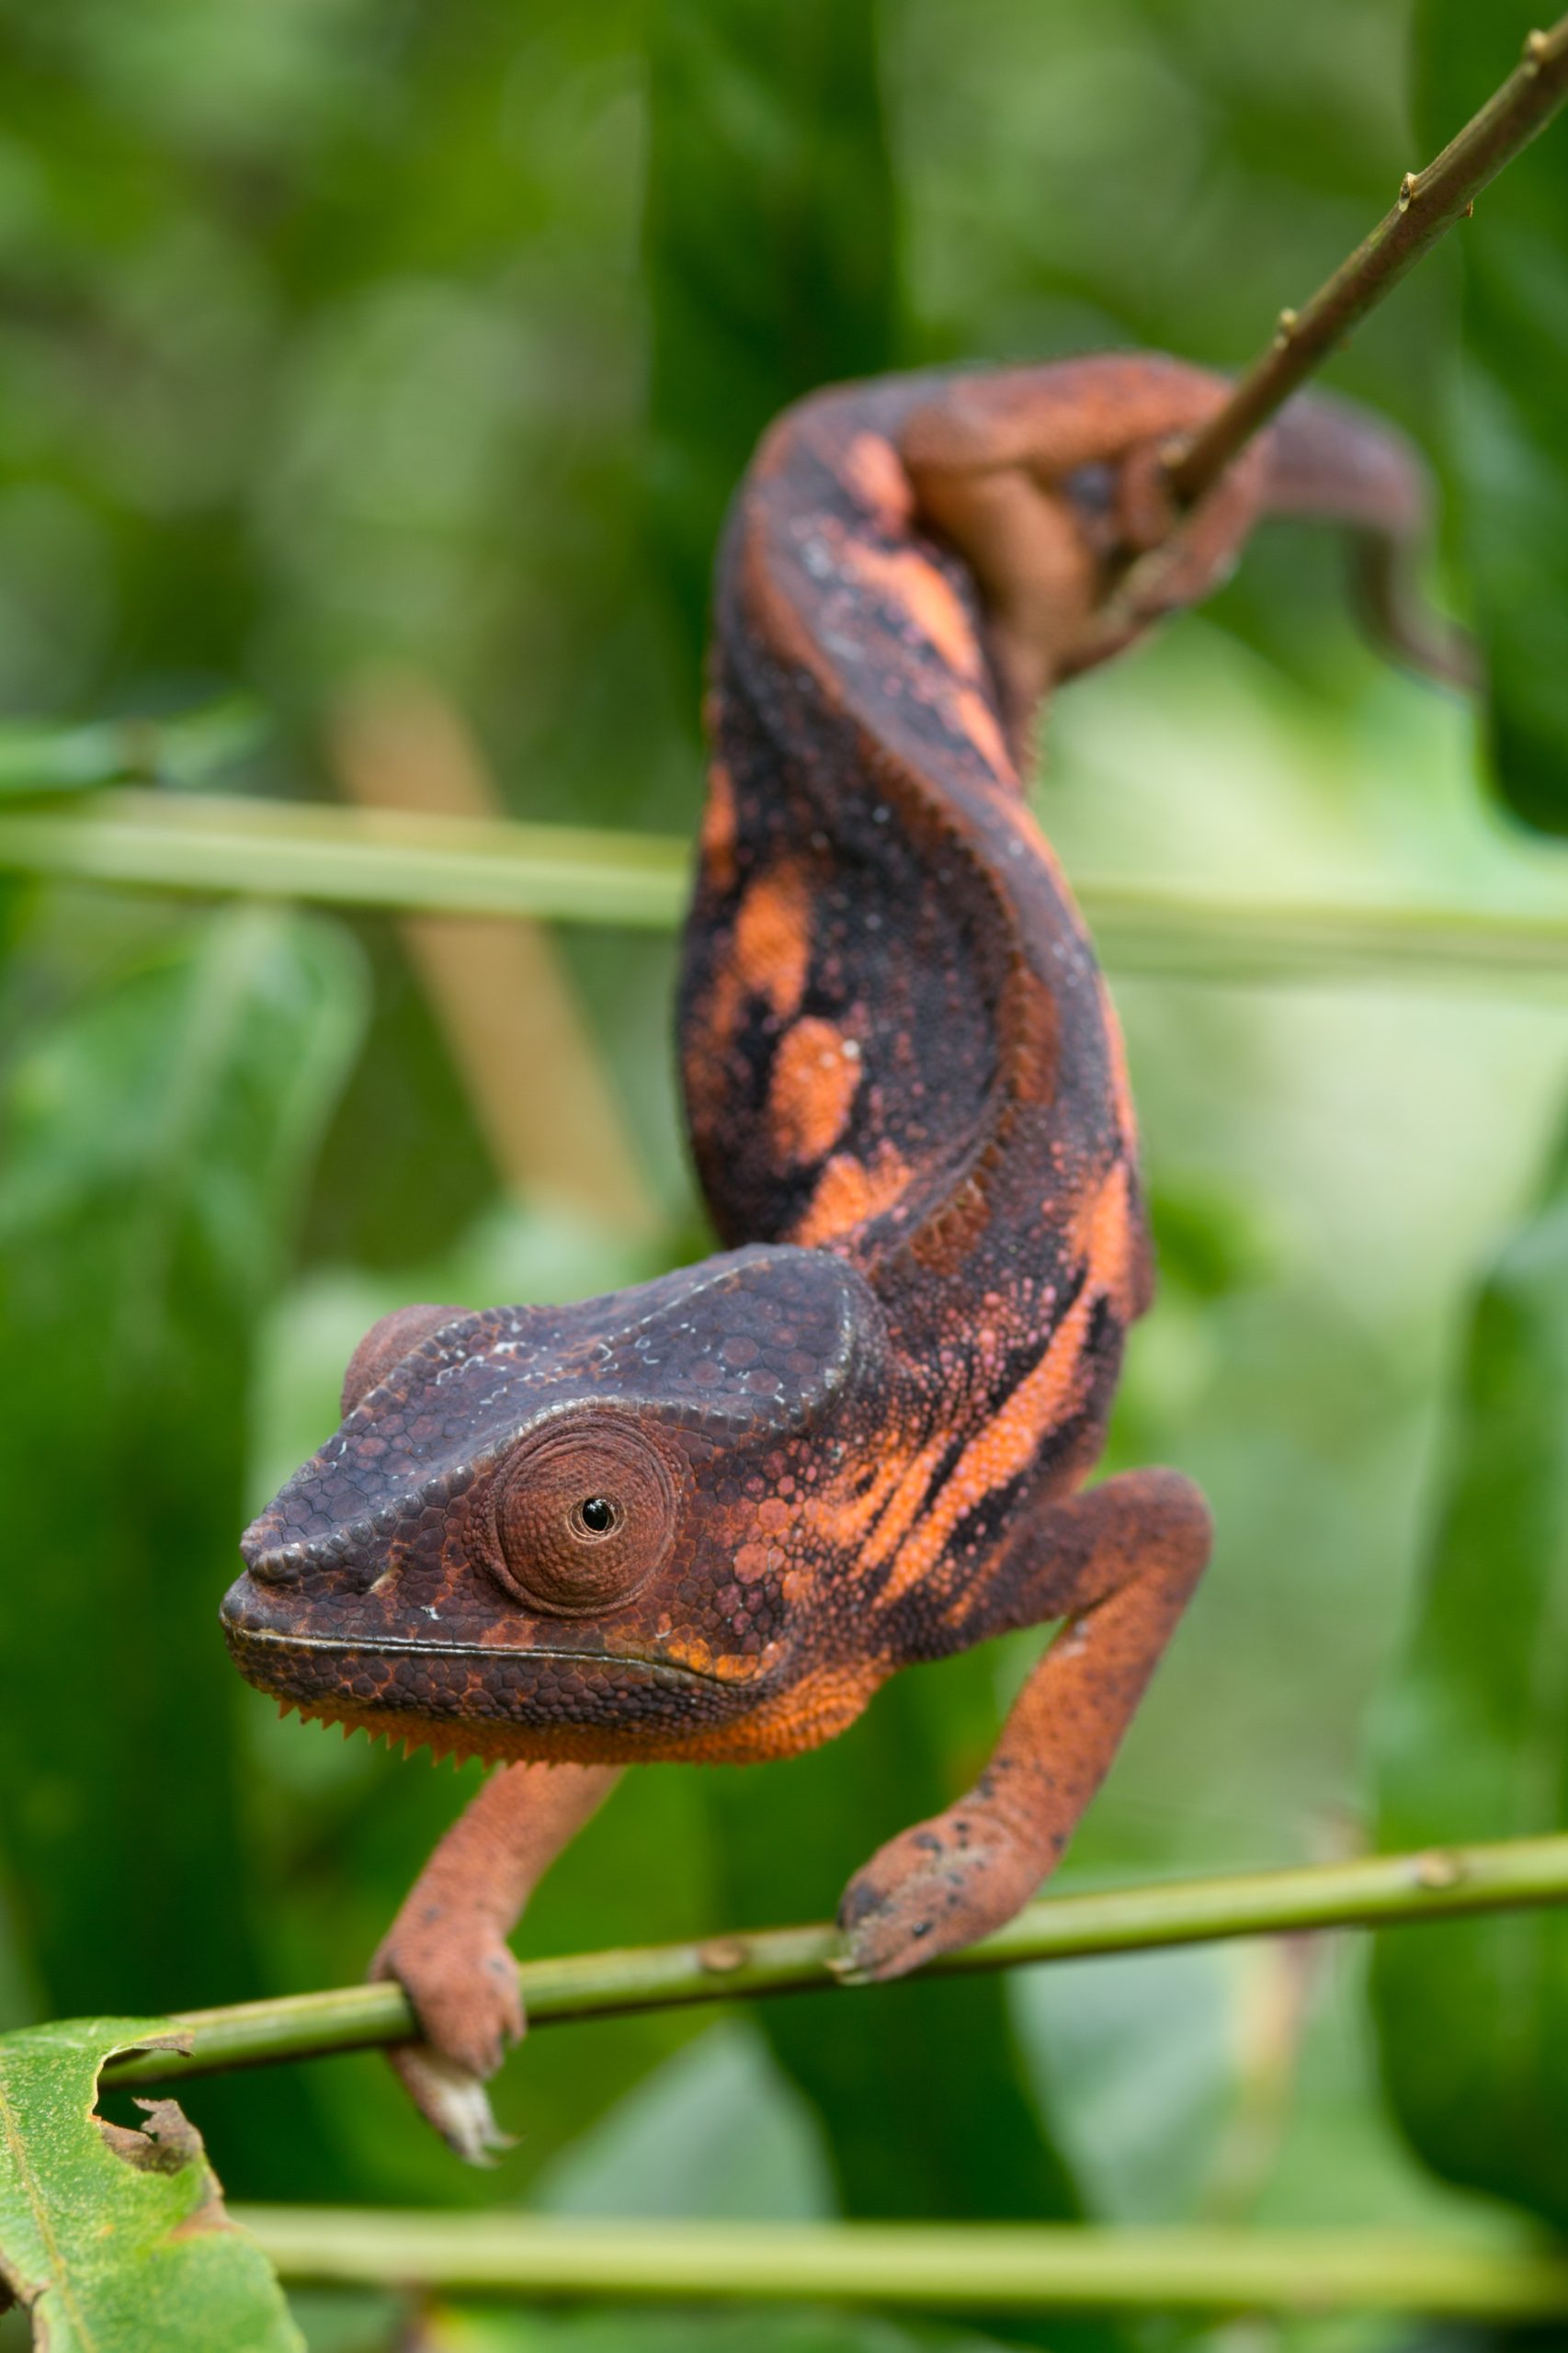
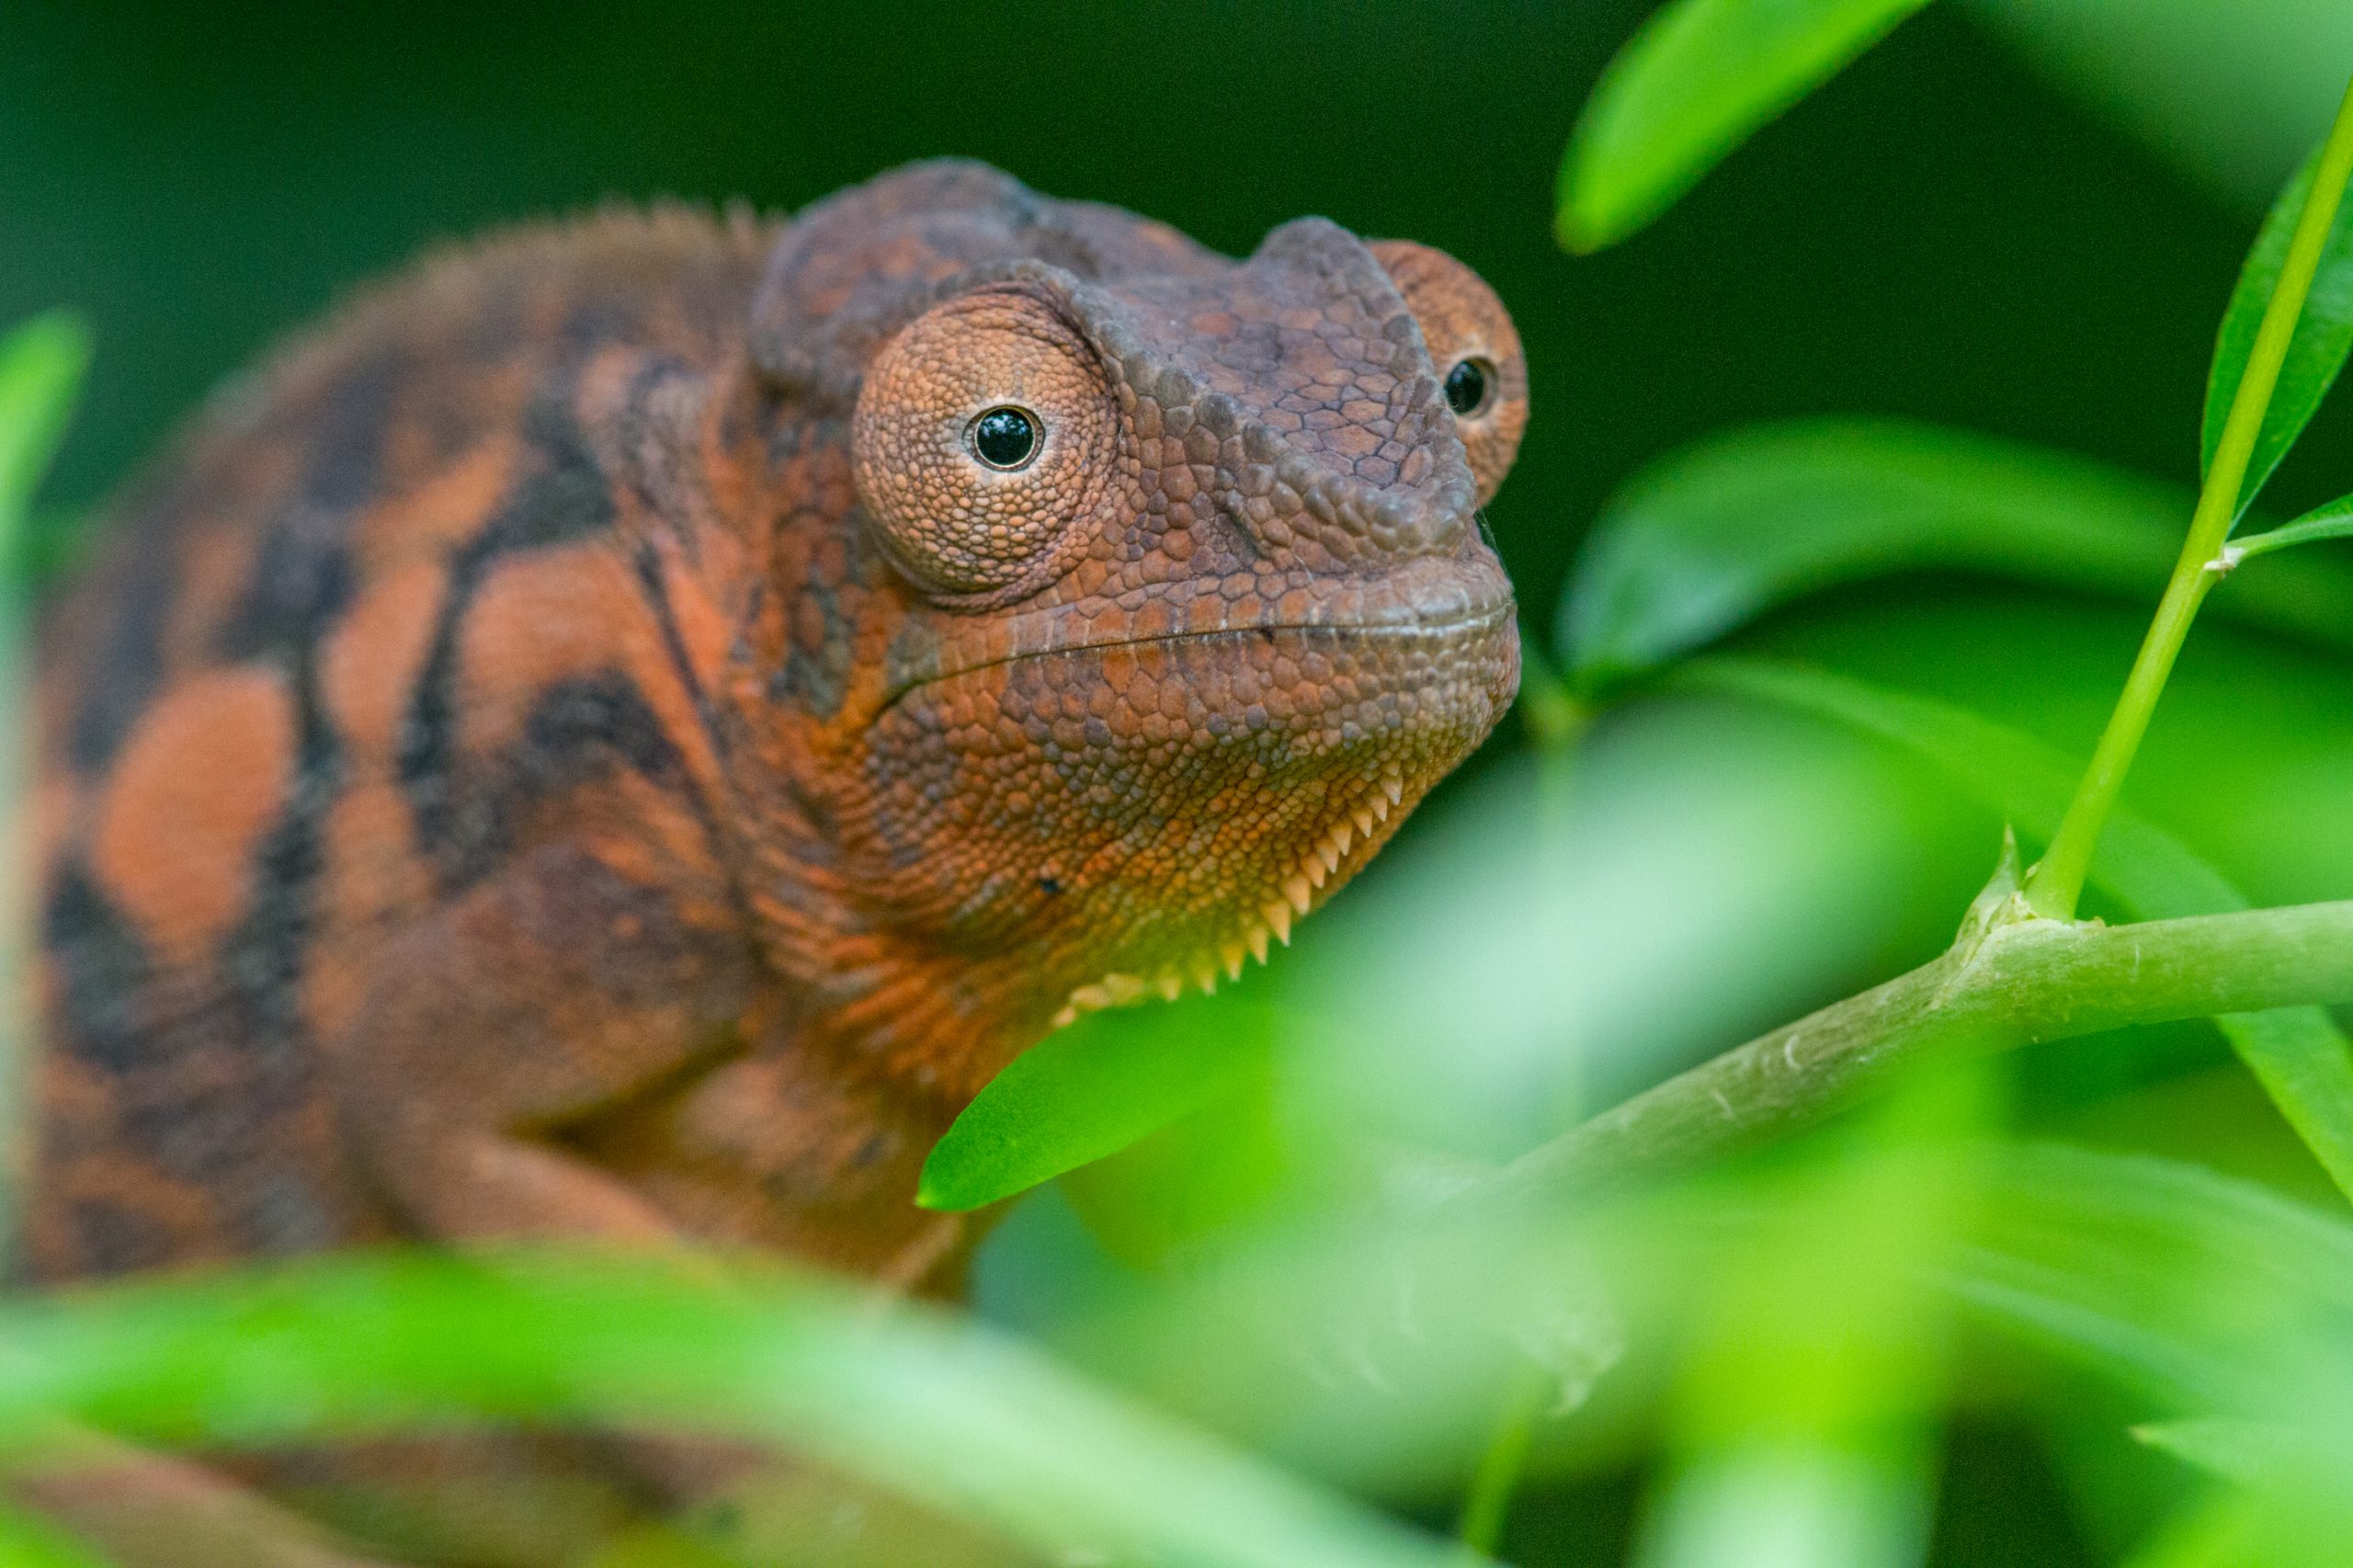
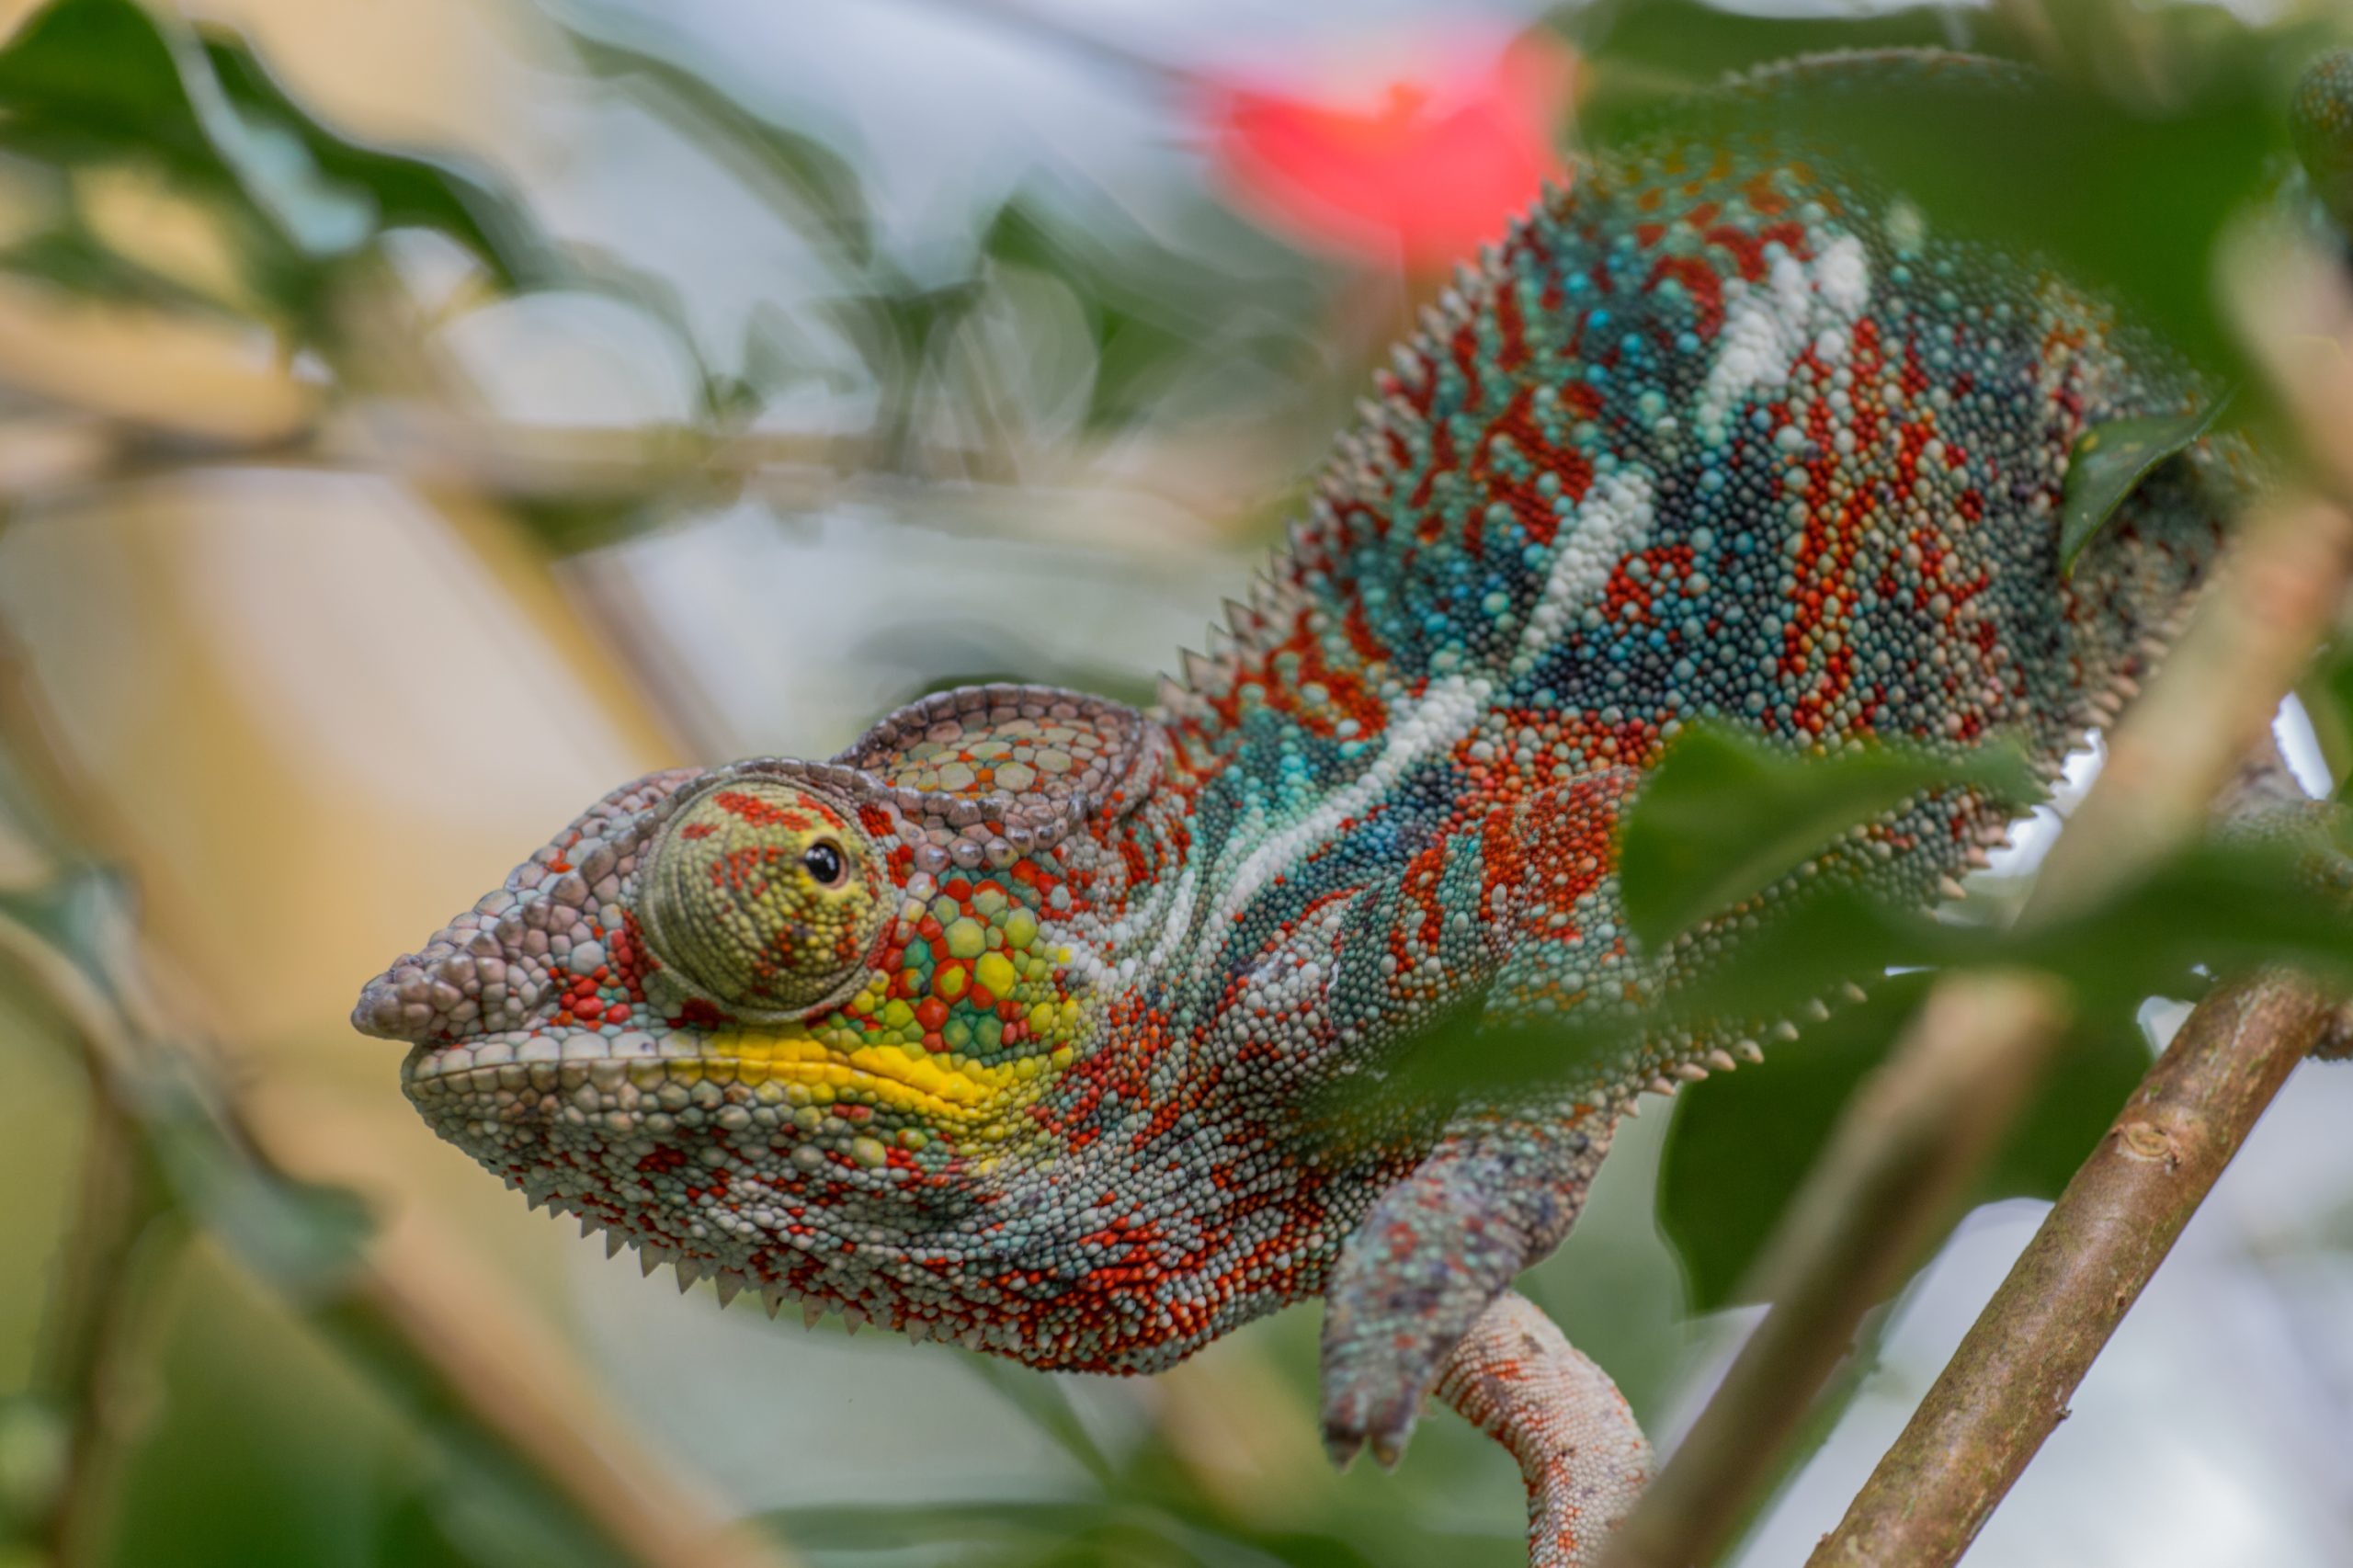
Tshöpe, F. (n.d.) Chameleons. Frank Tschöpe | Photography. Available online: http://www.franktschoepe.com/chameleons-galleries [Accessed 5 Jan. 2022].

Wikipedia Contributors (2002) Warhammer 40,000. Warhammer 40,000 – Wikipedia. Available online: https://en.wikipedia.org/wiki/Warhammer_40,000.

Wikipedia Contributors (2019a) Beetle. Wikipedia. Available online: https://en.wikipedia.org/wiki/Beetle [Accessed 1 Dec. 2020].

Wikipedia Contributors (2019b) Crustacean. Wikipedia. Available online: https://en.wikipedia.org/wiki/Crustacean.

Wikipedia Contributors (2020a) Games Workshop. Wikipedia. Available online: https://en.wikipedia.org/wiki/Games_Workshop.

Wikipedia Contributors (2020b) Gravity Falls. Wikipedia. Available online: https://en.wikipedia.org/wiki/Gravity_Falls.

Wojcik, J. (n.d.) bio-flies. bogleech.com. Available online: https://bogleech.com/bio-flies.html [Accessed 4 Jan. 2022].