About my submission
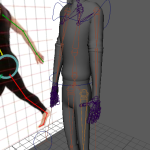
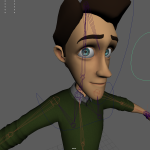
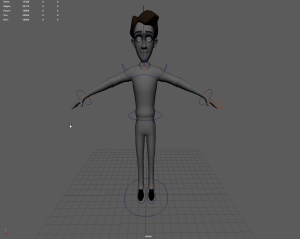
This development log is dedicated to my process and development of my three animations and renders within Maya, on the reference character jerry provided by the university for the module.
My three animations I will be explaining are as follows:
Walking Sequence, this animation sequence is a basic walking sequence I have attempted to make look akin to a naturalistic walk style. All of my animations are slowed down and I have tried to make them look smooth to be realistic rather than a stylized animation akin to cartoons.
Jumping Sequence, the jump sequence follows with bending the knees and extending the arms upward to make a standing high jump.
Ball Throw Sequence, my final animation is of the character picking up a ball off of a table; throwing it after picking up.
All three animations are slowed down for dramatic effect for the throwing and jumping animation. The walking animation is slowed for consistency.
3 Animation Videos
Standing Camera
Walking Animation Still
Jumping Animation Still
Throw Animation Still
Panning/Cinematic Camera
Walking Animation Panning
Jumping Animation Panning
Throw Animation Panning
Combined Animation Video Not panned
Original Intentions for this Module
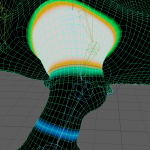
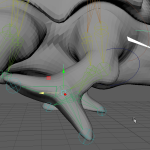
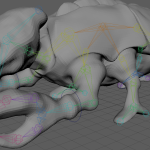
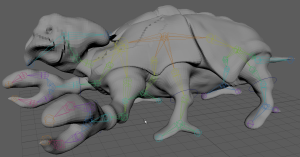
Originally, I had planned to use my own character model I designed in the last trimester which was my Nymayridian Drone. This featured 4 legs and 2 pincers. While learning with my own model I had found some complications for animation during my process of rigging and skinning it. A primary issue being the poly count. I had managed to reduce it significantly from 8 million while retaining enough detail to maintain its style. However, it was still rather high, and had lost my texture set on it as it was a different UV layout.
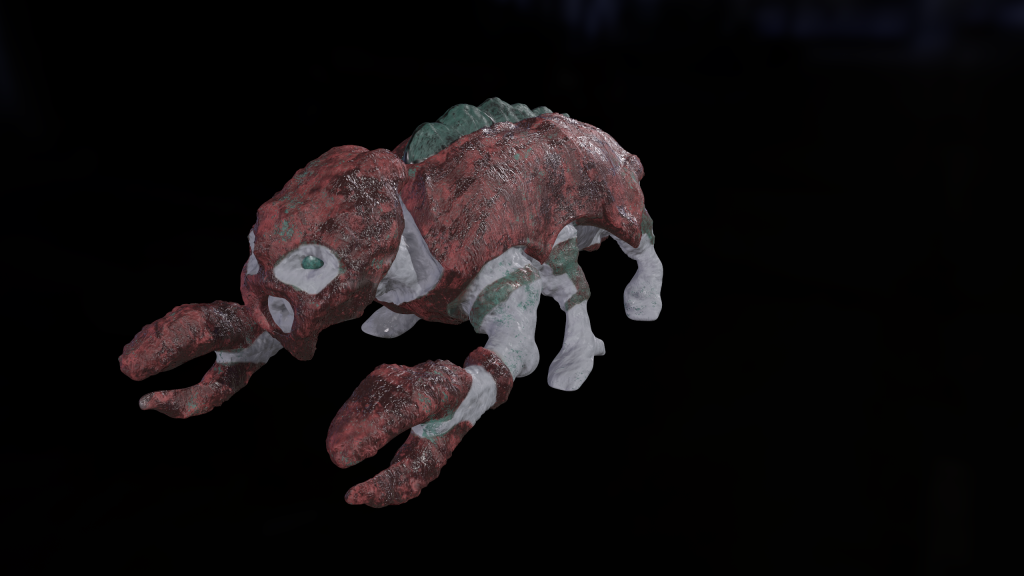
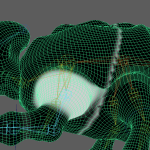
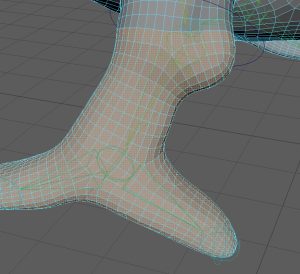
Once I started skinning this character I ran in to several issues. Once I bound the skin the character would deform massively and I had not enough practice properly skinning a model before, I tried to stick with working on my own model for a long while trying different ways of getting it done, my best effort on my own character led to some parts working reasonably well while others would deform or be contorted in incorrect ways.
To the topology and poly count issues i could of baked the model however i have very limited experience on this and did not see it as a viable option for my animations. Instead i decimated the model within ZBrush to lower the polycount.
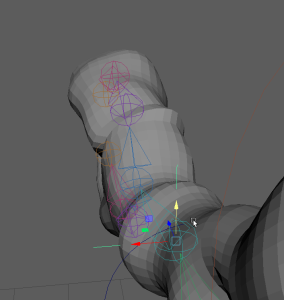
Despite this I stuck with my model and set up a skeleton ready for skinning. This consisted of a main spine running along the back, spurring off in to each leg, pincer, tail and the head. This would have allowed me to have full control over all my features I had designed on to my character.
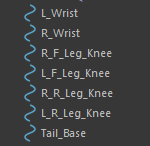
I had got in to good practice with setting up a naming scheme I could understand very easily to identify each joint and what it should be controlling. Each pincer would be able to move akin to a crabs pincers and then the feet would be able to move like a chameleons since I had designed it with the anatomy of a chameleon for the feet.
Animation contortions and issues with my original model i planned to use
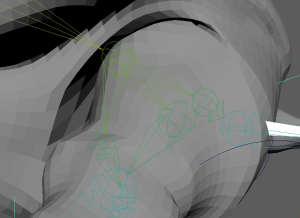
The most prevalent of these would be the claws and back legs. I had not been able to make it look natural in the way it manipulated the body and I would have to look at what other options I could pursue. I set up some IK handles to manipulate the legs and claws however I found on the claws it would make them thing or twist them in unnatural manors that would be unusable for an animation. At this point I started looking at the university reference model “Jerry”.
Part of what I think went wrong with my rigging of my model is my lack of experience on learning on a more basic model to get a better understanding of this process. The skinned areas would be rather whole without much gradient to each other joint which in turn led to sharp ridges where the model would bend and it wouldn’t flow to have a natural join when manipulating it, When trying to smoothen out the gradient I ran in to some issues where it would create new rings of where it would be manipulating the model in places it shouldn’t be. As I had deemed it unsuitable for myself to use in this current time, I had started learning how to apply constraints and curves to joints by parenting and setting other constraints and how they would affect the movement. This lead to be very useful when learning to skin on a more basic character such as Jerry.
Rigging and Skinning of Jerry
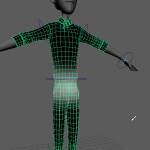
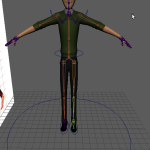
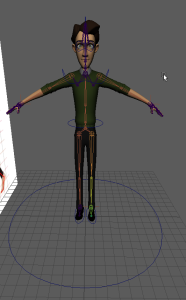
For rigging jerry, I followed a very similar process, going up and down the model starting from the waist, going down the legs for a thigh, knee and ankle join as well as a joint to make sure the toes get moved correctly. Following the legs, I started continued with the spine, 5 joints going from the waist up to the neck branching off for clavicles and then the shoulders each into the joints for the arm being elbow and wrist.
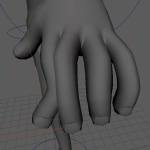
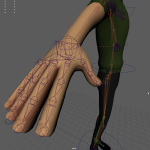
As I wanted to do a throwing animation, I would need to have joints in the fingers and be able to control them properly, to be able to pick up the ball, even if the fingers didn’t need to move much. Binding the skeleton to the mesh of the character, this would allow me to start skinning it. However, it was smoother than my previous attempts. As this was a humanoid character, I felt more comfortable learning easier with it and would go on to have a fully-fledged working skin. Removing white parts off limbs that shouldn’t have them, for example fingers sharing skin weights causing stretching. Each finger is made up of the base knuckle two bends and then the tip, with exception of the thumb having the base knuckle 1 bend and the tip.
I had lacked doccumentation for skinning jerry, however i went over the process further with my other model. I Opted against controlling the fingers with IK handles just because i didnt need to control them massivly.
Controllers
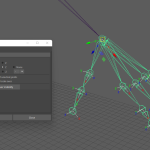
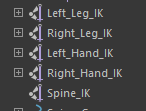
To manipulate my rig, I would have to assign correct joints to manipulate it in the necessary ways for the animation weather I decided to do FK or IK animation. I would set up IK handles on the legs and then again, the arms so I could easily manipulate them for the walking animation and jumping. This would create a natural movement between the wrist, elbow and shoulder. As well as the limbs I applied a IK handle to the spine allowing me to move it up and down to give a bit more natural movement between steps and walking as well as manipulate a lean when taking each step.
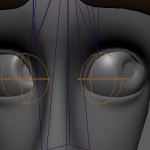
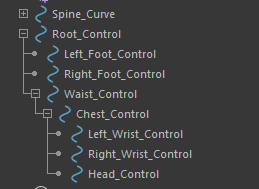
Controllers I would assign would be linked to the Waist for rotation, The feet to control the IK Handles, A root controller allowing me to move the entire model and joints together with ease if I so needed too. The head would have multiple controls associated to it, So I could orientate the head in to different directions along with moving the eyes independently to the head so there was more natural and fluid movement to the characters interactions.
The Shoulders would have one main controller allowing them to be slanted left and right for a sway as the human body has a sway to each step. The arms would each have one controller and then a pole constraint allowing the elbow to bend properly for the jump sequence. In combination all of these controllers would allow me to have a smooth and clean control over the model allowing me to get more realistic movements and patterns in the movement.
Naming hierarchy
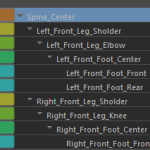
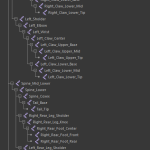
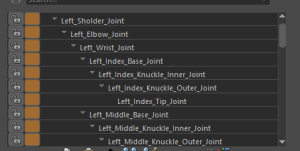
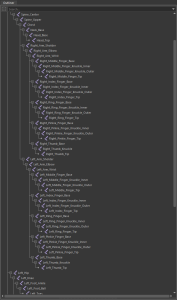
As I did with my own character, I would have a detailed but understandable naming convention for each of the joints allowing me to easily identify them when I am fixing skinning as well as adding constraints and handles for the animation. Each of the fingers would have 4 joints and would have to be identified easily so I can move them to pick up the ball, I would have them label as the following:
Index Base
Index Bend Inner
Index Bend Outer
Index Tip
These simple naming conventions allowed me to instantly know which joint was where and how it should be moving when it comes to picking up and object. Each of the nurbs circles used for the controllers would also follow similar simple naming conventions.
Left Foot Control
Right Foot Control
Left Arm Control
Right Arm Control
Like these the IK handles too have their own.
Reference for animations
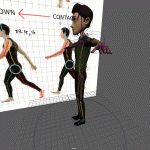
For these animations I would use some very basic inspiration and simple videos found on YouTube as a combination of pre-existing animations, human movement and a simple image for framing.
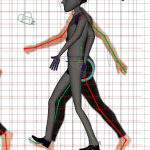
Along with using these video on the right hand side i have used two web page references, One for an image of rough keyframe and positioning for a walk animation (AMIN, 2020) and another one to better understand IK and FK animation controls and how i should expect to use them (What is IK/FK, 2019)
references for my animation, I have considered my own body as reference as a means to accurately create the skeleton and some movement for the animations. Unfortunately, I don’t have any documentation of what I have done to do this.
However I have looked at my own hands for rigging the bones for the shape of the body and hands. This allowed me to have an in-person reference on what things should look like. Along with rigging the skeleton I was able to do some basic throw interactions to properly understand my own movement of the way my arm bends and moves when doing such an action.
The references used would further allow me to understand what a more realistic and natural movement for each interaction and when and where the body should be flexing and moving as the character would walk, jump and throw respectively.
(Athletic Male Standard Walk. Animation Reference Body Mechanics, 2010)
(Animation reference – Jump 3, n.d.)
(ball throw animation, 2018)
Key framing
To save each movement I had made I made keyframe markers along the timeline for each animation, allowing me to save the different manipulations I have made allowing me to not need for framing each individual frame. This allows for smooth movements and interactive manipulations. I did this for both the model and the camera alike, allowing me to experiment with camera placement and movement around the model to allow for something more cinematic. All 3 of my animations were rendered at 1080p 25 FPS with a variation in total frames as each animation would be longer or shorter than each other for what I had learnt to do during this process of the module.
IK Control
For the animations I would experiment with IK controls over aspects of the character as spoken about, I set up IK Handles on the main limbs and spine. These types of controls are valuable for controlling joints based on the parent joint. The Walk Cycle as well as the Jump Cycle would be done with my IK Controllers as moving the joints for the legs and arms for each animation made the most sense for a fluid motion for walking, jumping and arms moving for each respective animation.
I felt that it was very necessary to learn this method for animation as it would lead to understanding and development of animations which can be used in games for similar interactions for humanoid, bipedal characters.
FK Control
For my final animation I decided to favour FK control allowing me to control each joint independently and have full control over each aspect of its orientation, position and placement. For my throwing animation I lacked the control with my current controllers with the IK handles, and opted to use FK to allow me to have this full control without the need of the IK handles directly.
This method allowed the necessary control for me to have the best looking and fluid motion between keyframes. I felt it important to explore both FK and IK control for my assignment as both have their own uses and real-world application for professional animation.
Blend Shapes
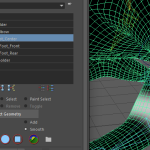
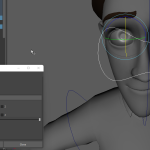
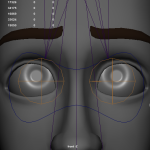
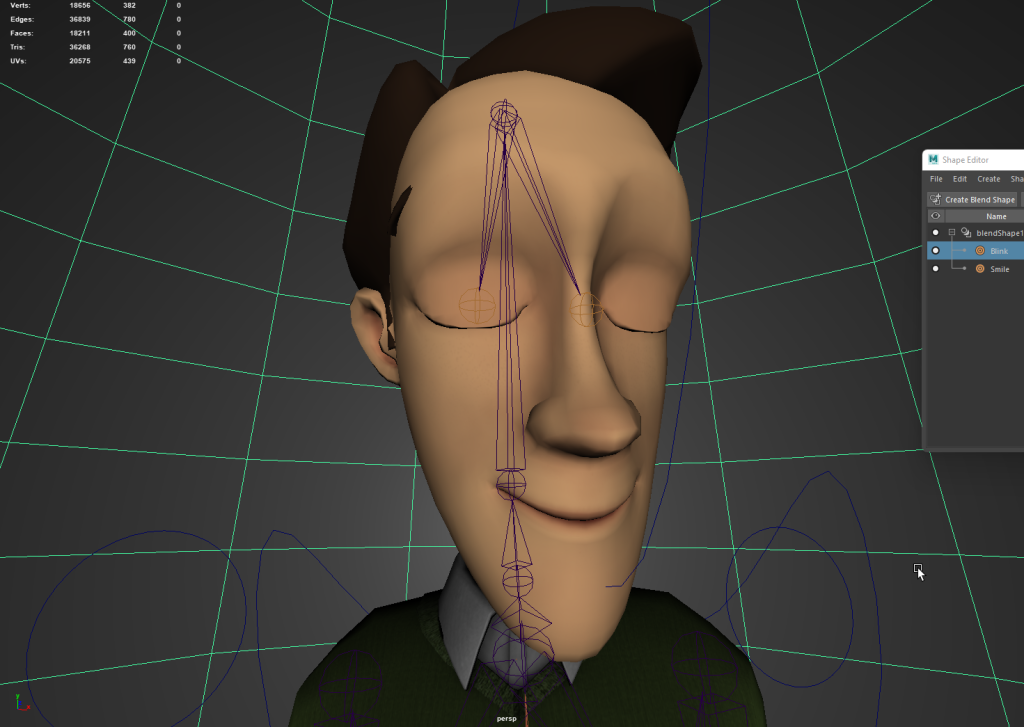
I experimented with some Blend shapes to allow for facial animation however I would have some issues with this for my final animations and had to avoid it. I did make sure to at least experiment and learn the process for this by using the soft select mode hot keyed to B within maya to allow me to easily manipulate different vertices to select the parts required for the facial manipulation.
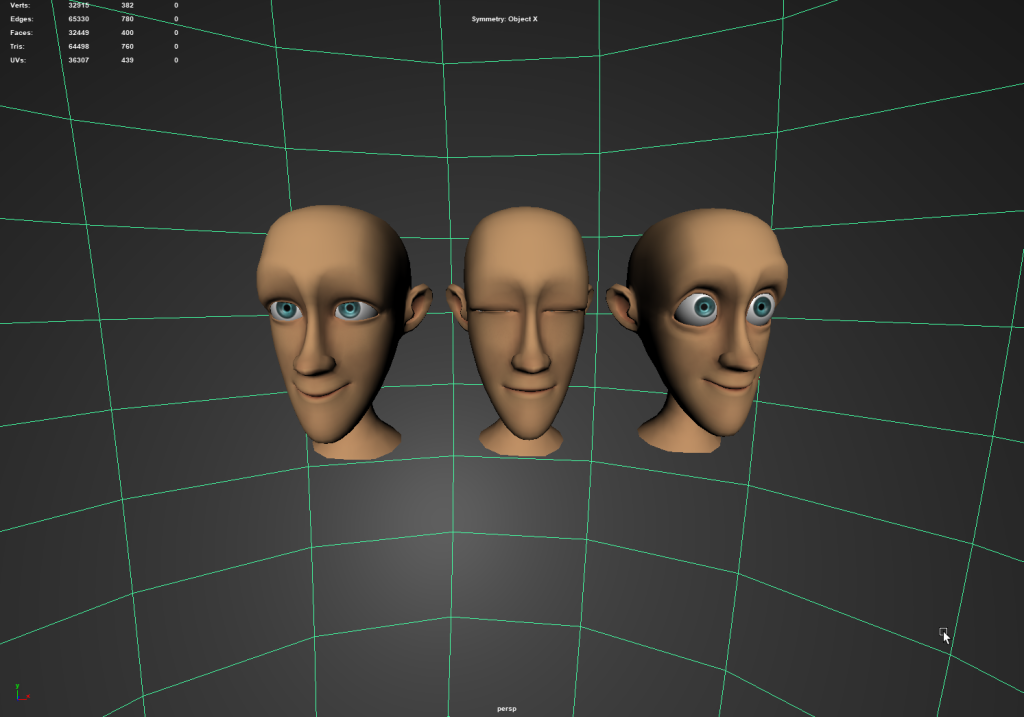
I made three different blend shape options which I could then alter the sliders to allow for these faces:
Blinking
Smiling
Surprised
Three facial animations I would want to use among my three animation sequences. Some of the issues I had with them was, when I tried to incorporate them in to the animation sequences, the hair and eyebrows would not be translated with the interactions of the animation. The Blend shapes also moved the head forward causing the head not to alight correctly altering the entirety of the animation with issues primarily the eyes being pushed out of the face, and the eyebrows and hair being sunken in to it.
Reflection
Overall, during this assignment and module of animation, I have learnt a lot to do with animation as well as running in to a lot of problems along the way, these problems were very welcome as it pushed me to learn the correct way to do things as well as a better way to do skinning, controllers and refine skills already knew such as the main skeleton for the rig, and the hierarchy naming scheme.
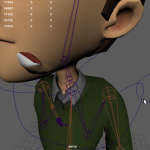
Through this module I have learnt new skills such as the animation overall, blend shapes which I had no idea how to use before this module process, as well as learn more on skinning. I feel like skinning is my weakest spot as I do have some tearing still mostly on the teeth of the jerry model. I would of liked my blend shapes to be present in the animations however this is still something I have a lot to learn with on how to incorporate and how to utilize it properly to make a flexible and smooth set of facial animations.
Ideally I would of used my own model for this however I feel like my model was to complex for me to learn the process of animation properly so I did make the decision to use the reference Jerry model for my submission.
References
AMIN, J. (2020) 04. Animating a walk cycle – CAVE Academy. Cave Academy. Available online: https://caveacademy.com/wiki/post-production-sequences/animation/animation-training/introduction-to-animation-course/animating-a-walk-cycle/ [Accessed 2 Aug. 2022].
Animation reference – Jump 3. (n.d.) www.youtube.com. Available online: https://www.youtube.com/watch?v=EoDZmyO59SM [Accessed 30 Jun. 2019].
Athletic Male Standard Walk. Animation Reference Body Mechanics. (2010) YouTube. Available online: https://www.youtube.com/watch?v=vq9A5FD8G5w [Accessed 23 Apr. 2010].
ball throw animation. (2018) www.youtube.com. Available online: https://www.youtube.com/watch?v=VZASw5ZXTBA [Accessed 2 Aug. 2022].
What is IK/FK. (2019) Reallusion.com. Available online: https://www.reallusion.com/iclone/help/iclone4/Pro/08_Animation/Motion_Layer/What_is_IK_FK.htm.
